
Navigating the Preimage Dashboard
Use the workspace dashboard to find projects and scans. Check the workspace selector before uploading data or inviting team members.
Navigating the Dashboard
Watch the video tutorial below, or follow the step-by-step guide.
Preimage Dashboard Tutorial
Step-by-step Guide
1. Top Navigation Bar
At the top of the dashboard, you’ll find the navigation menu with the following tools:
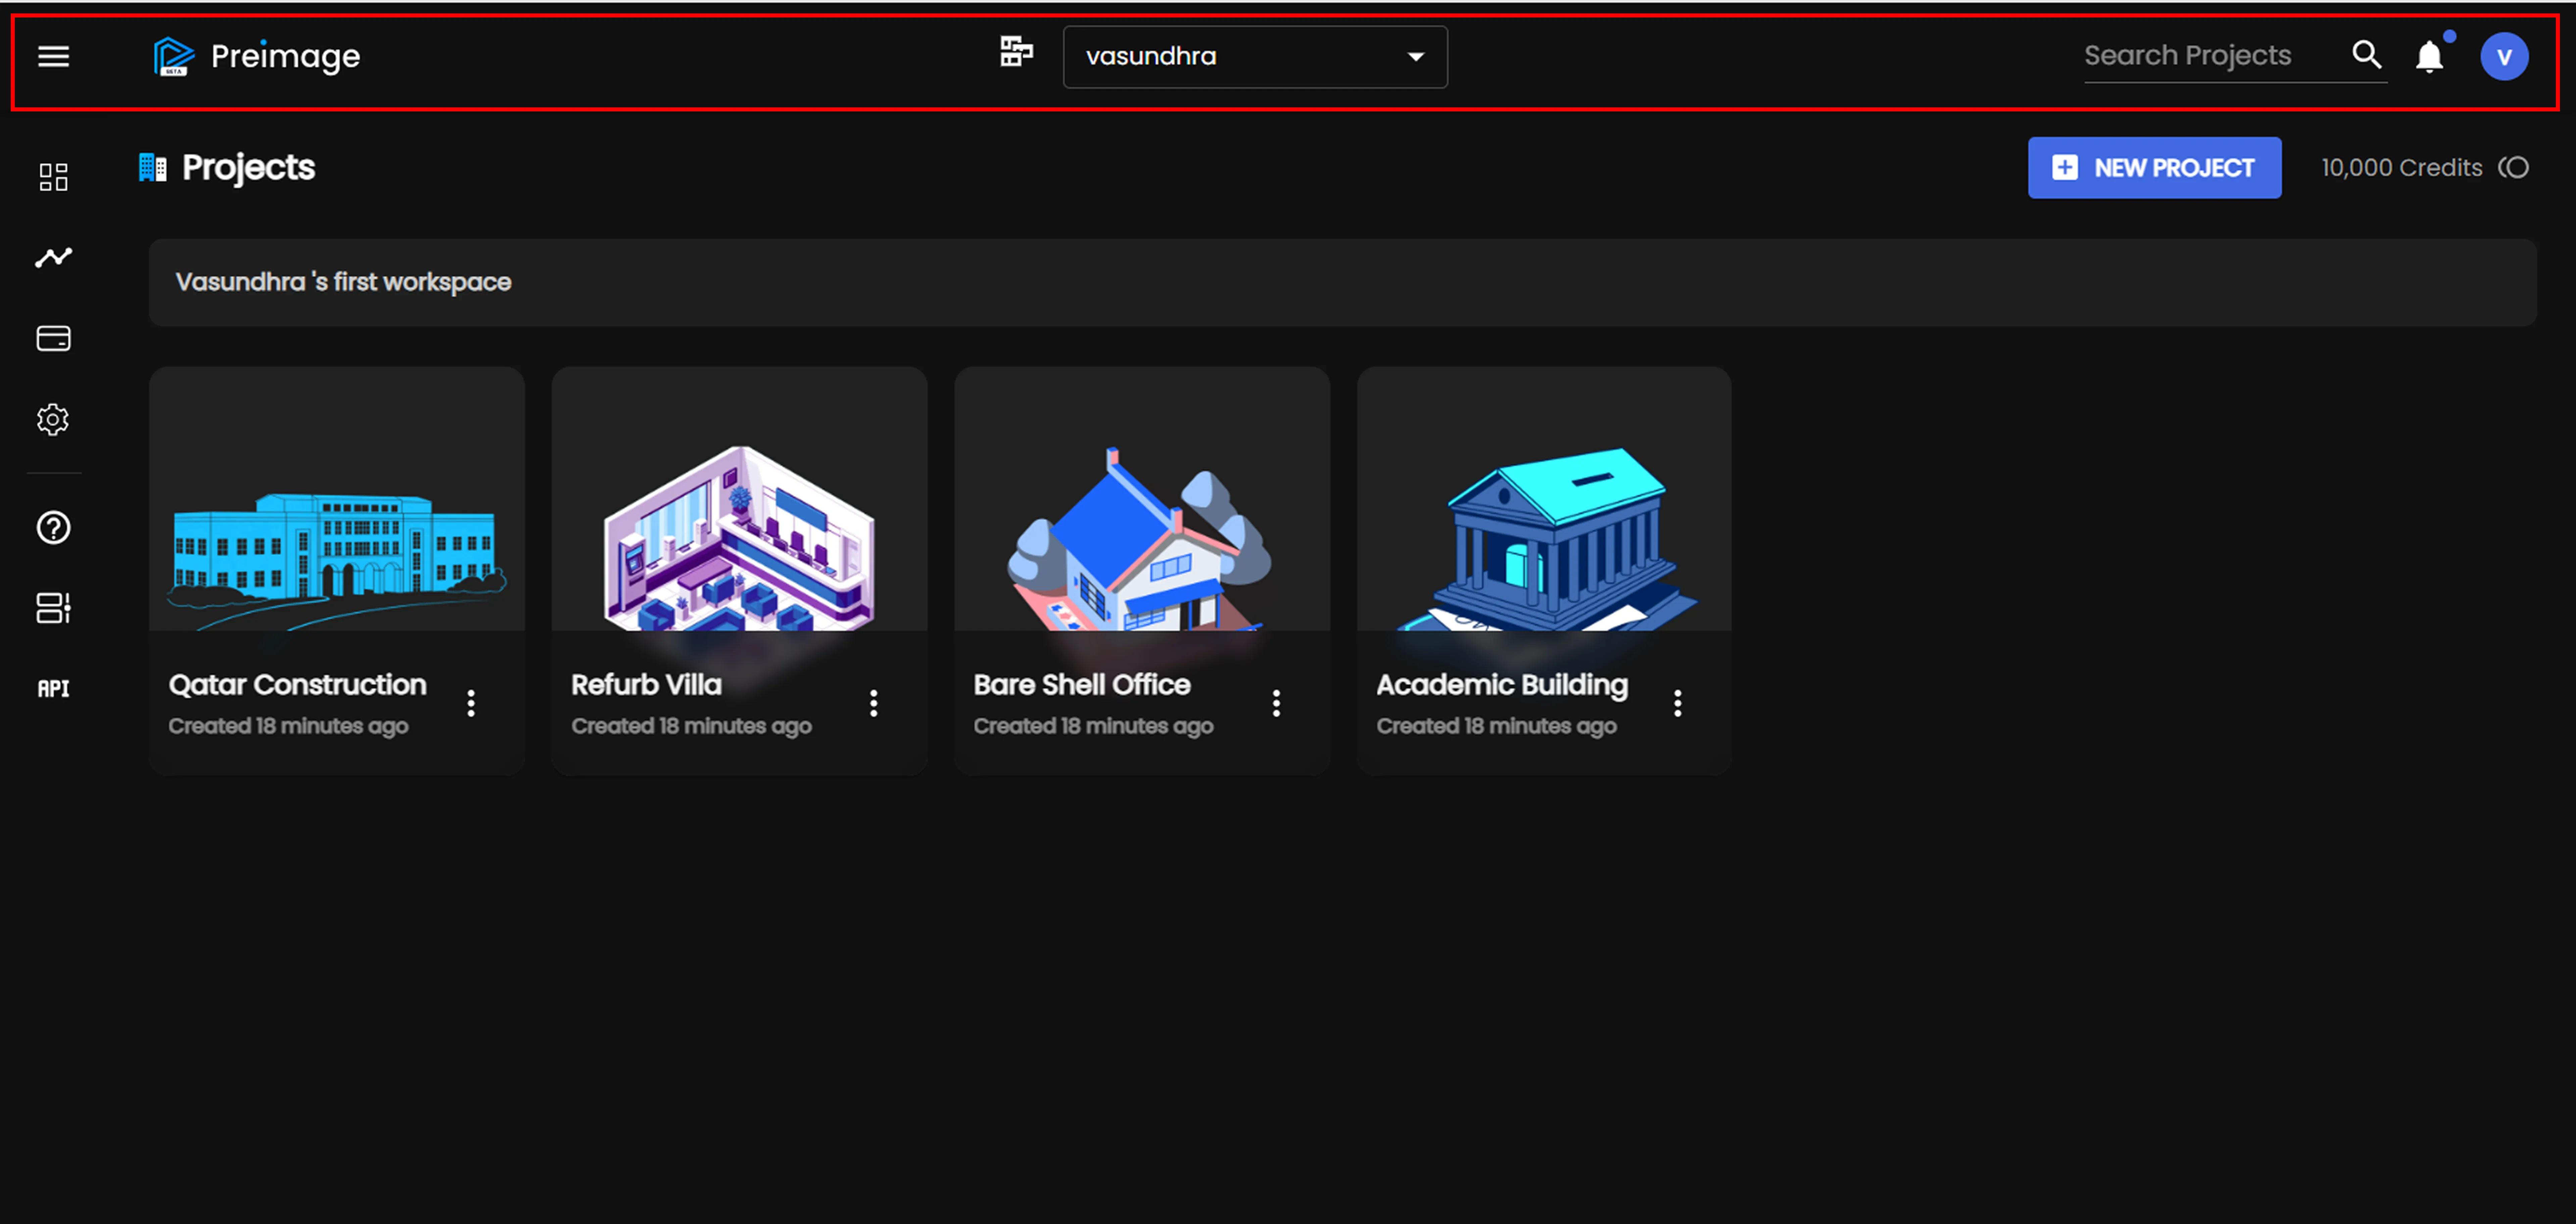
- Workspace Dropdown: Switch between workspaces if you’re part of multiple teams or organizations.
- Search Bar: Quickly find a project by name.
- Notifications: Stay updated on processing status, invites, and collaboration activities.
- Account Icon: Access your profile, support, or log out options here.
2. Left-Side Menu
On the left-hand side, you’ll see:
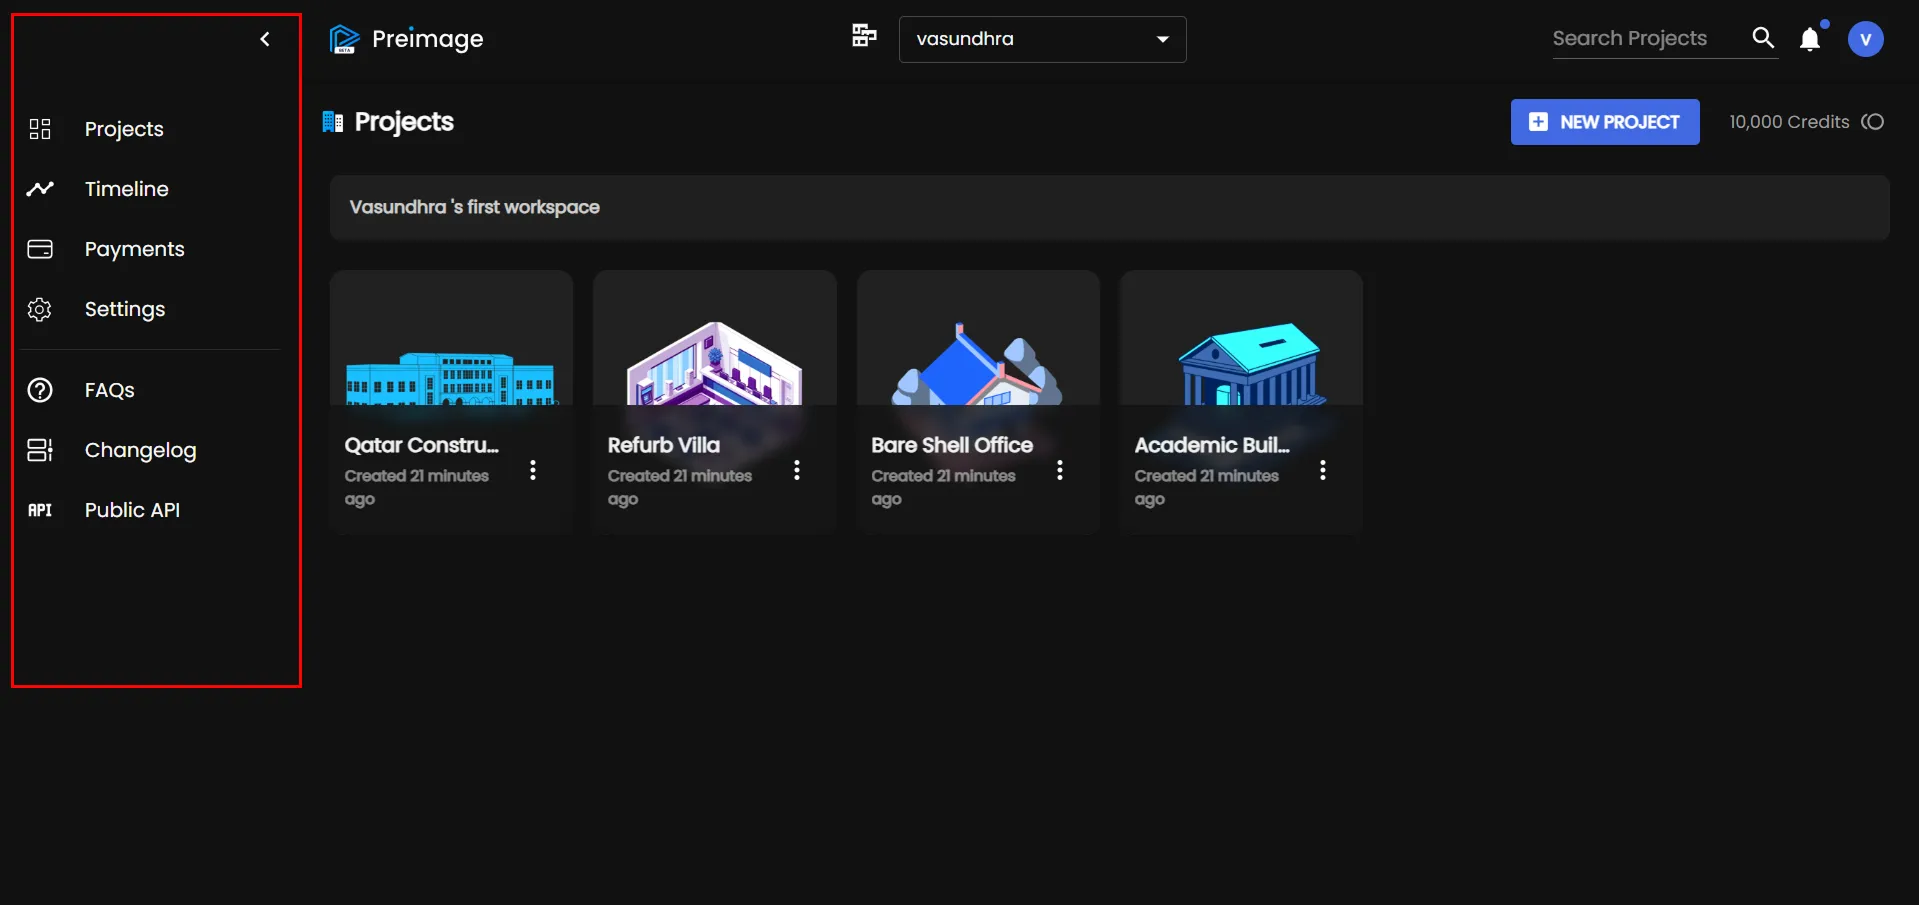
- View Projects: All your active and past projects.
- Timeline: Check when scans were captured and processed.
- Payment: Manage billing and view credit usage.
- Settings: Customize workspace preferences and integrations.
3. Trial Credits
New users receive 10,000 free credits to try the platform. Check the credits and processing options available in your workspace before submitting a scan.
Sample projects may be available in a separate demo workspace; they are not automatically created in every new workspace.
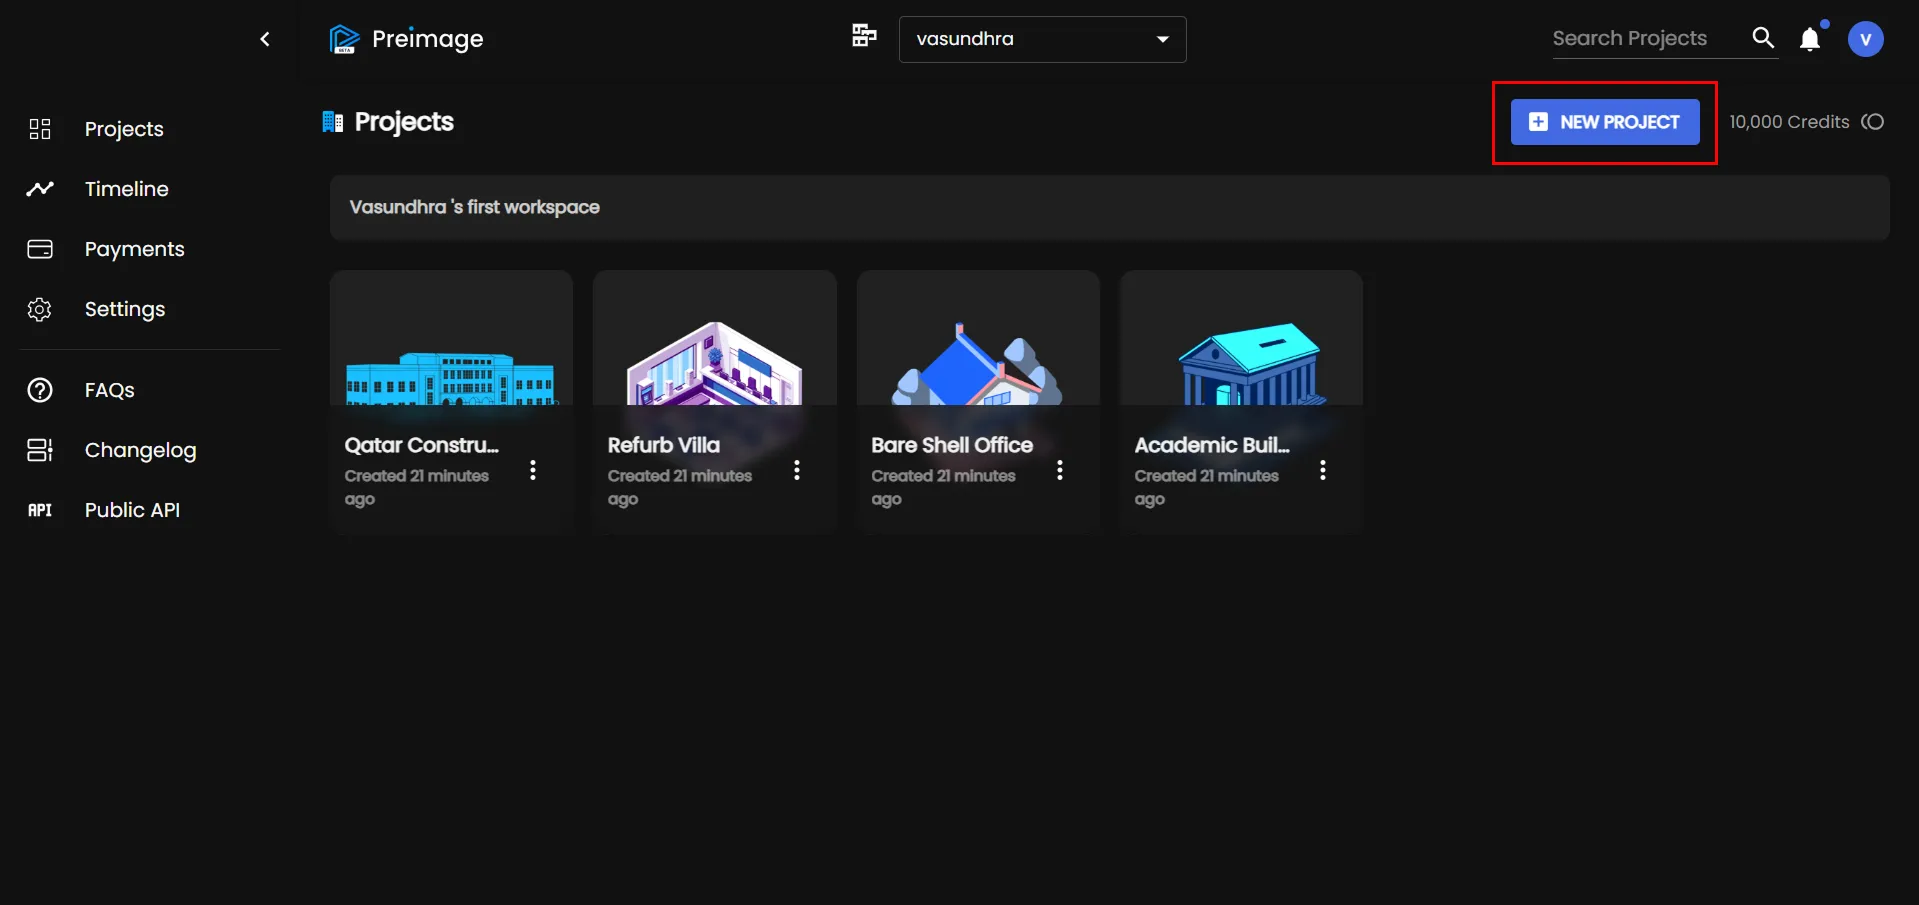
4. Create a New Project
Ready to begin?
Simply click the “New Project” button on your dashboard.