

Managing Team Members and Roles
Invite team members to the intended workspace and choose a role for their work. Use view-only access for users who only need to review scans.
Managing Team Members
Watch the video tutorial below, or follow the step-by-step guide.
Preimage Team Management Tutorial
Step-by-step Guide
1. Inviting Collaborators
-
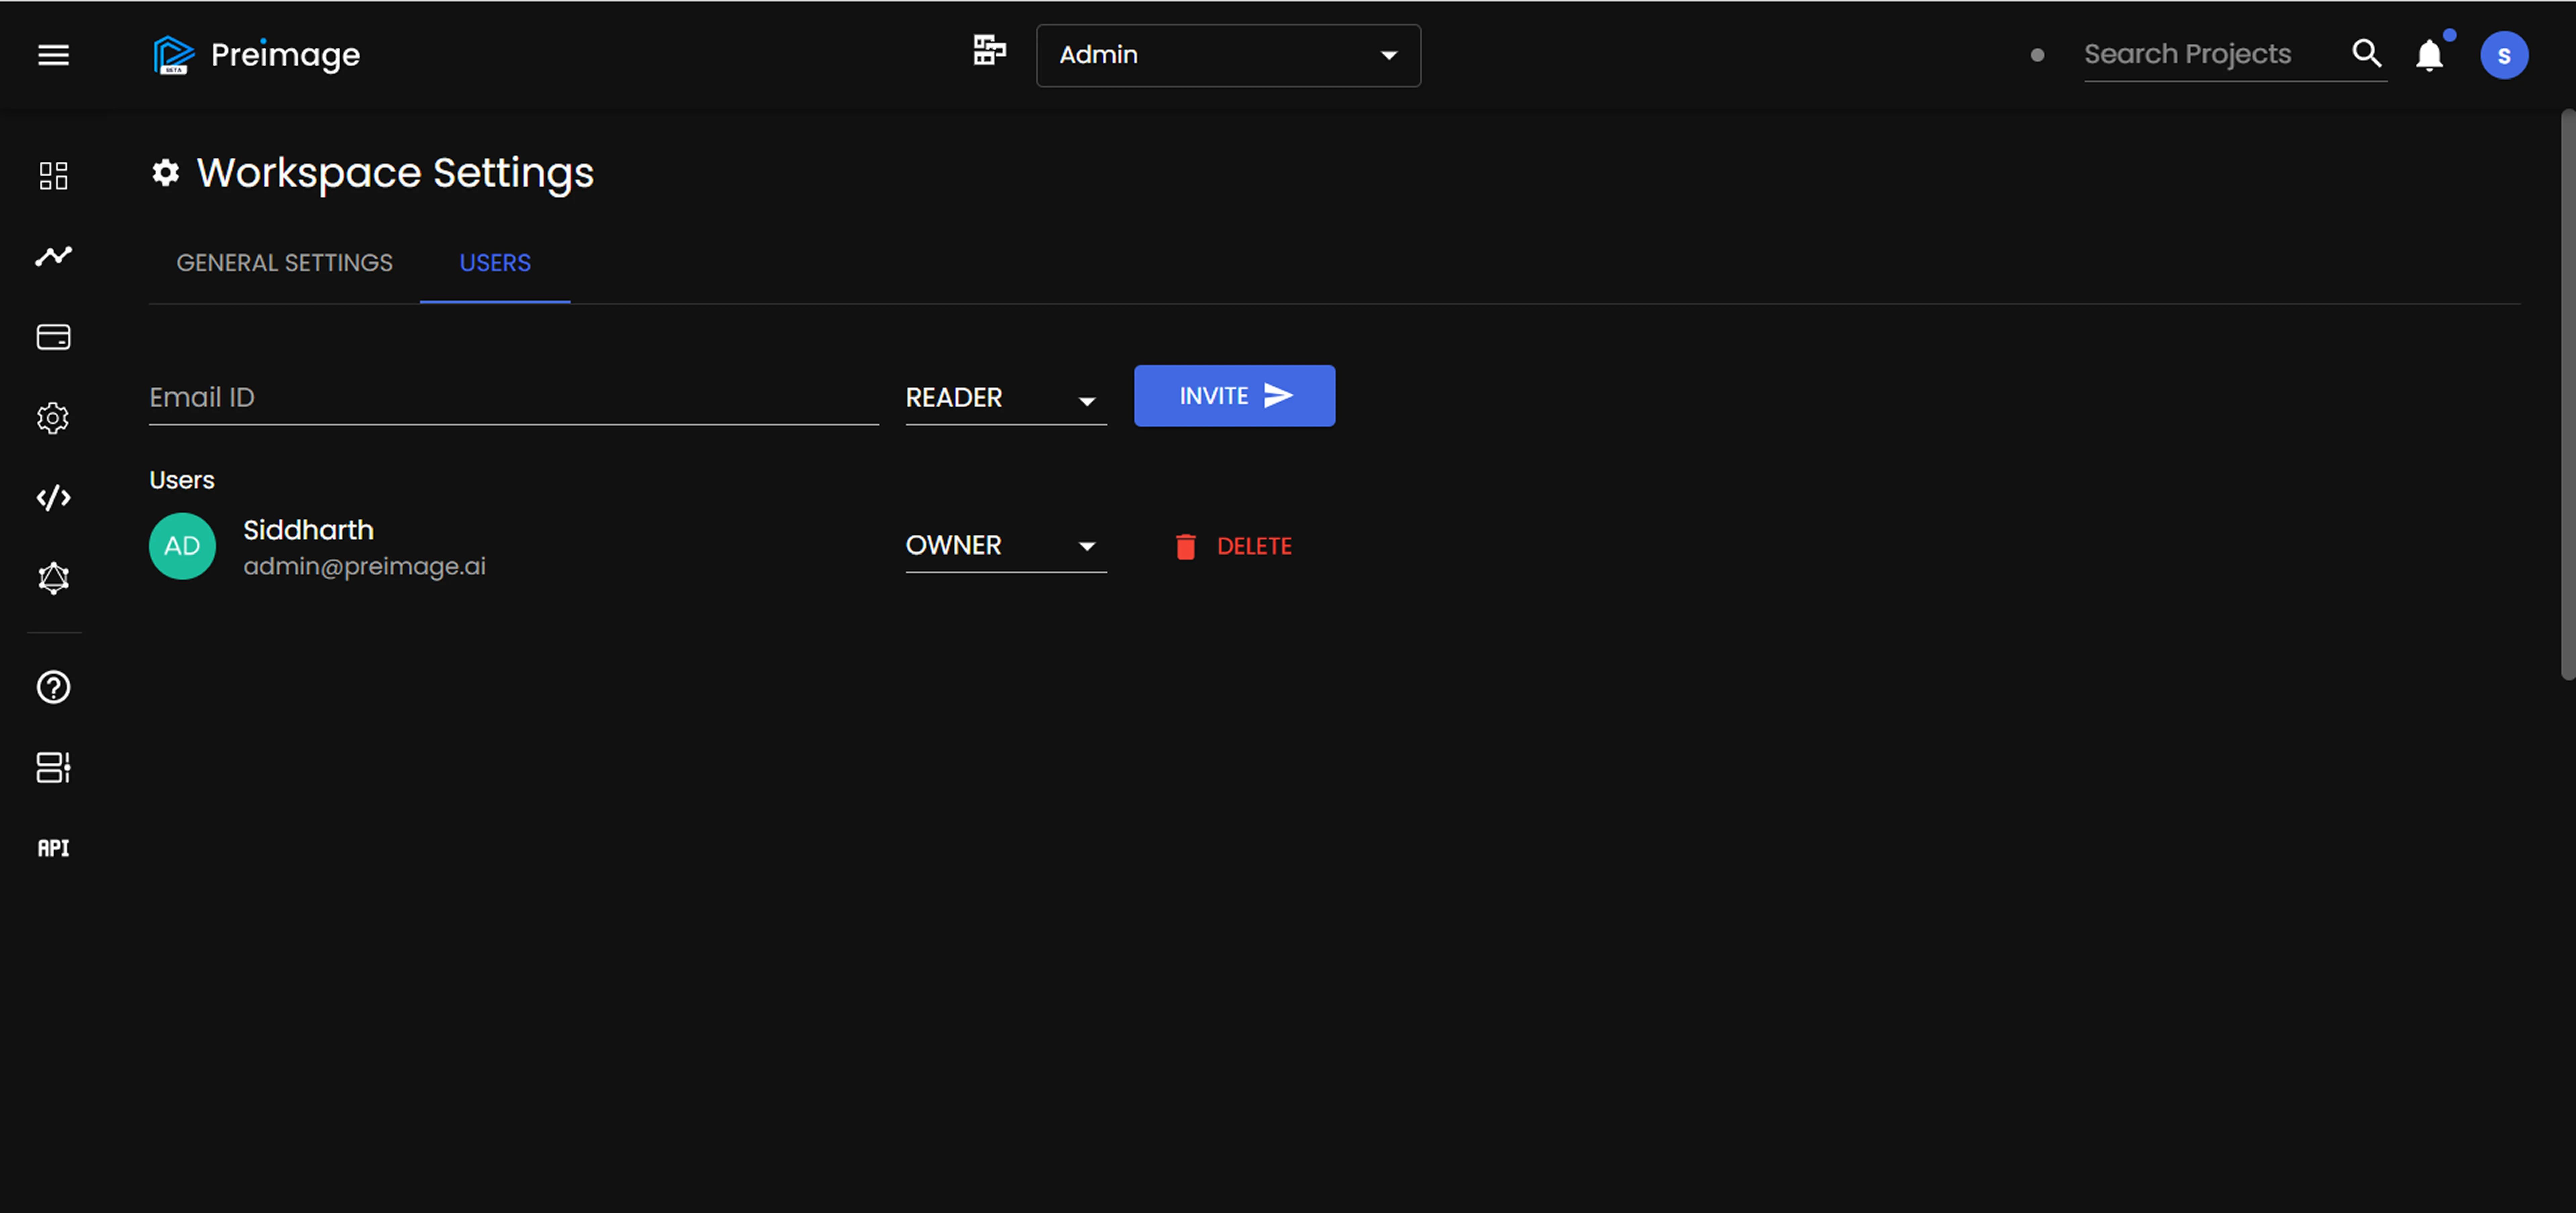
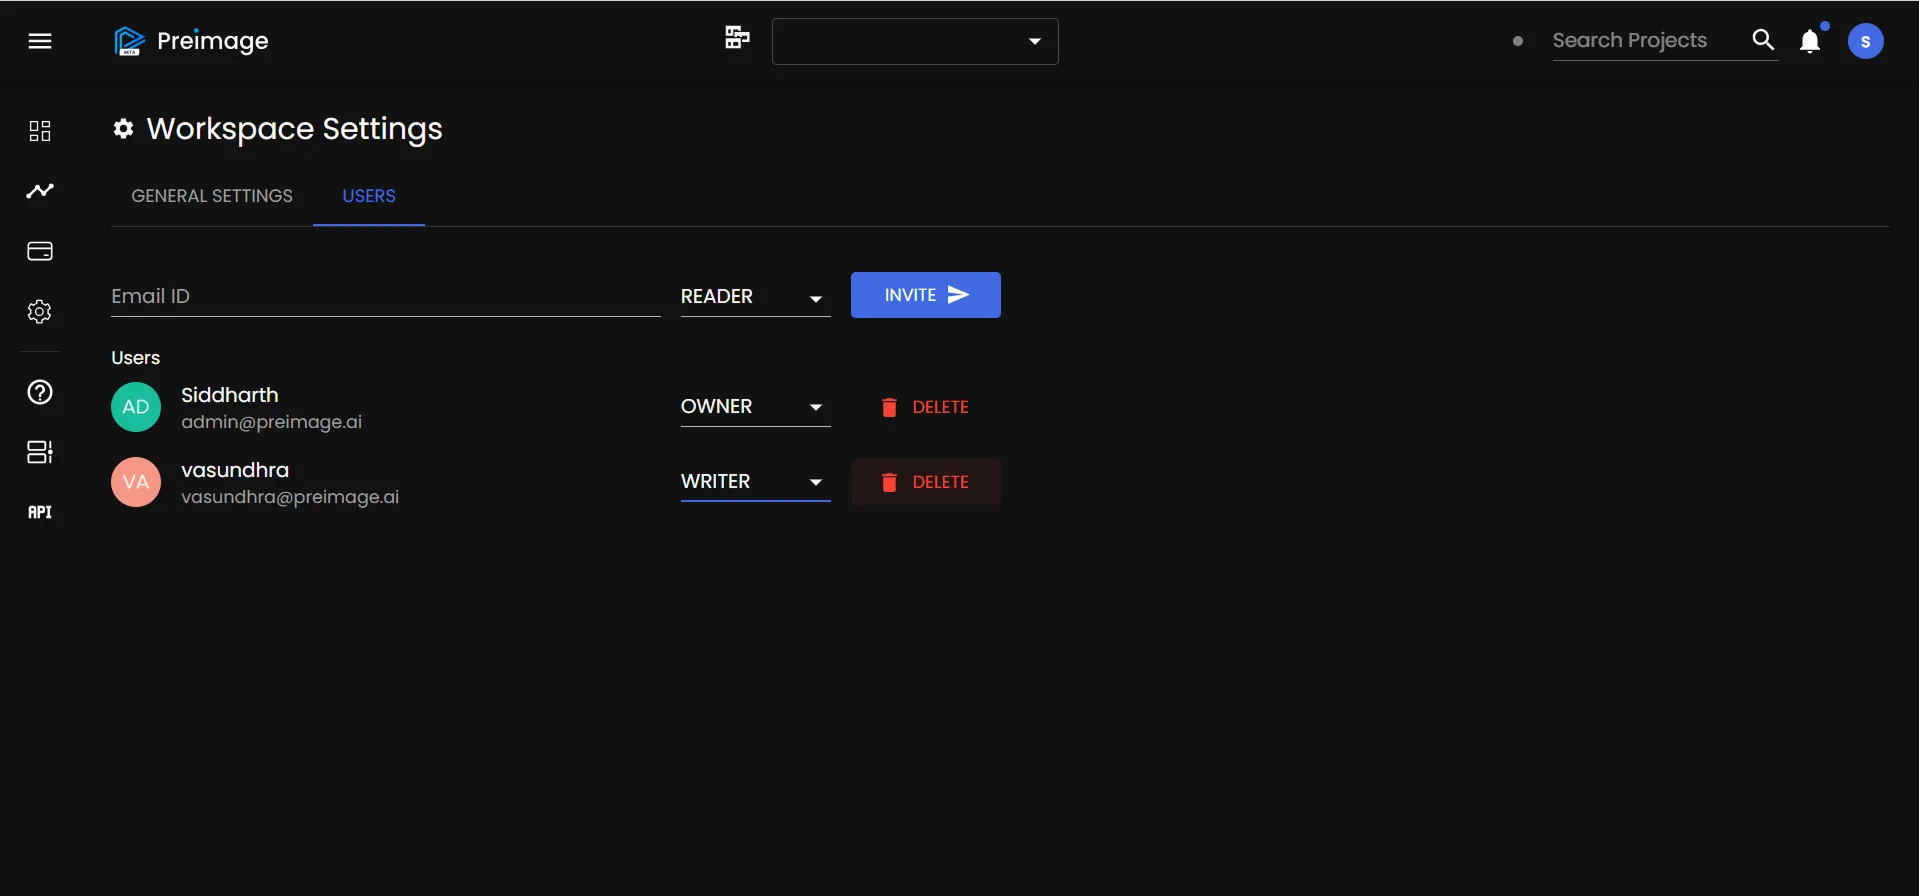
Open Settings and click on Users.
-
Select Invite Members.
-
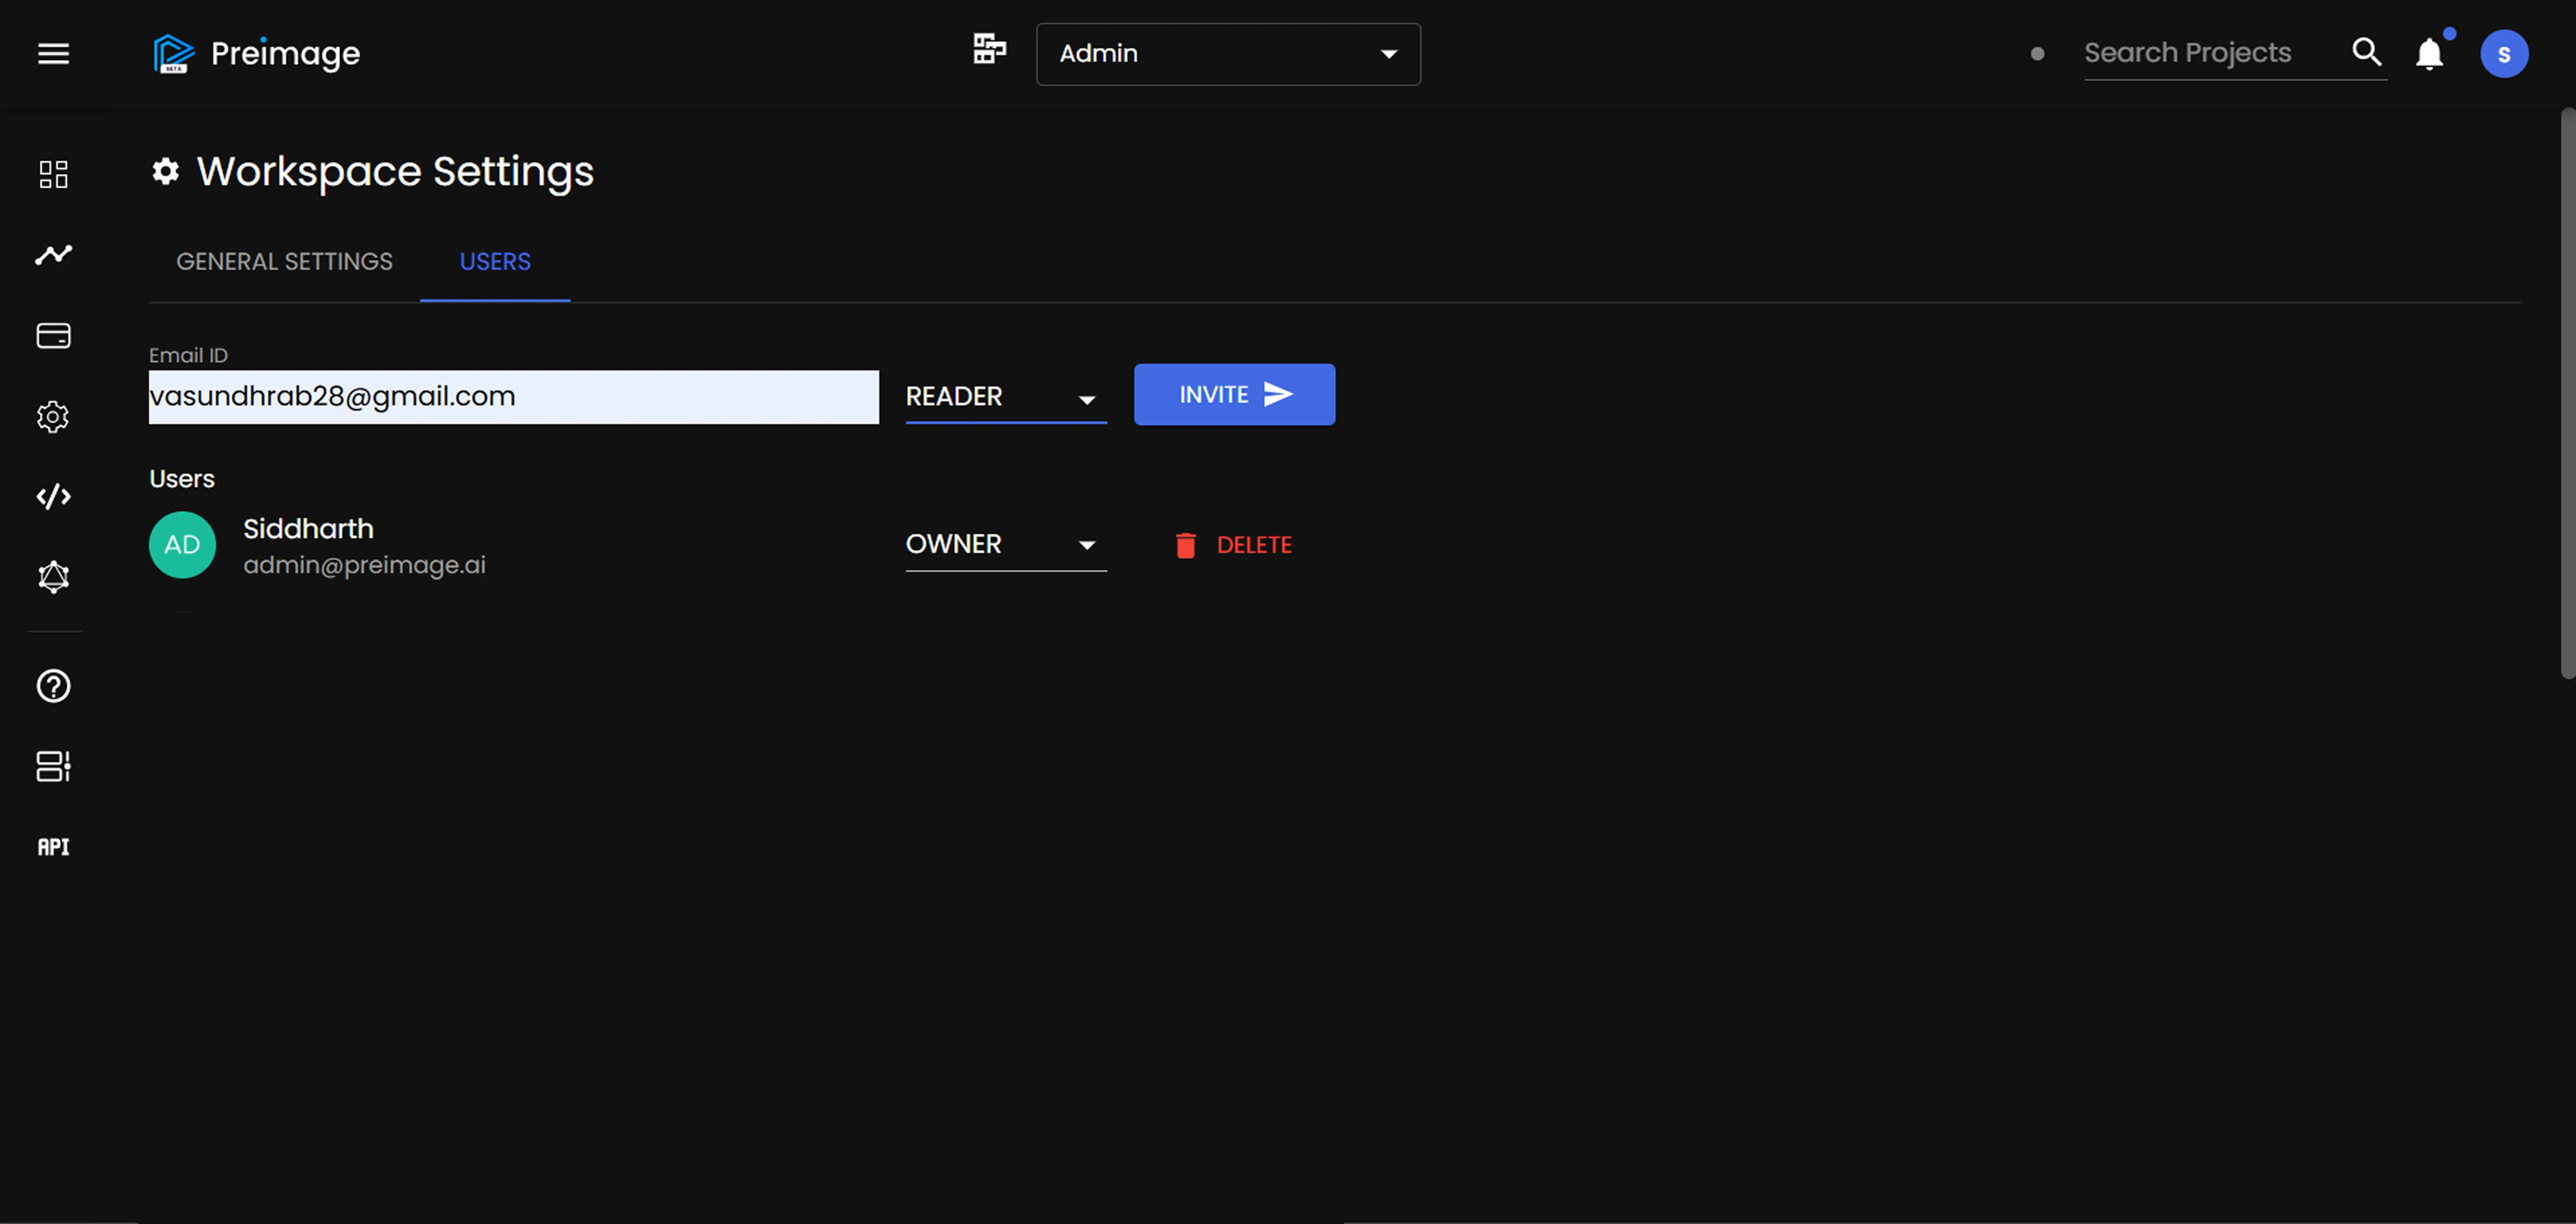
Enter the email address(es) of your collaborators.
-
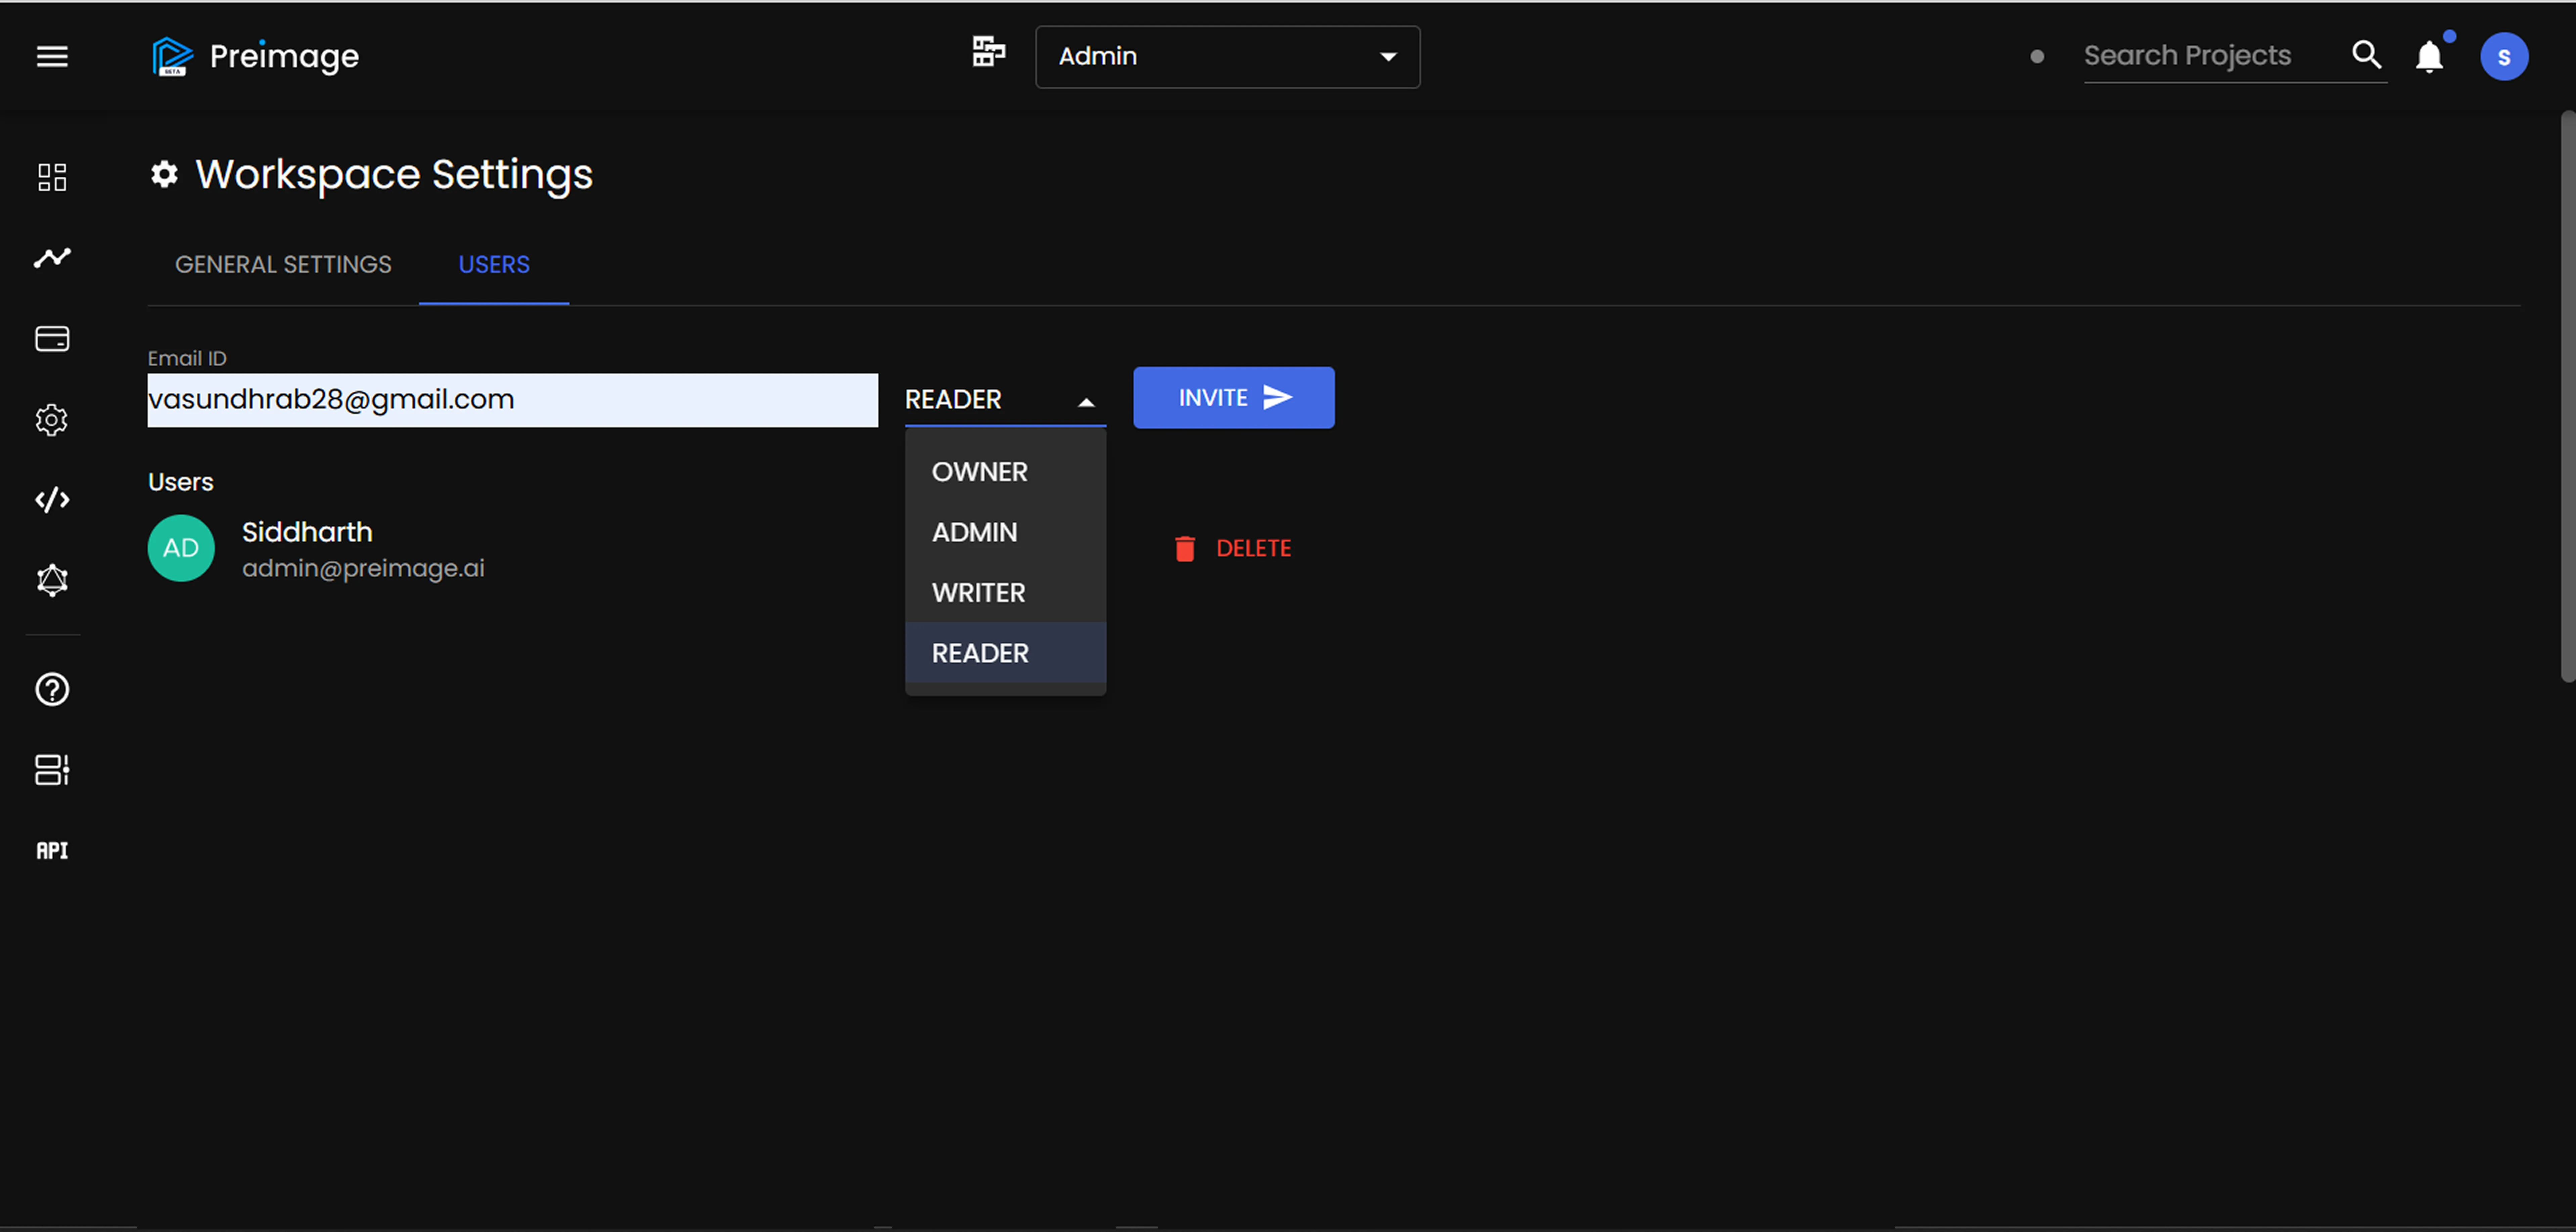
Assign a role from the dropdown menu.
-
Click Send Invite.
2. Roles and Permissions
Here’s what each role can (and cannot) do:
| Role | Permissions |
|---|---|
| Owner | Full control – manage users, billing, credits, floors, scans, and projects. |
| Admin | Can manage team members (except owner), create floors, and manage credits. |
| Writer | Can create new projects, upload scans, and edit project-level information. |
| Reader | View-only access to scans, virtual tours, and project data. |
3. Changing Roles or Removing Members
-
Go to the workspace Settings panel.
-
Click on the Users tab.
-
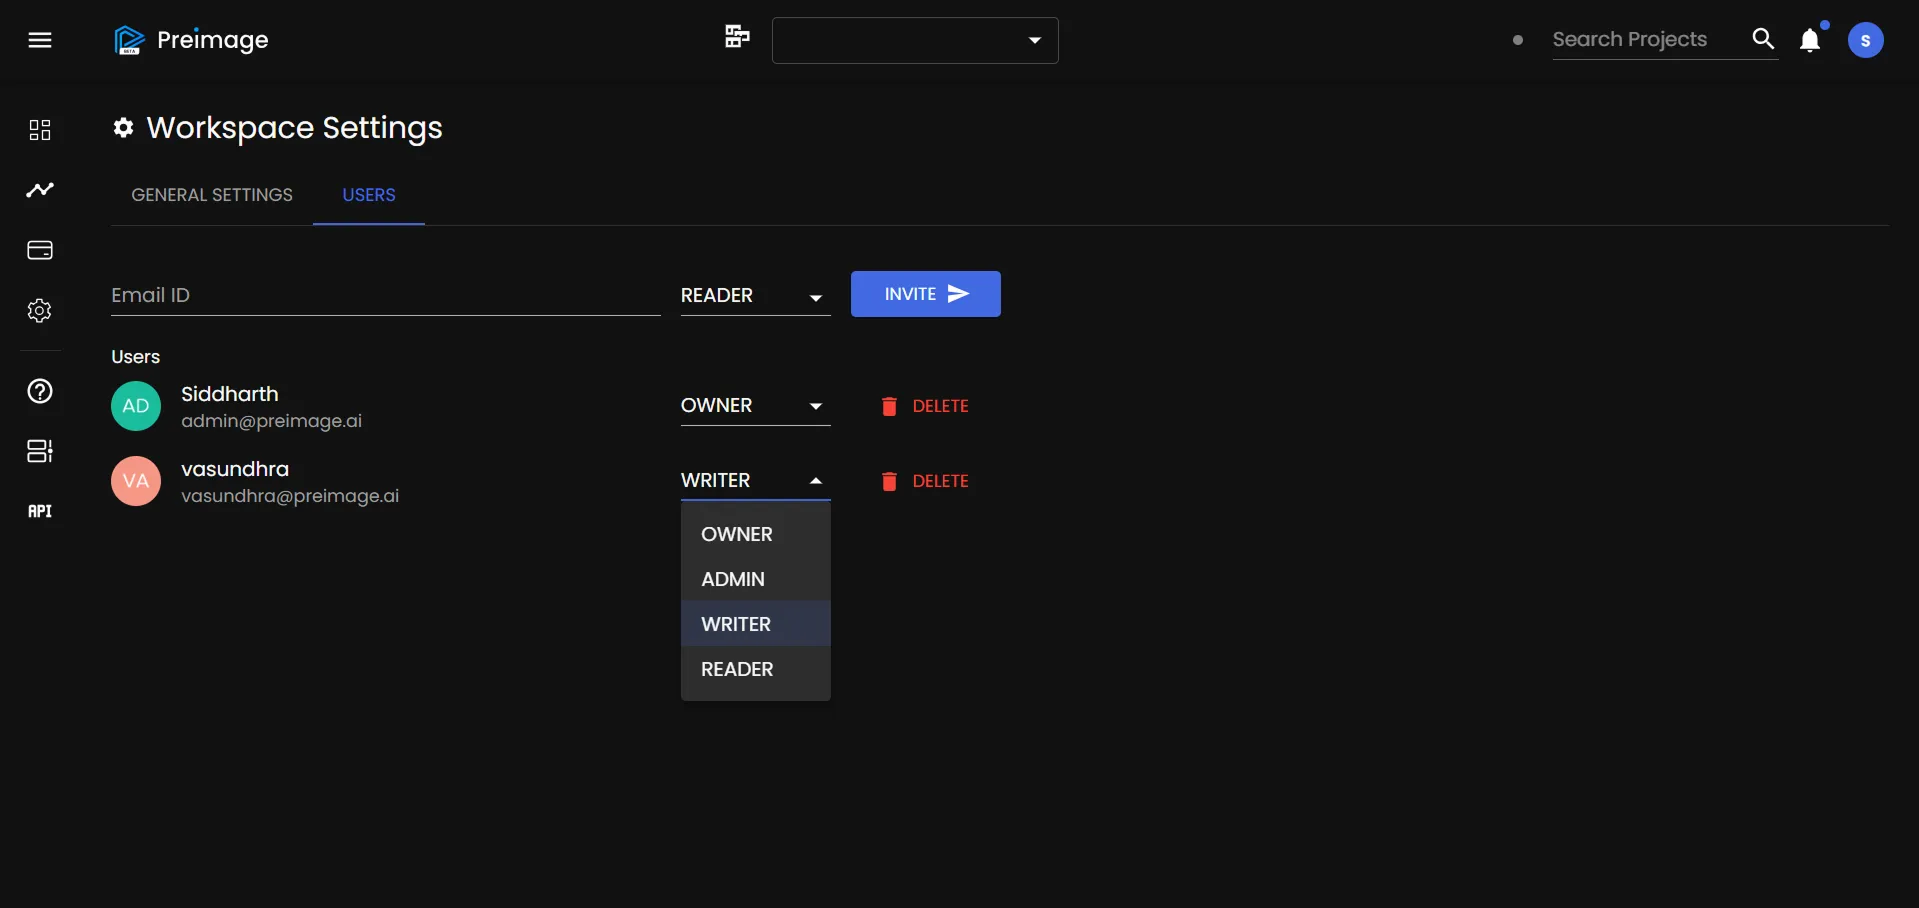
Locate the member whose role you want to change.
-
Choose Delete Member to remove them.
-
Confirm your action in the prompt that appears.