

Using Compare Mode
The Views feature allows you to open multiple views of your site side by side. You can display different outputs, view scans from different dates, and navigate across them together.
Opening Views
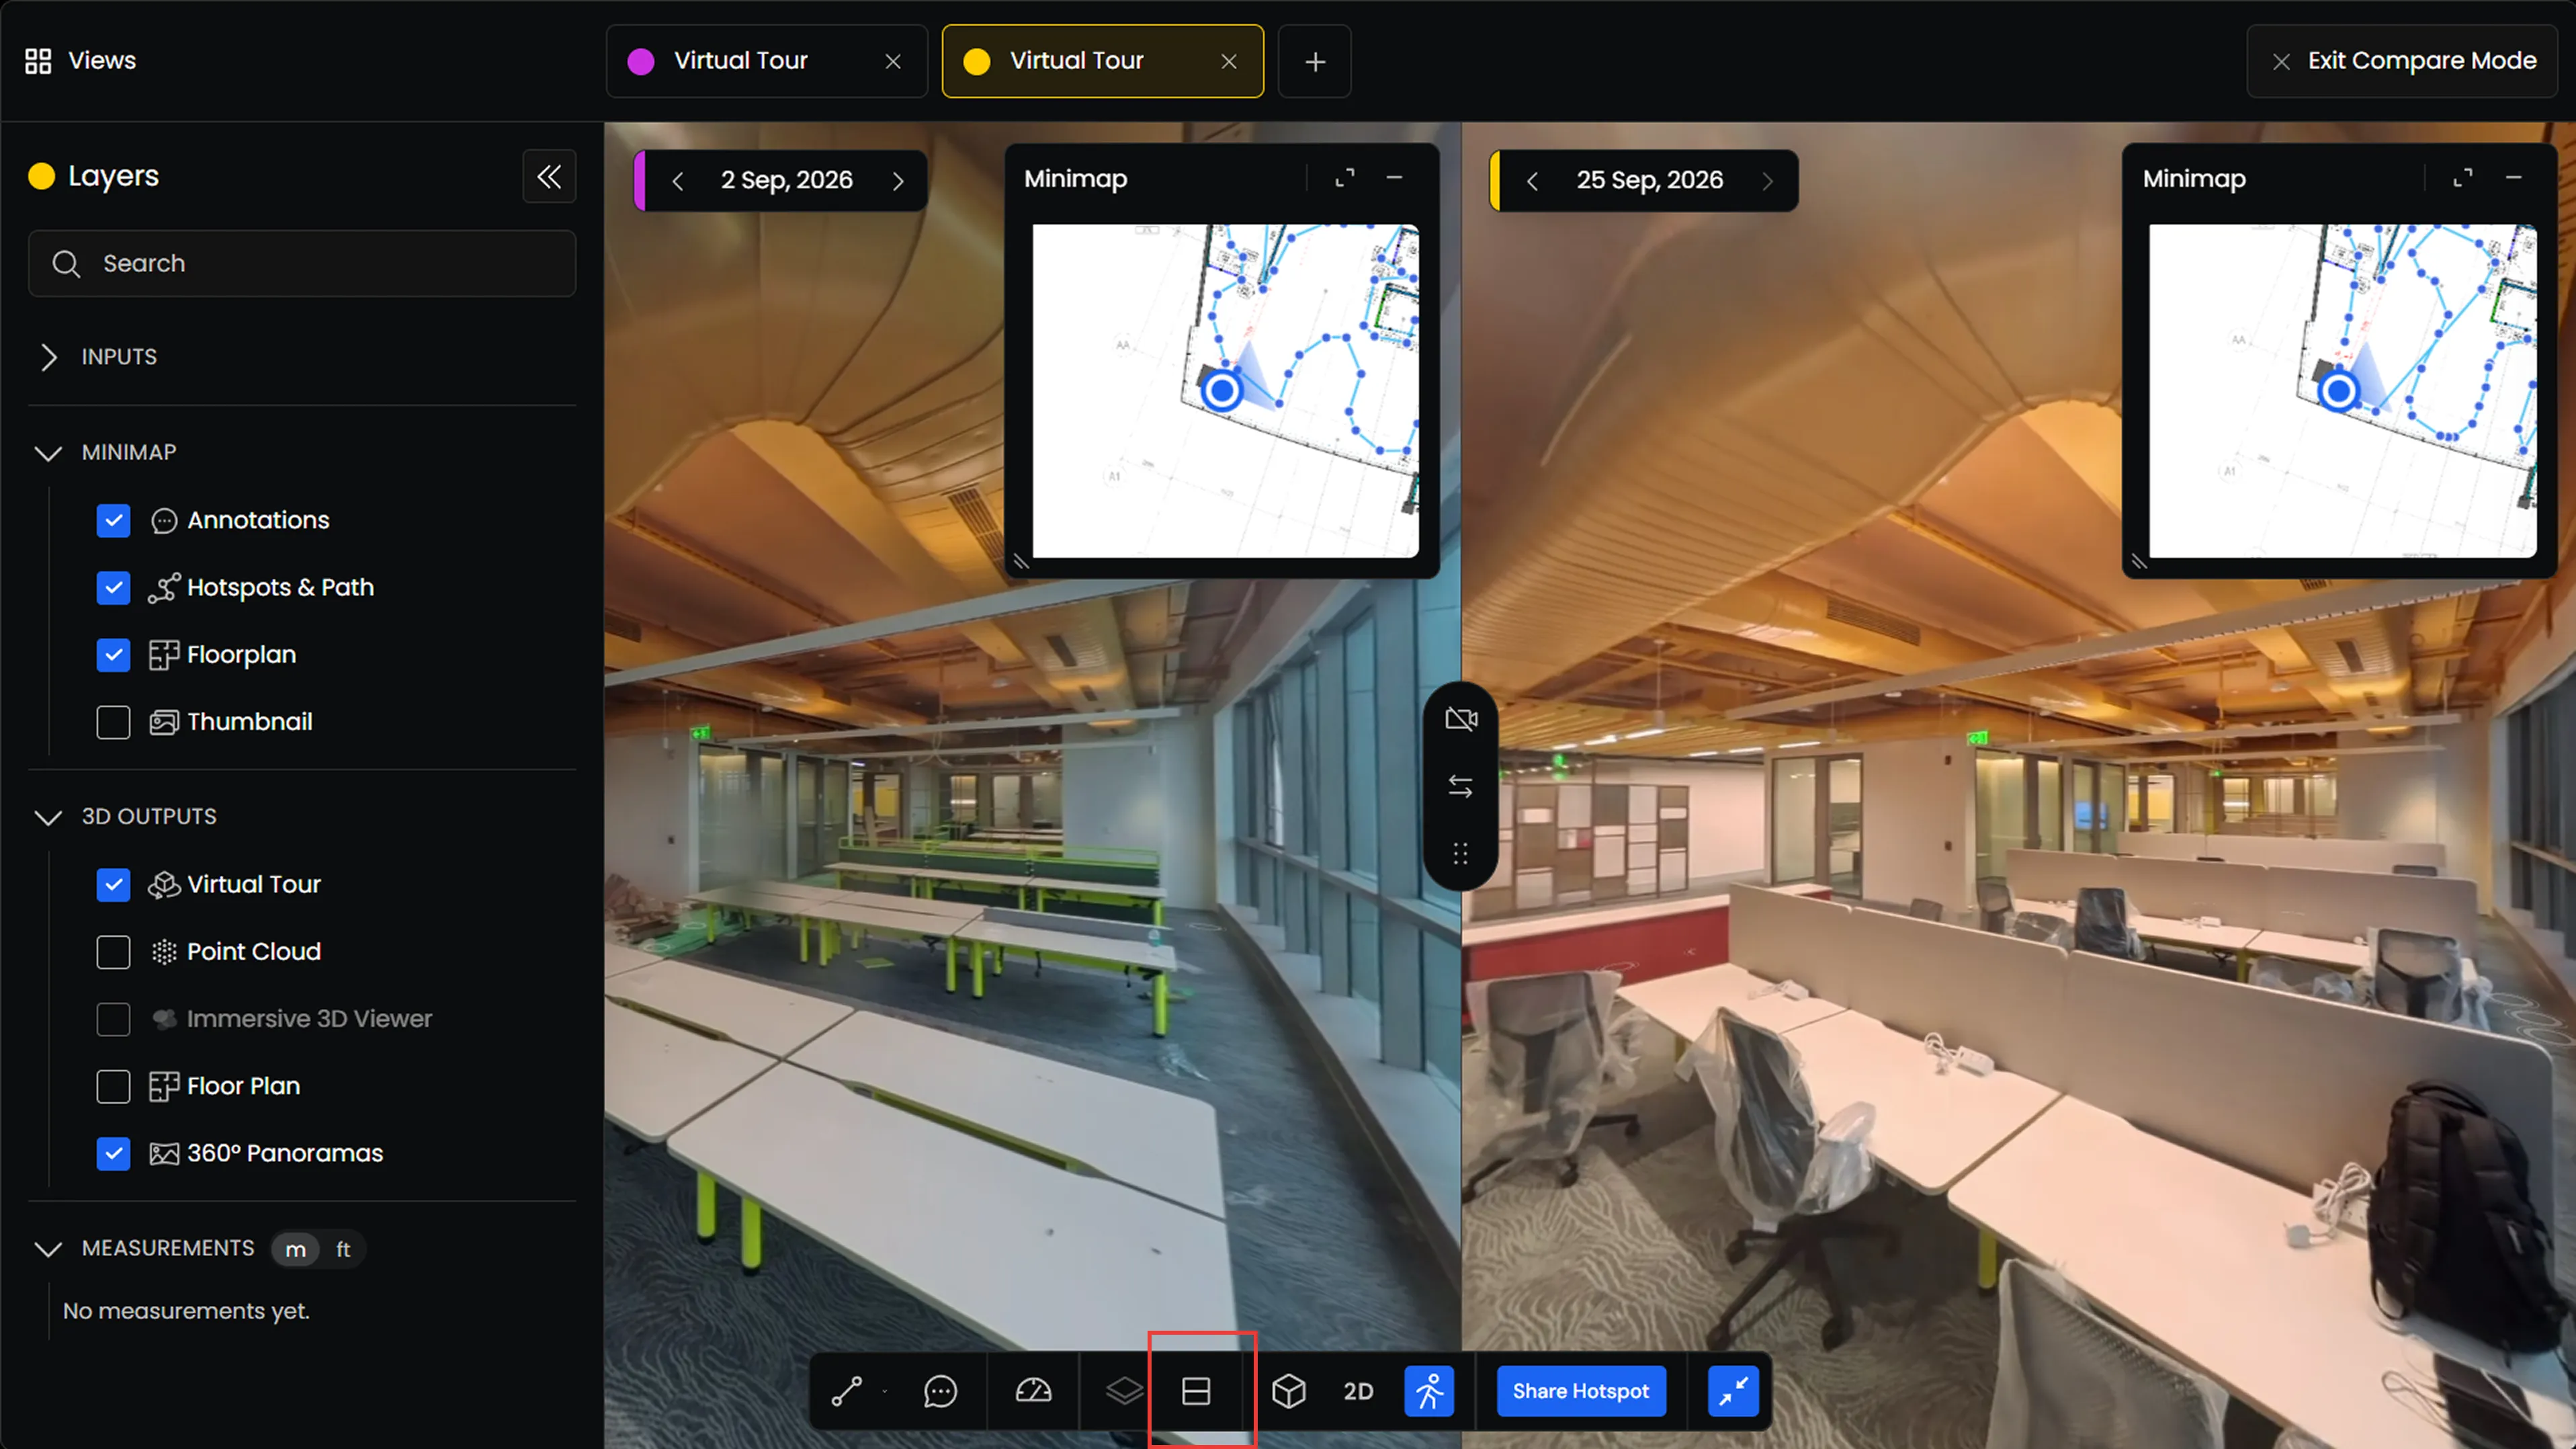
Click the Views icon in the toolbar to enter Compare Mode.
You can open up to four views on desktop or two on phone/tablet layouts. Each view can display an available output or a scan from a different date. Check that scans are aligned before interpreting a difference.
Adding and Removing Views
- Add a view: Click the + icon in the top bar to add another view.
- Remove a view: Click the × icon on the view you want to close.
- Exit Compare Mode: Click Exit Compare Mode to return to the regular Viewer.
Selecting and Managing Views
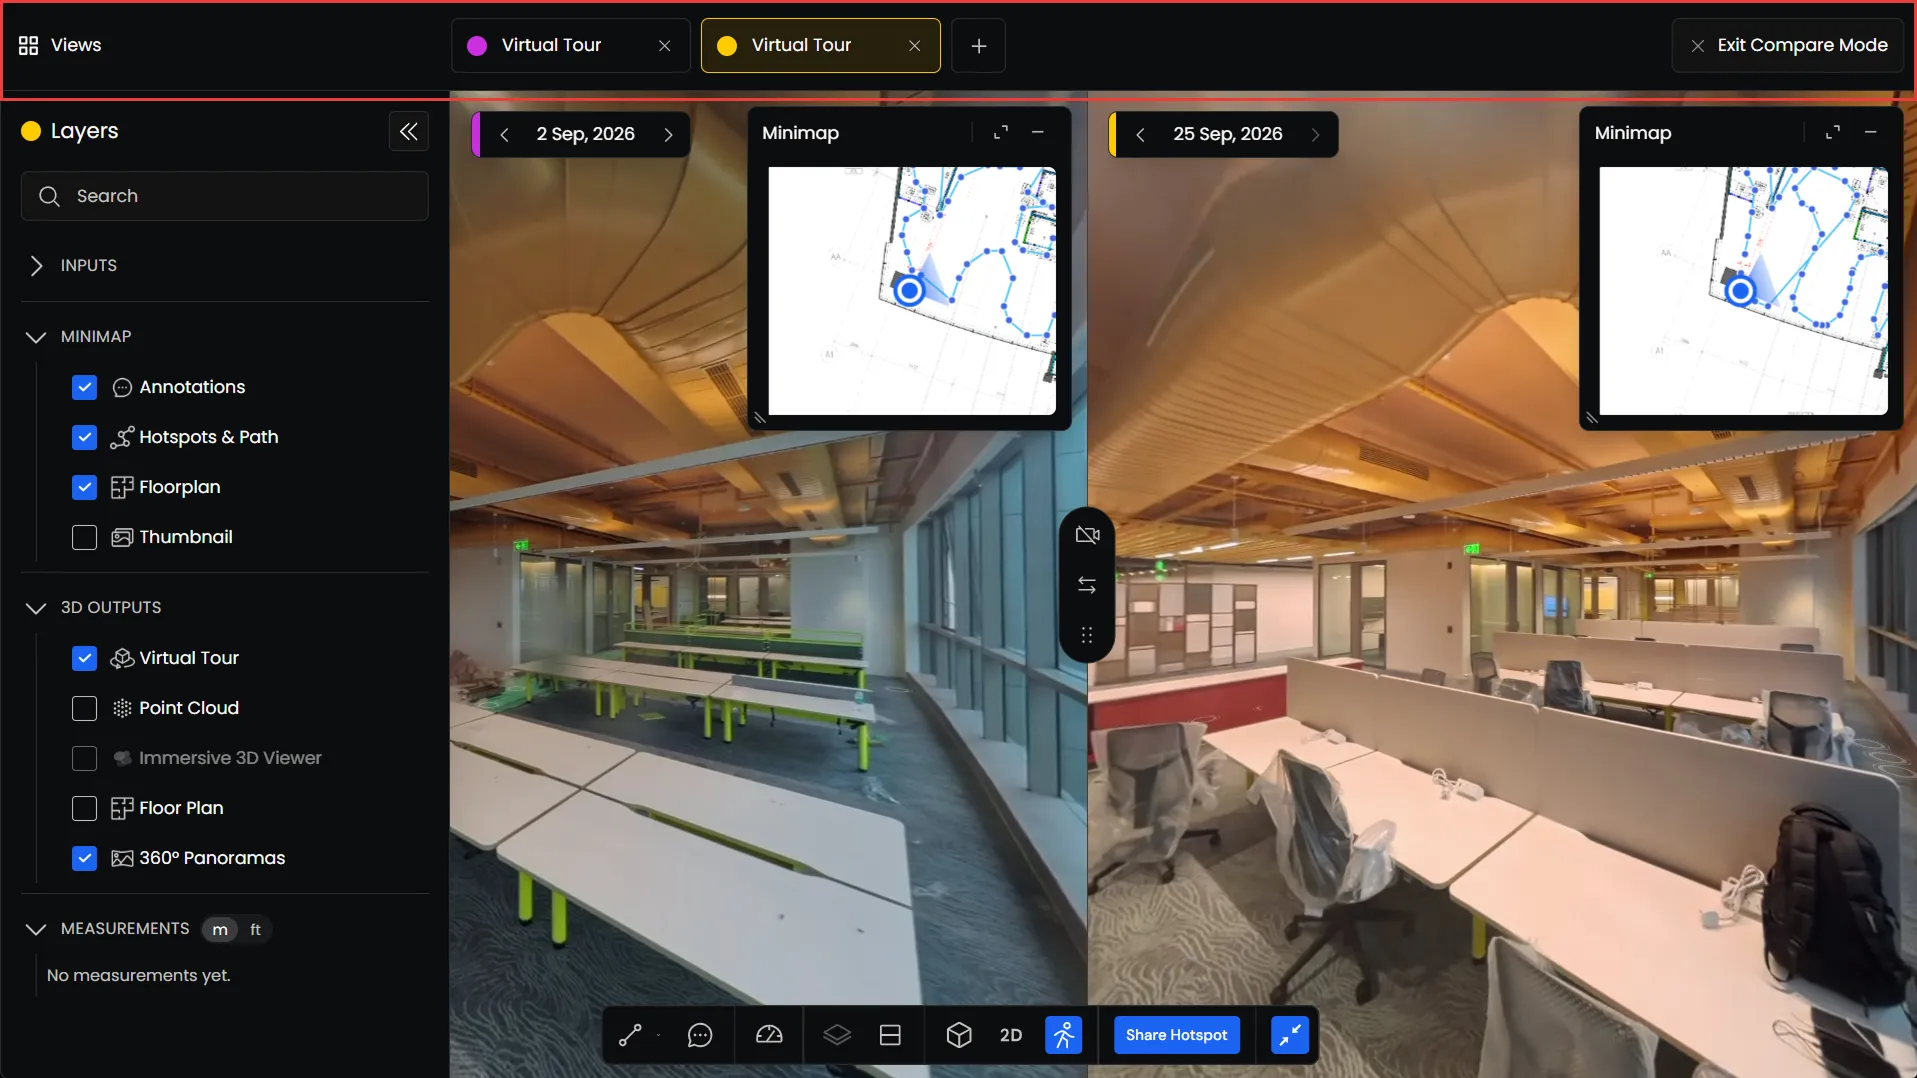
Each view is assigned a different color, making it easier to identify which view you’re working with.
To change the output displayed in a view:
- Select the view you want to modify from the top bar.
- The selected view is highlighted with its assigned color.
- Open the Layers panel and select the output you want to display.
The color indicator in the Layers panel matches the selected view, helping you identify which output is displayed in each view.
Viewing Scans from Different Dates
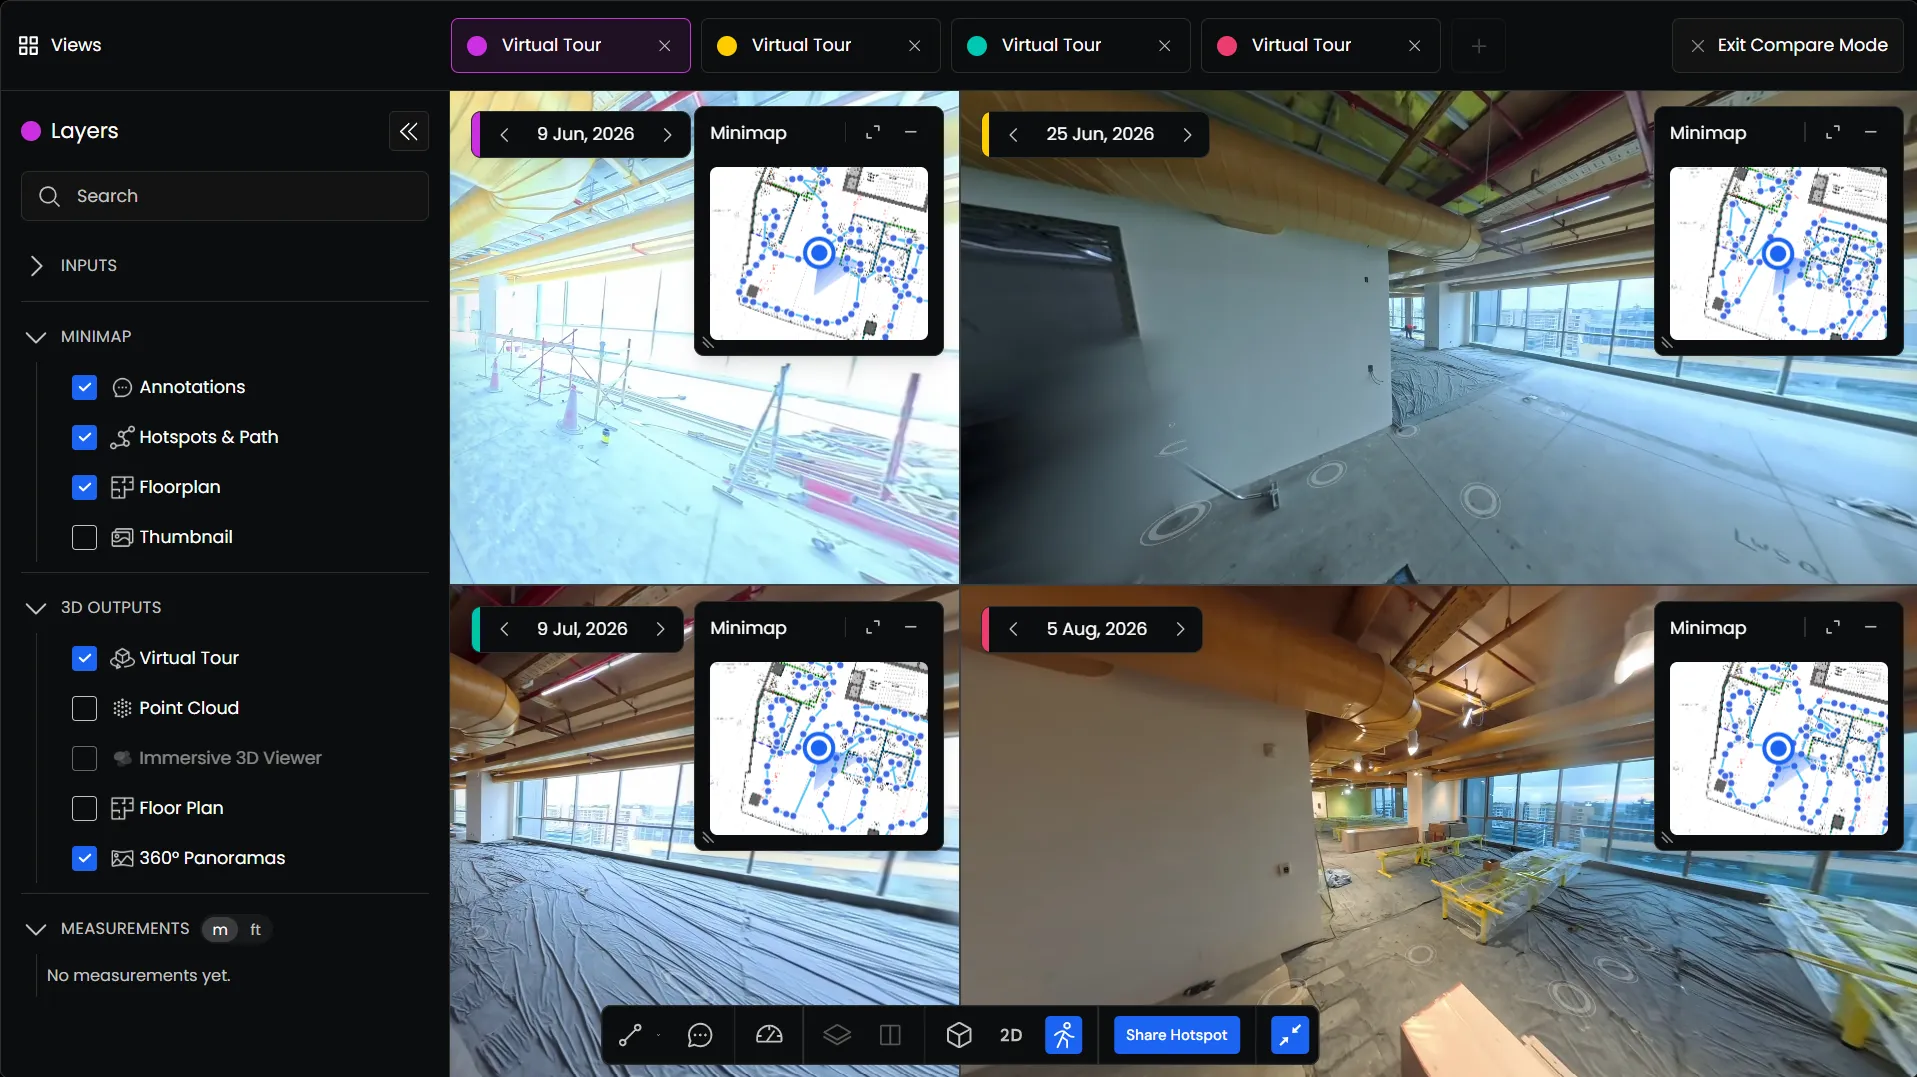
You can also use Views to see scans captured on different dates.
Each view has its own Date Selector, allowing you to choose which scan is displayed.
Synchronized Navigation
Navigation is synchronized across open views.
As you move, rotate, or zoom in one view, the other views follow the corresponding location.
This allows you to inspect the same area across different outputs or scan dates without navigating each view separately.
Using Tools with Multiple Views
You can continue using tools, including Measurements, while working with multiple views.
Select the view you want to work with and choose the required tool from the toolbar.
This allows you to take measurements while keeping other views open for reference.