Taking Measurements
The Preimage Viewer allows you to take measurements directly from your 3D model. You can measure distances, areas, and angles, view height profiles, add reference measurements, and use cross-sections to inspect specific parts of your Point Cloud.
Taking Measurements
Click the Measurement icon in the bottom toolbar to access the available measurement tools.
- Line: Measure the distance between two points.
- Area (closed): Measure the area within a selected boundary.
- Angle: Measure the angle between selected points.
- Height Profile: View height and elevation information along a selected section.
- Reference: Add a known measurement as a reference for your scan.
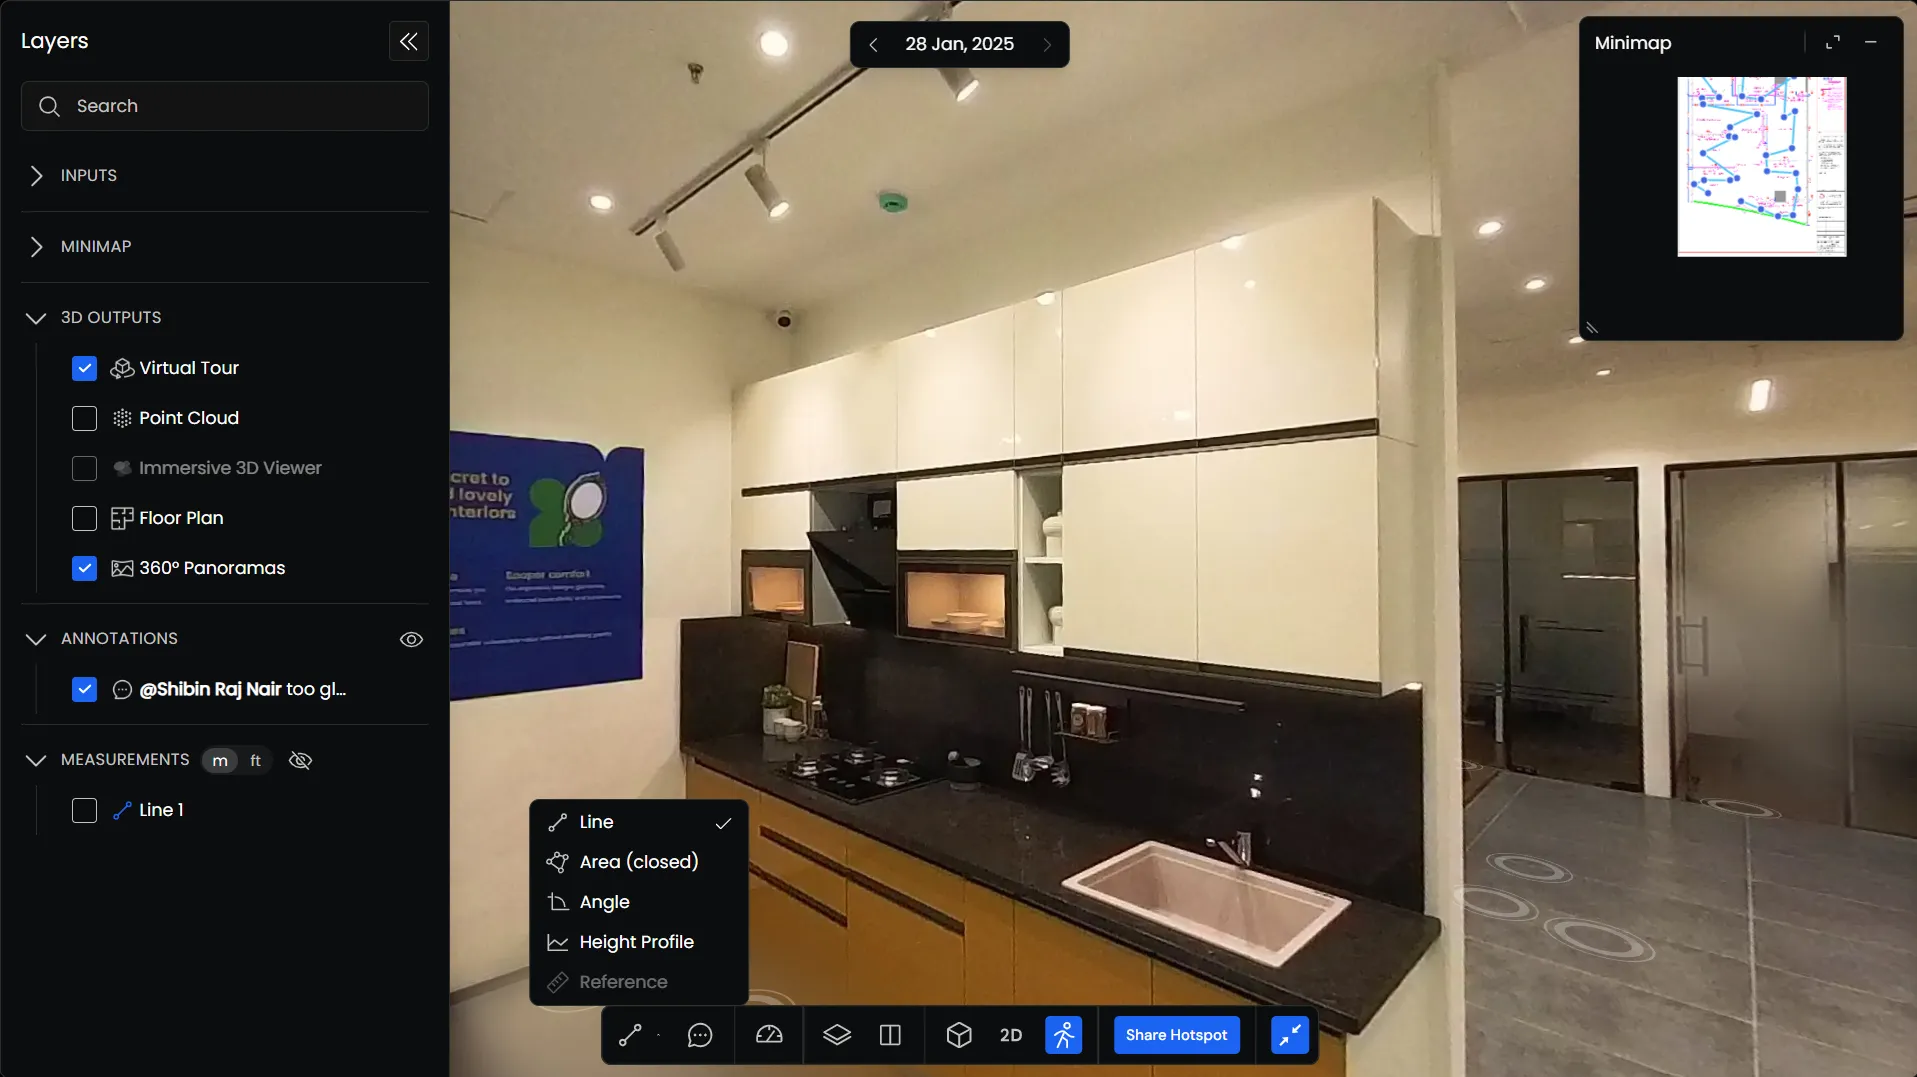
Select a tool and click on the model to mark the points you want to measure.
Once you’ve placed the required points, right-click to complete the measurement. The measurement details will appear in the Info Panel.
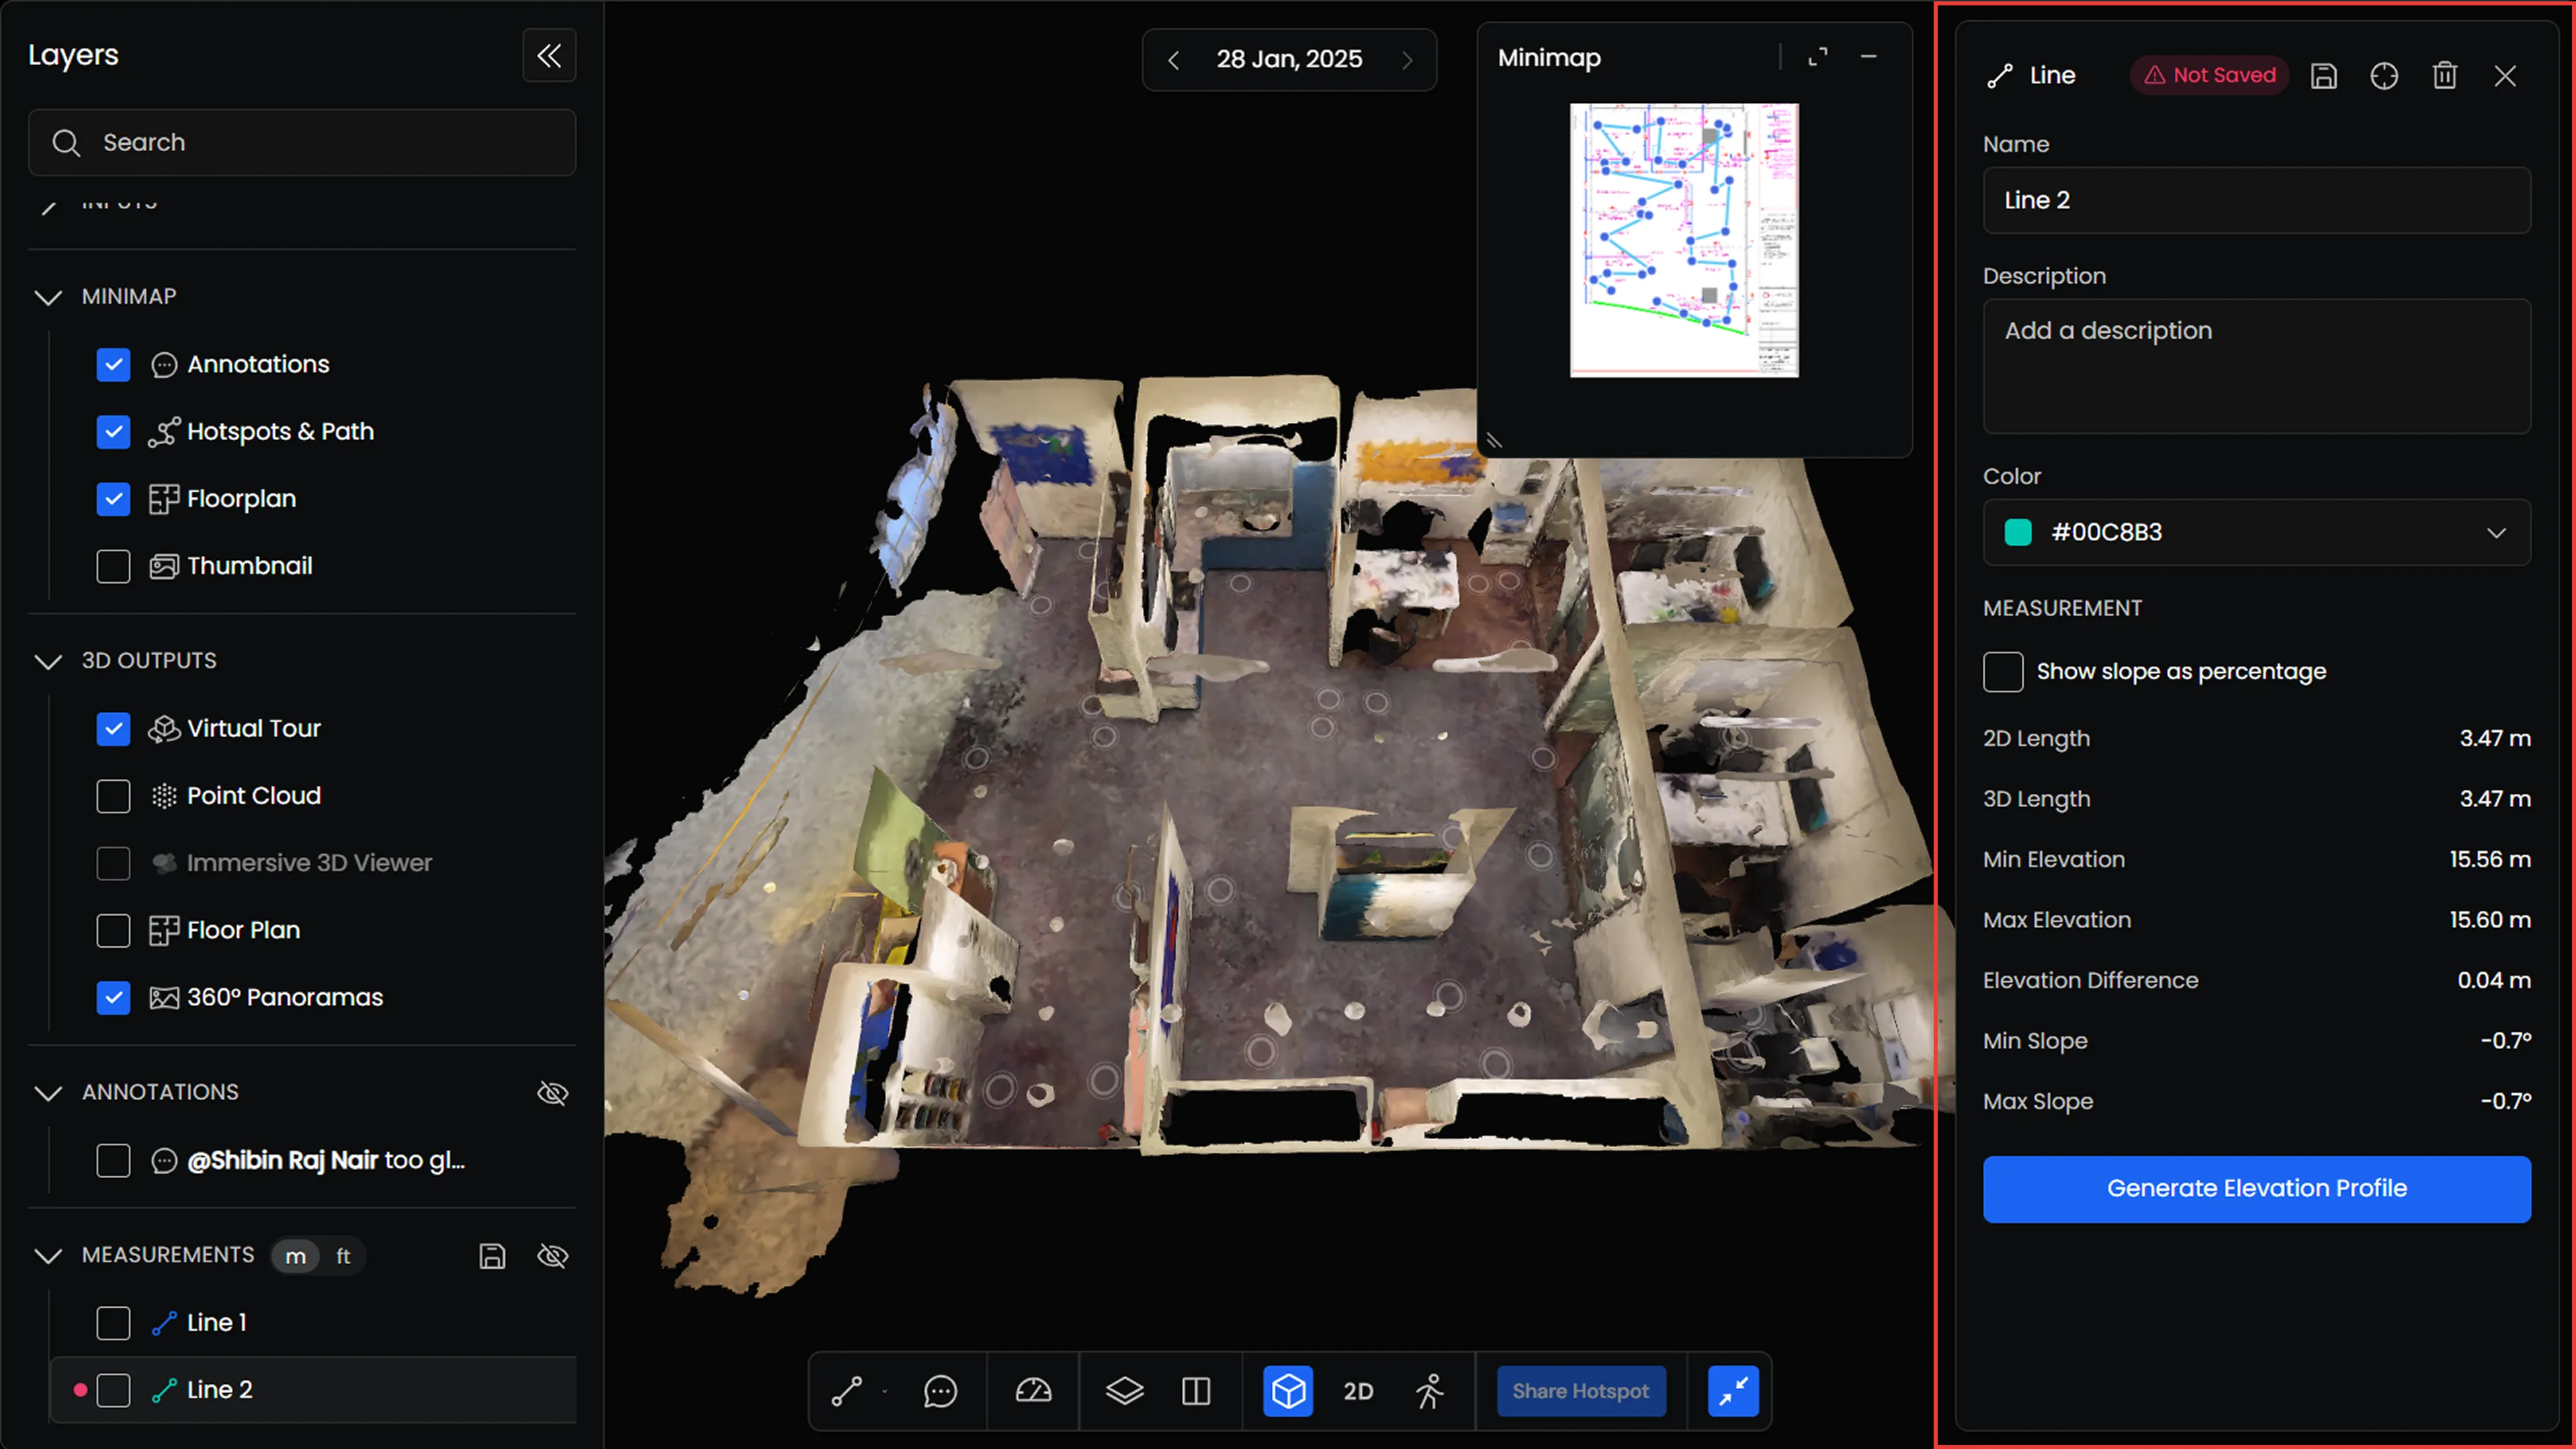
Understanding the Measurement Info Panel
When you create or select a measurement, the Info Panel opens with its details and available controls.
Depending on the measurement type, the panel displays information such as length, area, elevation, elevation difference, slope, and other relevant values.
You can also use the Info Panel to:
- Add a name and description.
- Change the measurement color.
- Save the measurement.
- Locate the measurement in the Viewer.
- Delete the measurement.
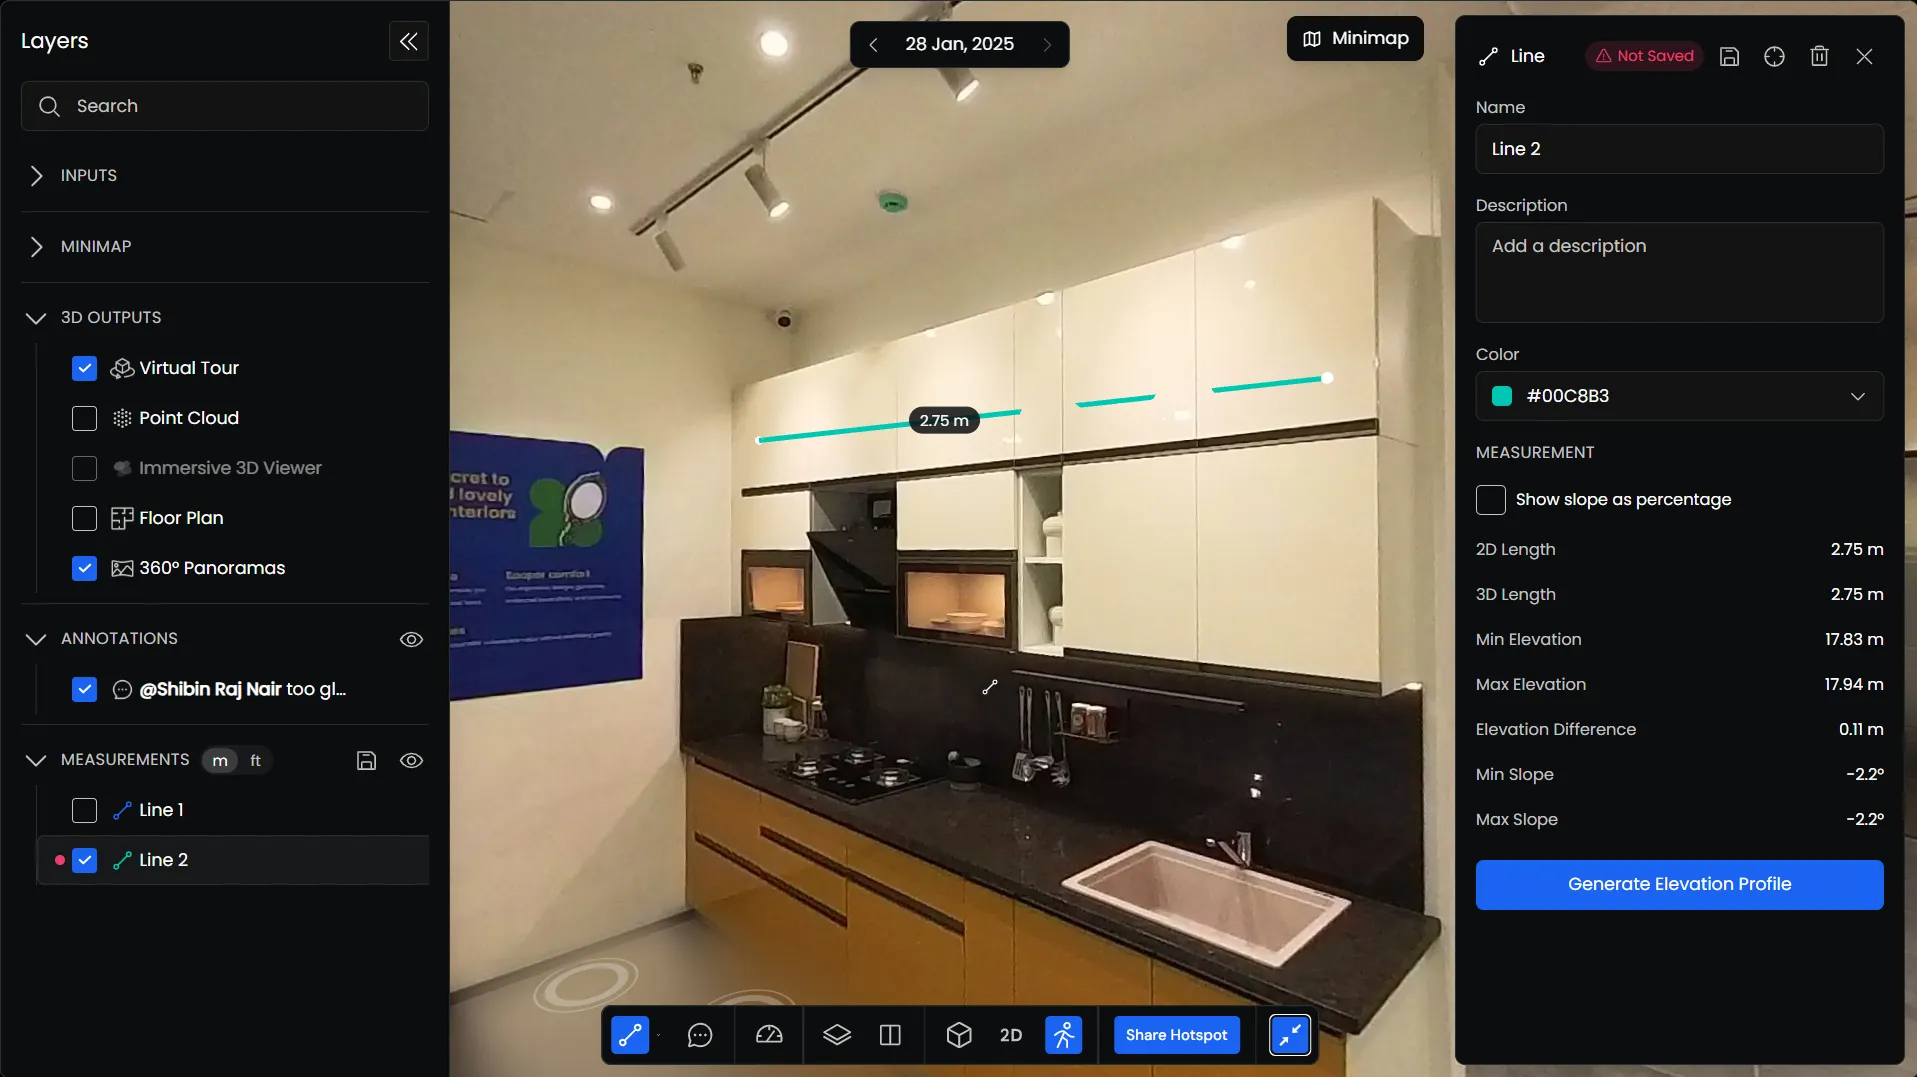
New measurements are initially marked as Not Saved in the Info Panel.
You can review the measurement and make any changes before saving it. Click the Save icon to save the measurement to your scan.
Unsaved measurements are also listed in the Layers panel with an indicator showing their status.
Managing Measurements
Saved measurements are listed under Measurements in the Layers panel.
From here, you can:
- Show or Hide: Check or uncheck a measurement to control its visibility.
- Change Units: Switch between meters (m) and feet (ft).
- Locate: Find the measurement in the Viewer.
- Delete: Remove a measurement using the delete icon.
You can also hide all measurements using the visibility control beside the Measurements heading.
Measurements can be located from either the Layers panel or the Info Panel.
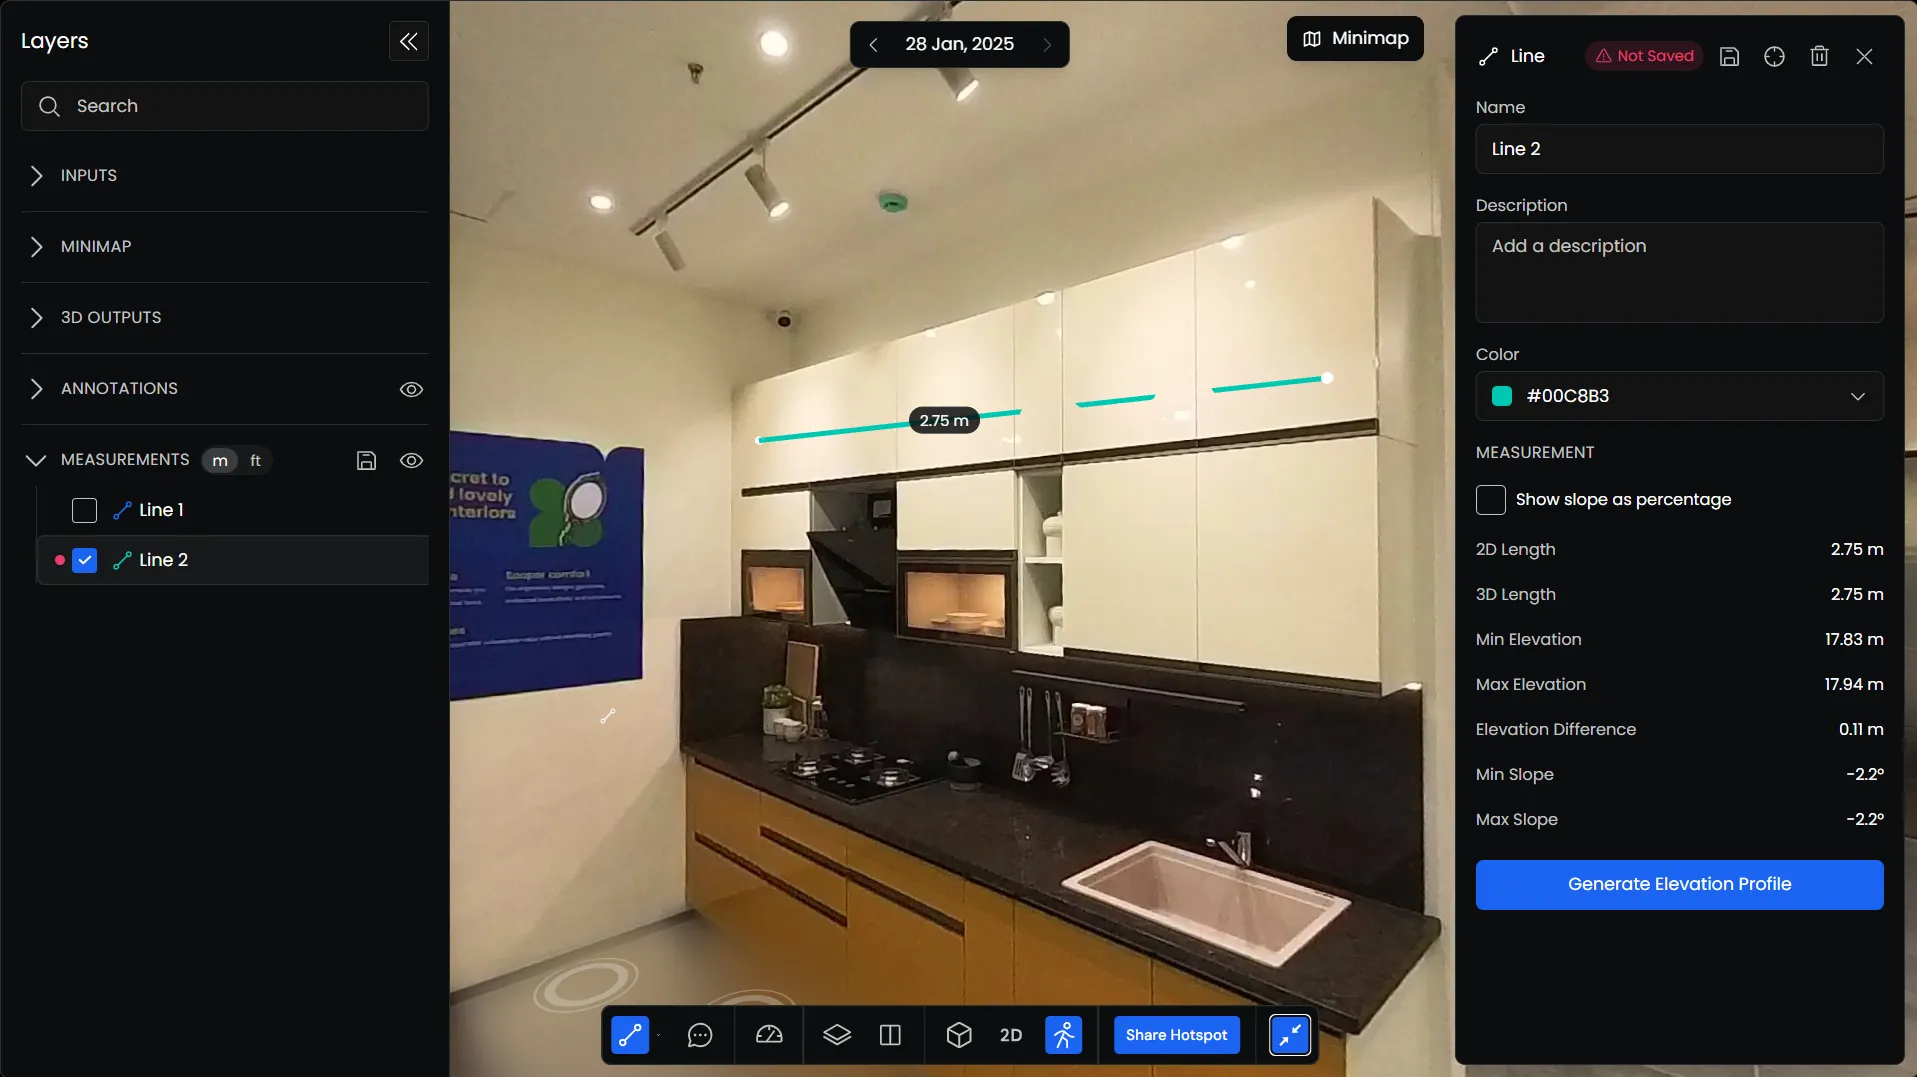
Reference Measurements
Reference Measurements allow you to add known measurements to your scan as a reference for scaling and calibration.
You can create a reference measurement, enter the known distance, and save it to your scan.
Once saved, reference measurements appear under Reference Measurements in the Layers panel. You can view them, show or hide them individually, and access them whenever needed.
Using Height Profile
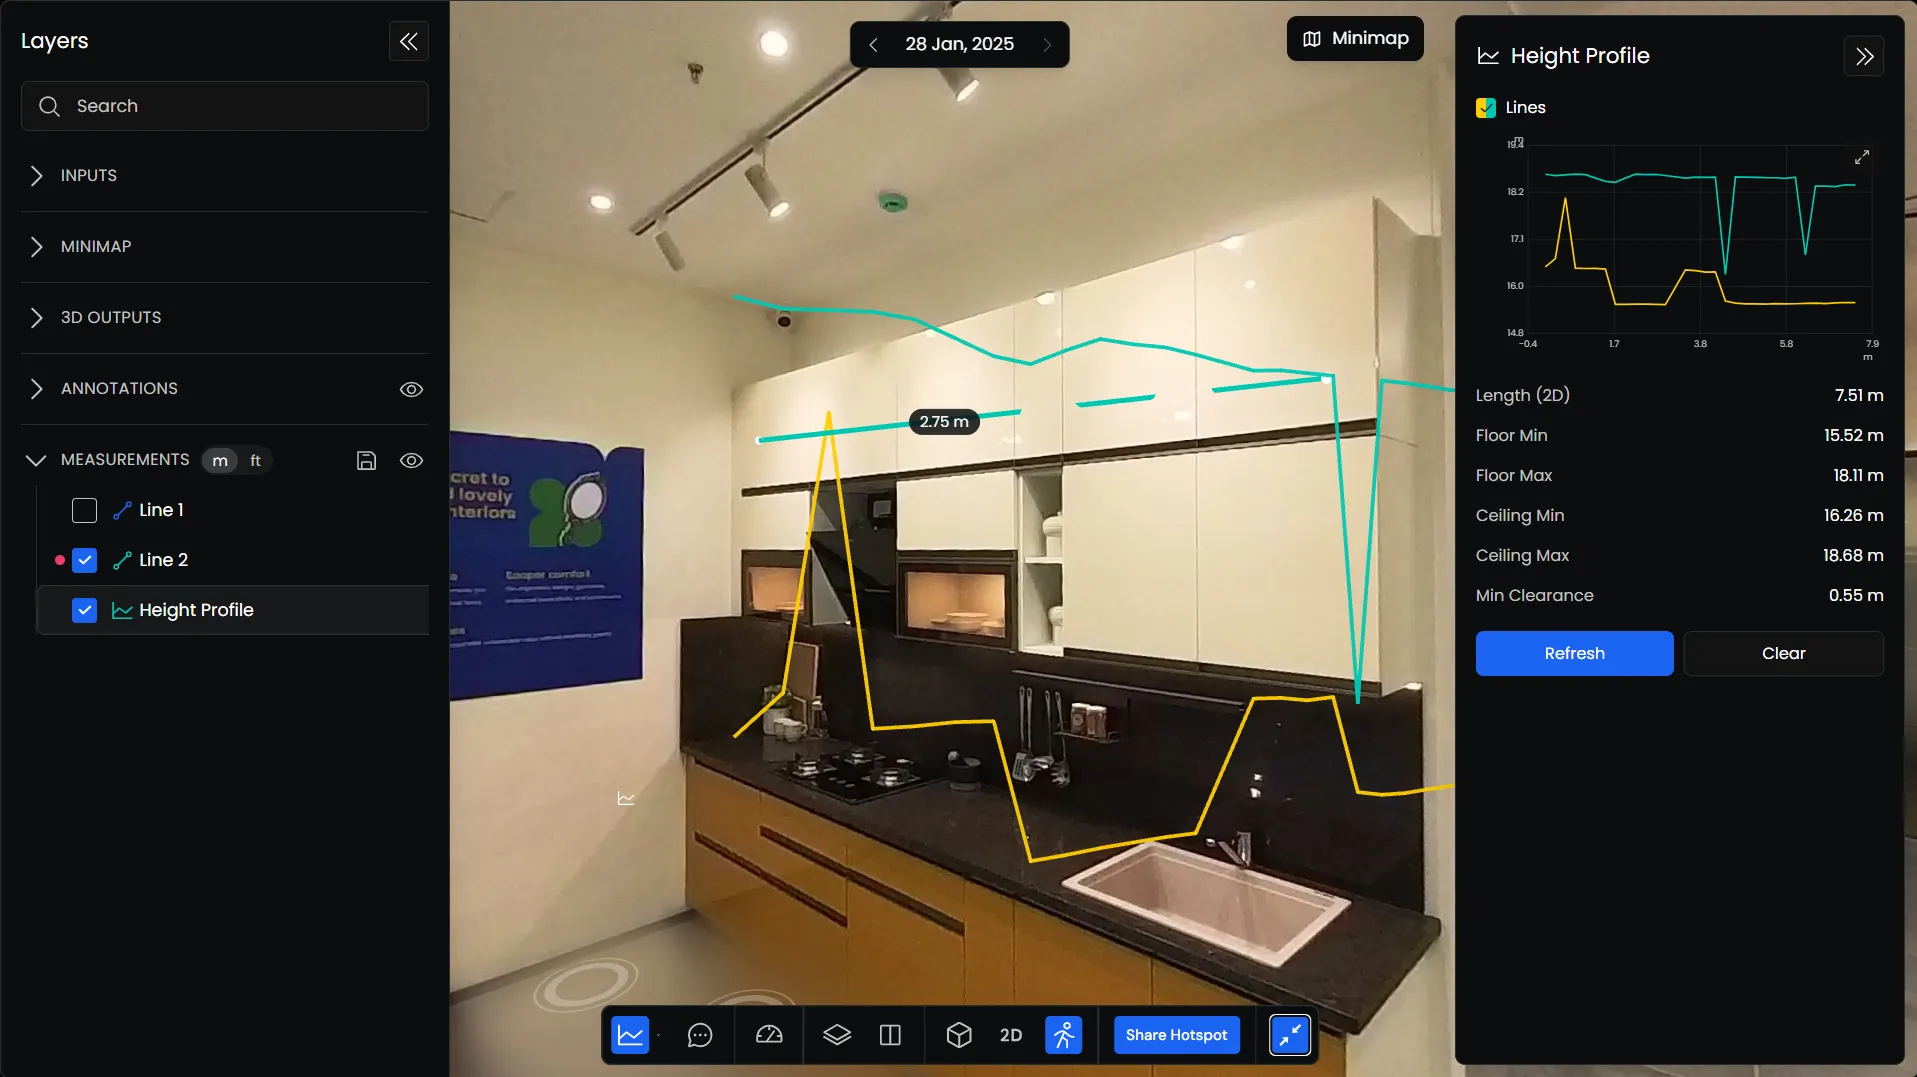
The Height Profile tool allows you to view elevation changes along a selected section of your model.
Select Height Profile from the measurement tools and mark the section you want to inspect.
The Info Panel displays a graph of the selected section, along with information such as floor and ceiling elevations, length, and minimum clearance.
You can expand the graph for a closer look or use Refresh and Clear to update or reset the profile.
Using Cross-Sections
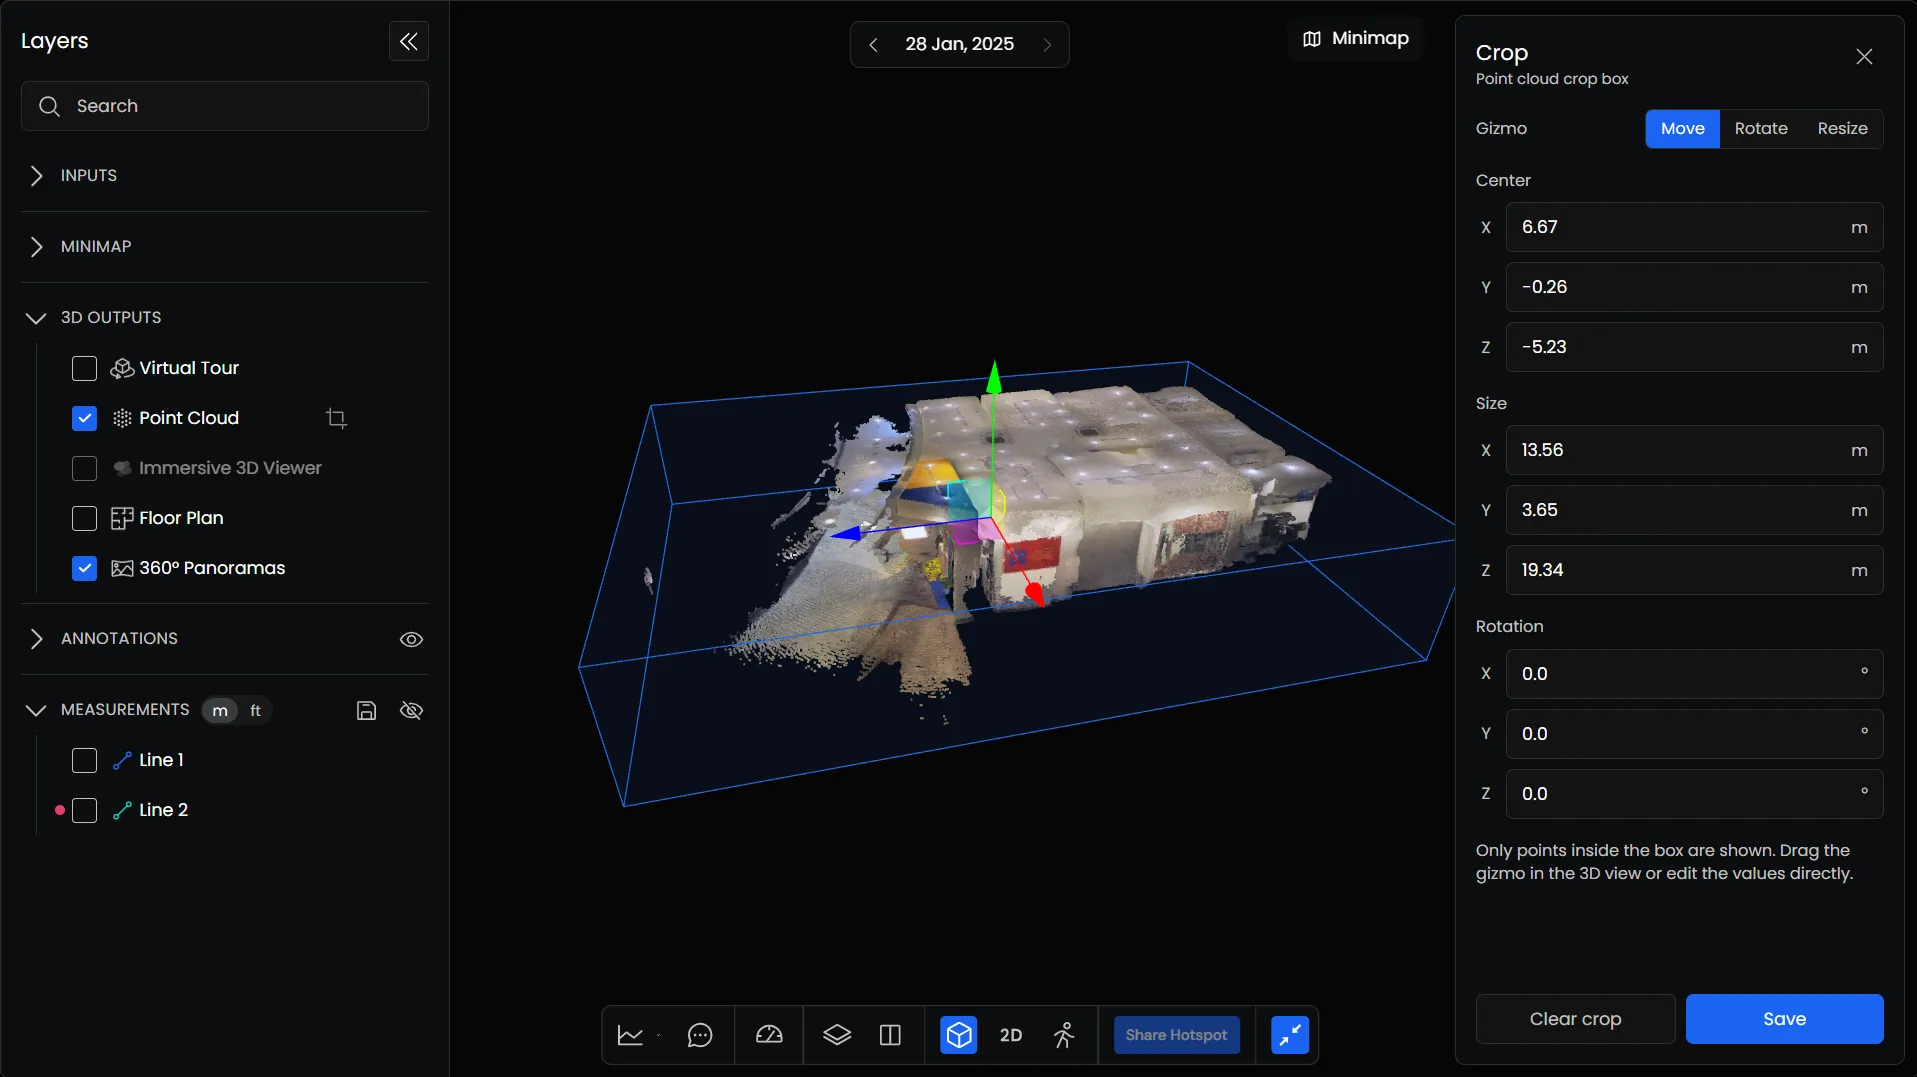
You can use the Crop tool to isolate and inspect specific sections of your Point Cloud.
Unlike the measurement tools, the Crop tool is accessed directly from the Layers panel.
Creating a Cross-Section
- Open the Layers panel.
- Under 3D Outputs, enable Point Cloud.
- Click the Crop icon beside the Point Cloud layer.
- A crop box appears around the Point Cloud, and the Crop panel opens on the right.
You can adjust the crop box to focus on the section of the model you want to inspect.
The Crop panel provides three controls:
- Move: Change the position of the crop box.
- Rotate: Adjust its orientation.
- Resize: Change the dimensions of the selected region.
You can also adjust the crop box using the position and dimension controls in the panel.
This allows you to isolate specific areas of your Point Cloud and inspect their geometry without viewing the entire model.