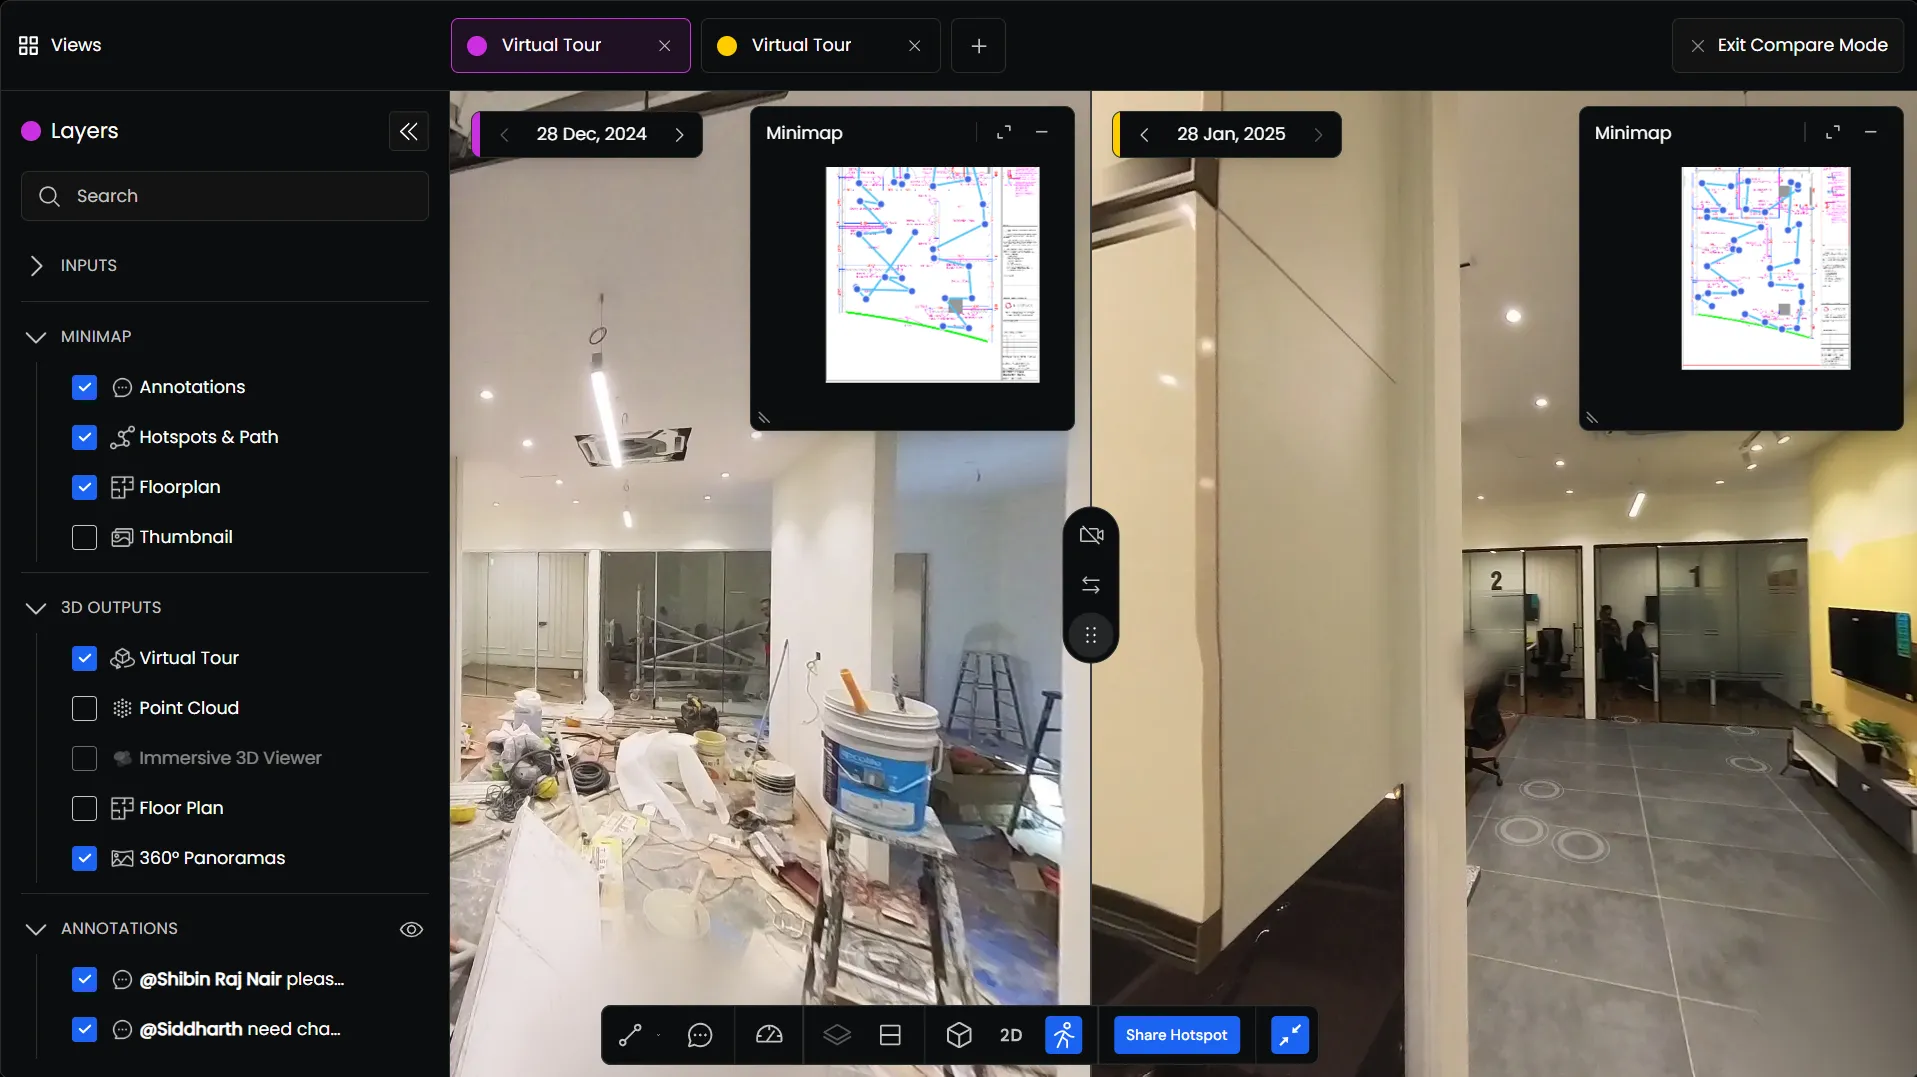

Getting Started with the Preimage Viewer
The Preimage Viewer lets you view your scans, access different site outputs, take measurements, and review site information directly in your browser.
This guide introduces the main components of the Viewer and how to access them.
Understanding the Viewer Interface
The Viewer has a main viewing area where your scan is displayed, along with a toolbar and panels for accessing different features.
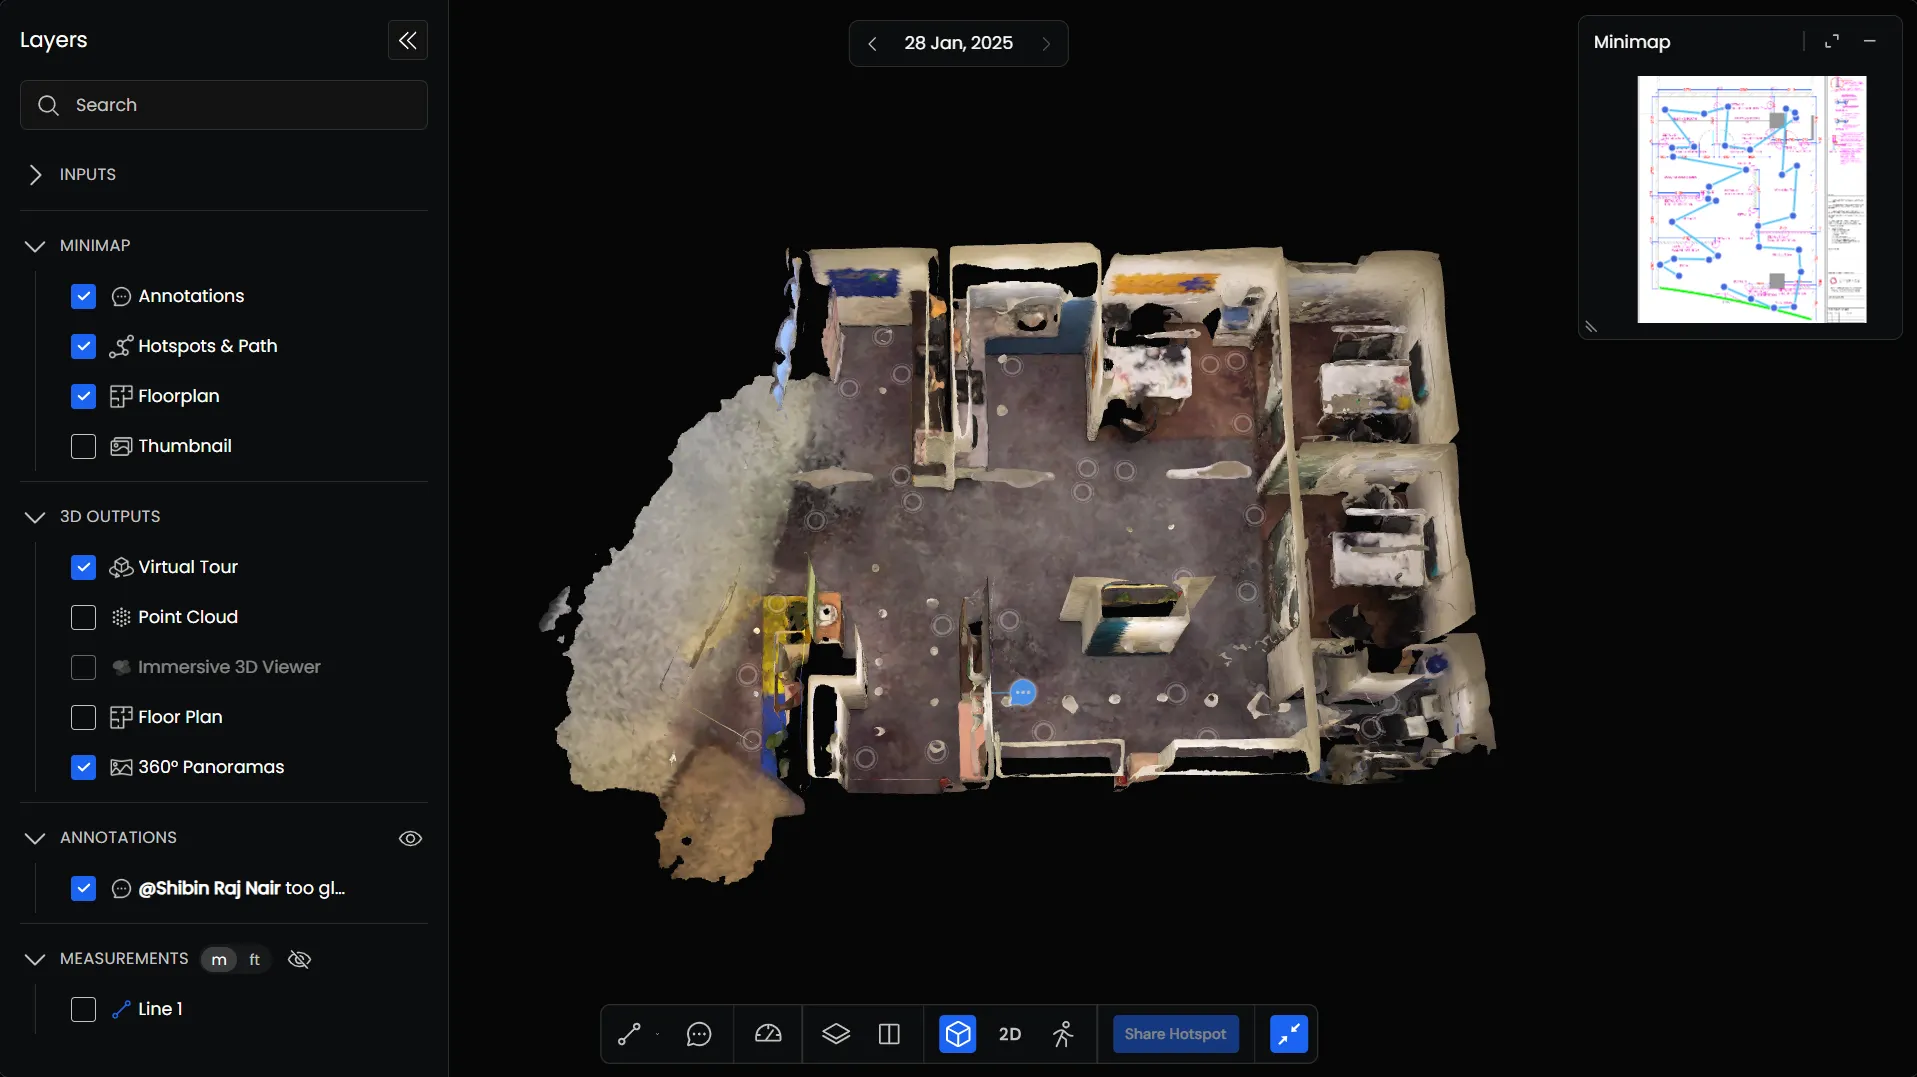
Layers
The Layers panel lets you select which outputs and other information are displayed in the Viewer. You can show or hide layers and adjust their settings.
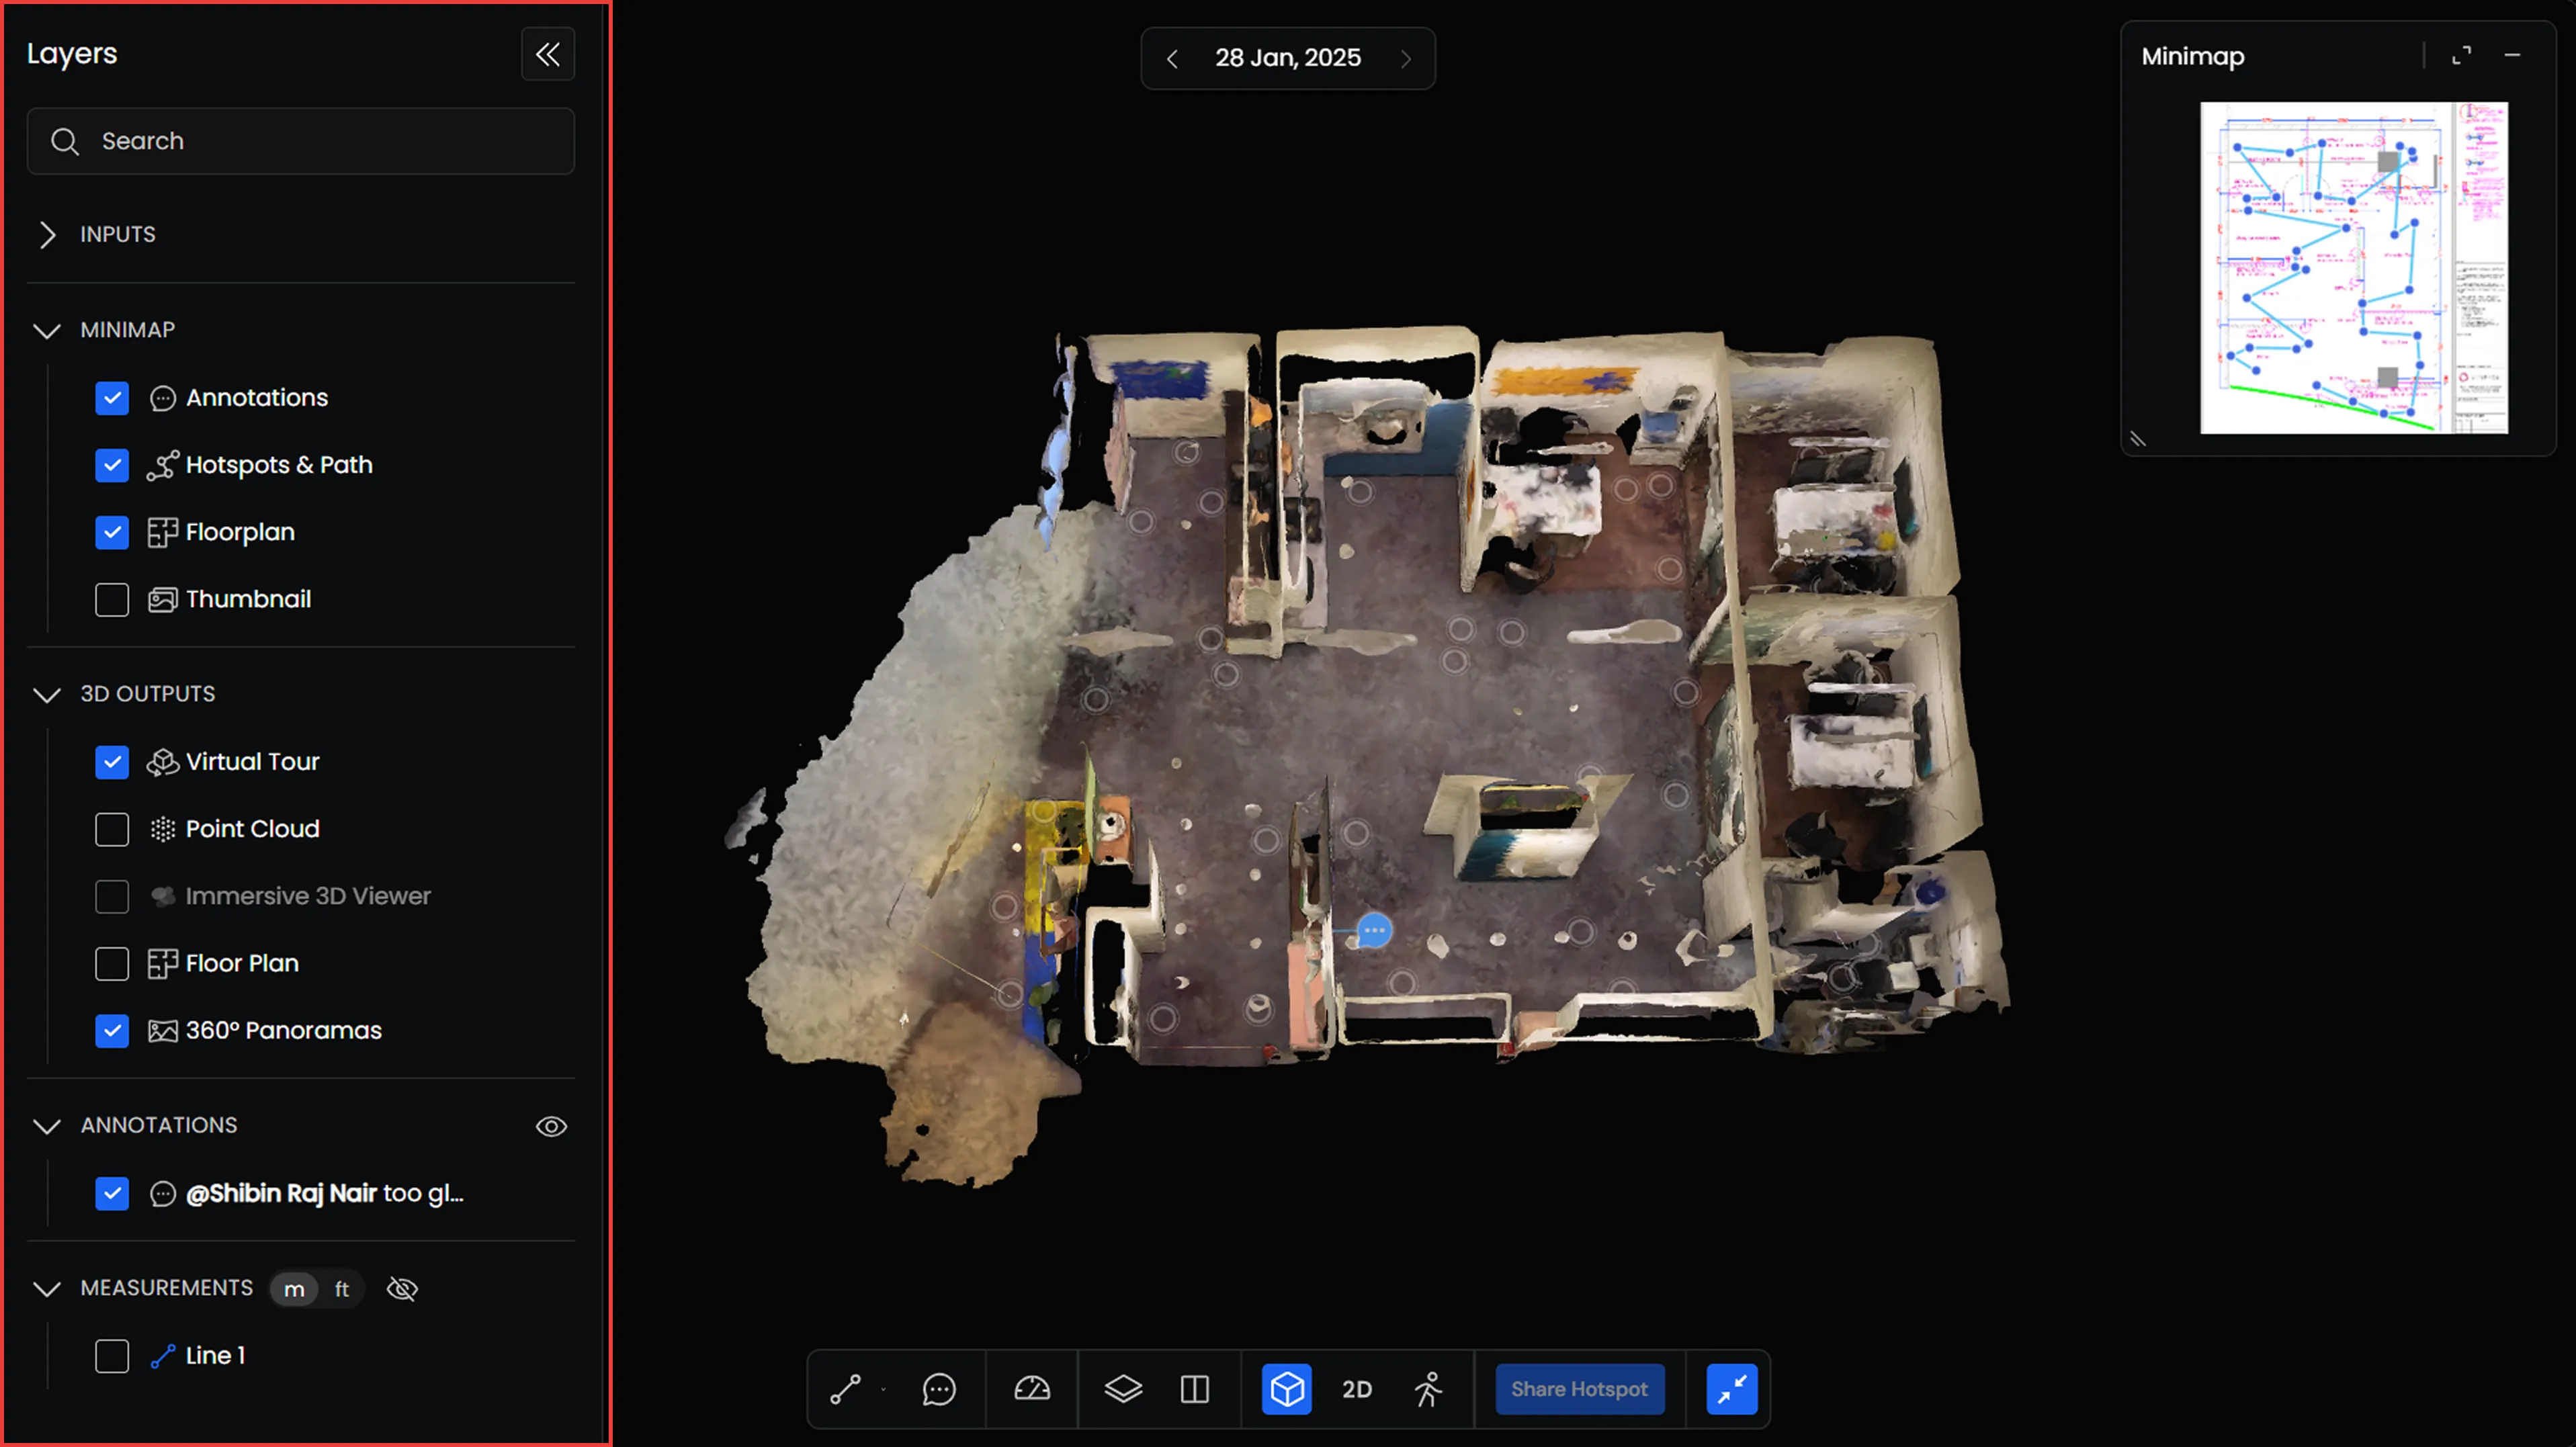
Date
Use the Date Selector to switch between scans captured on different dates. You can select an earlier scan to view your site at a previous stage.
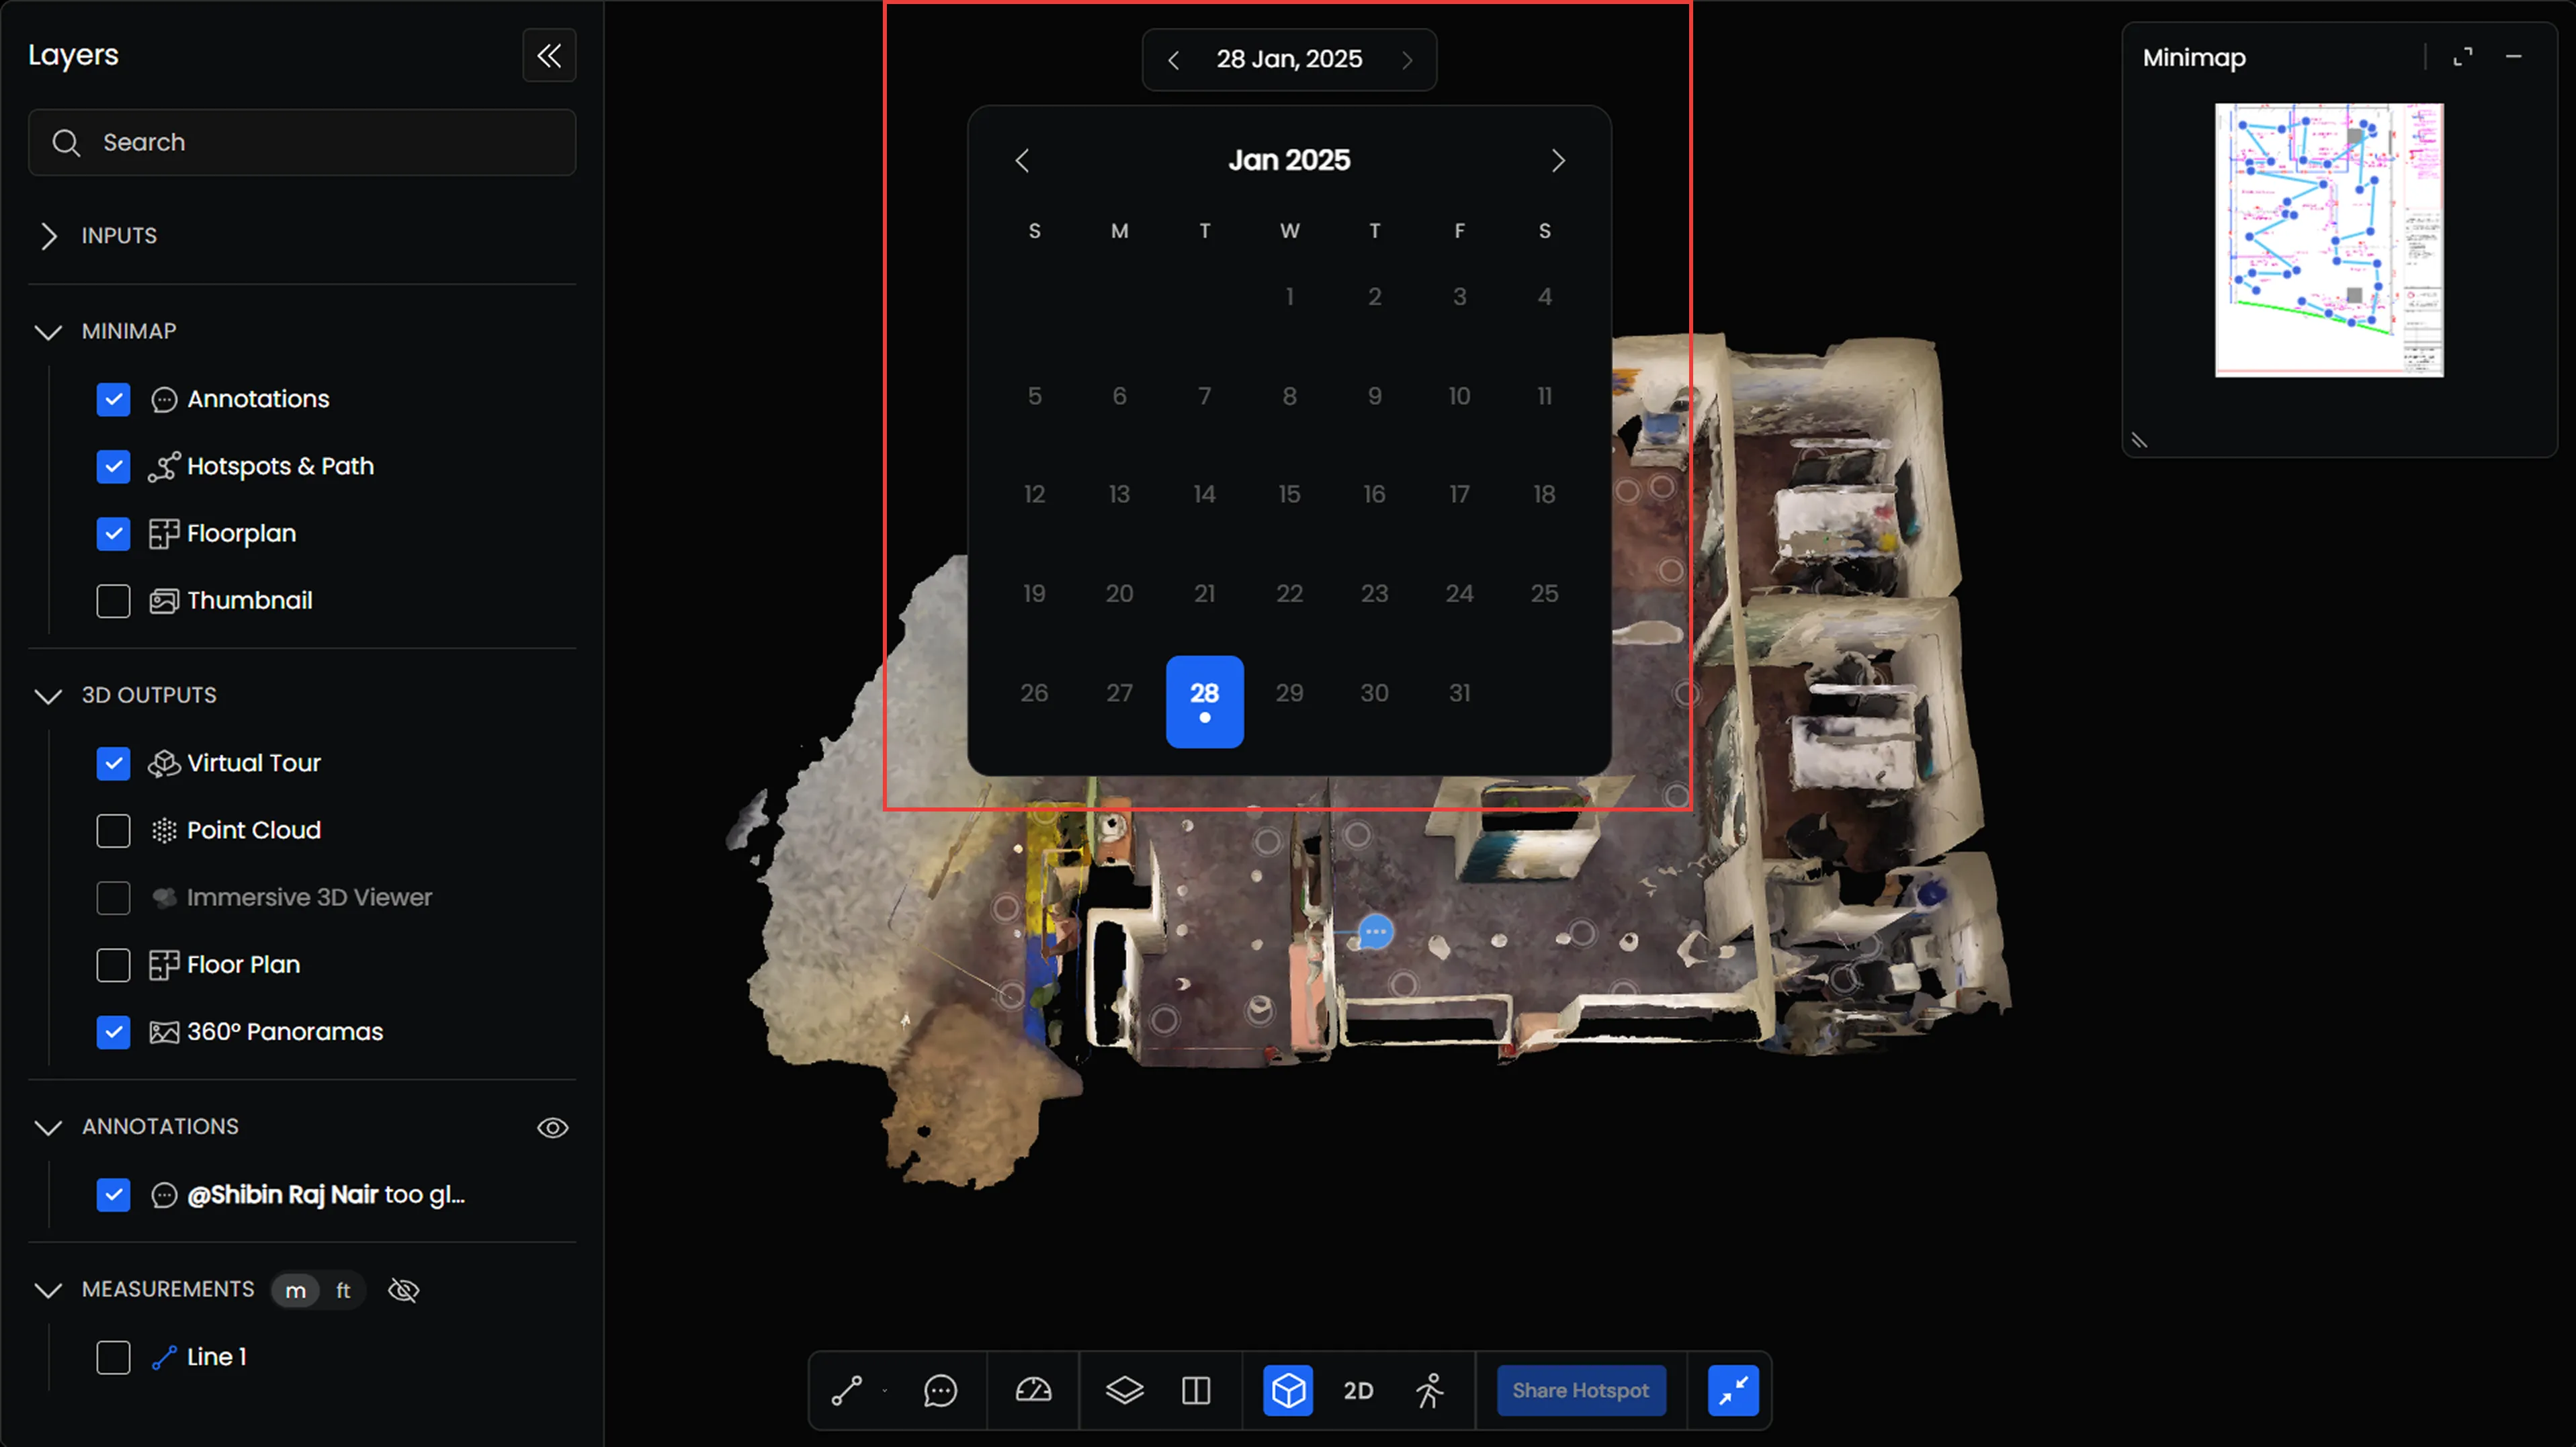
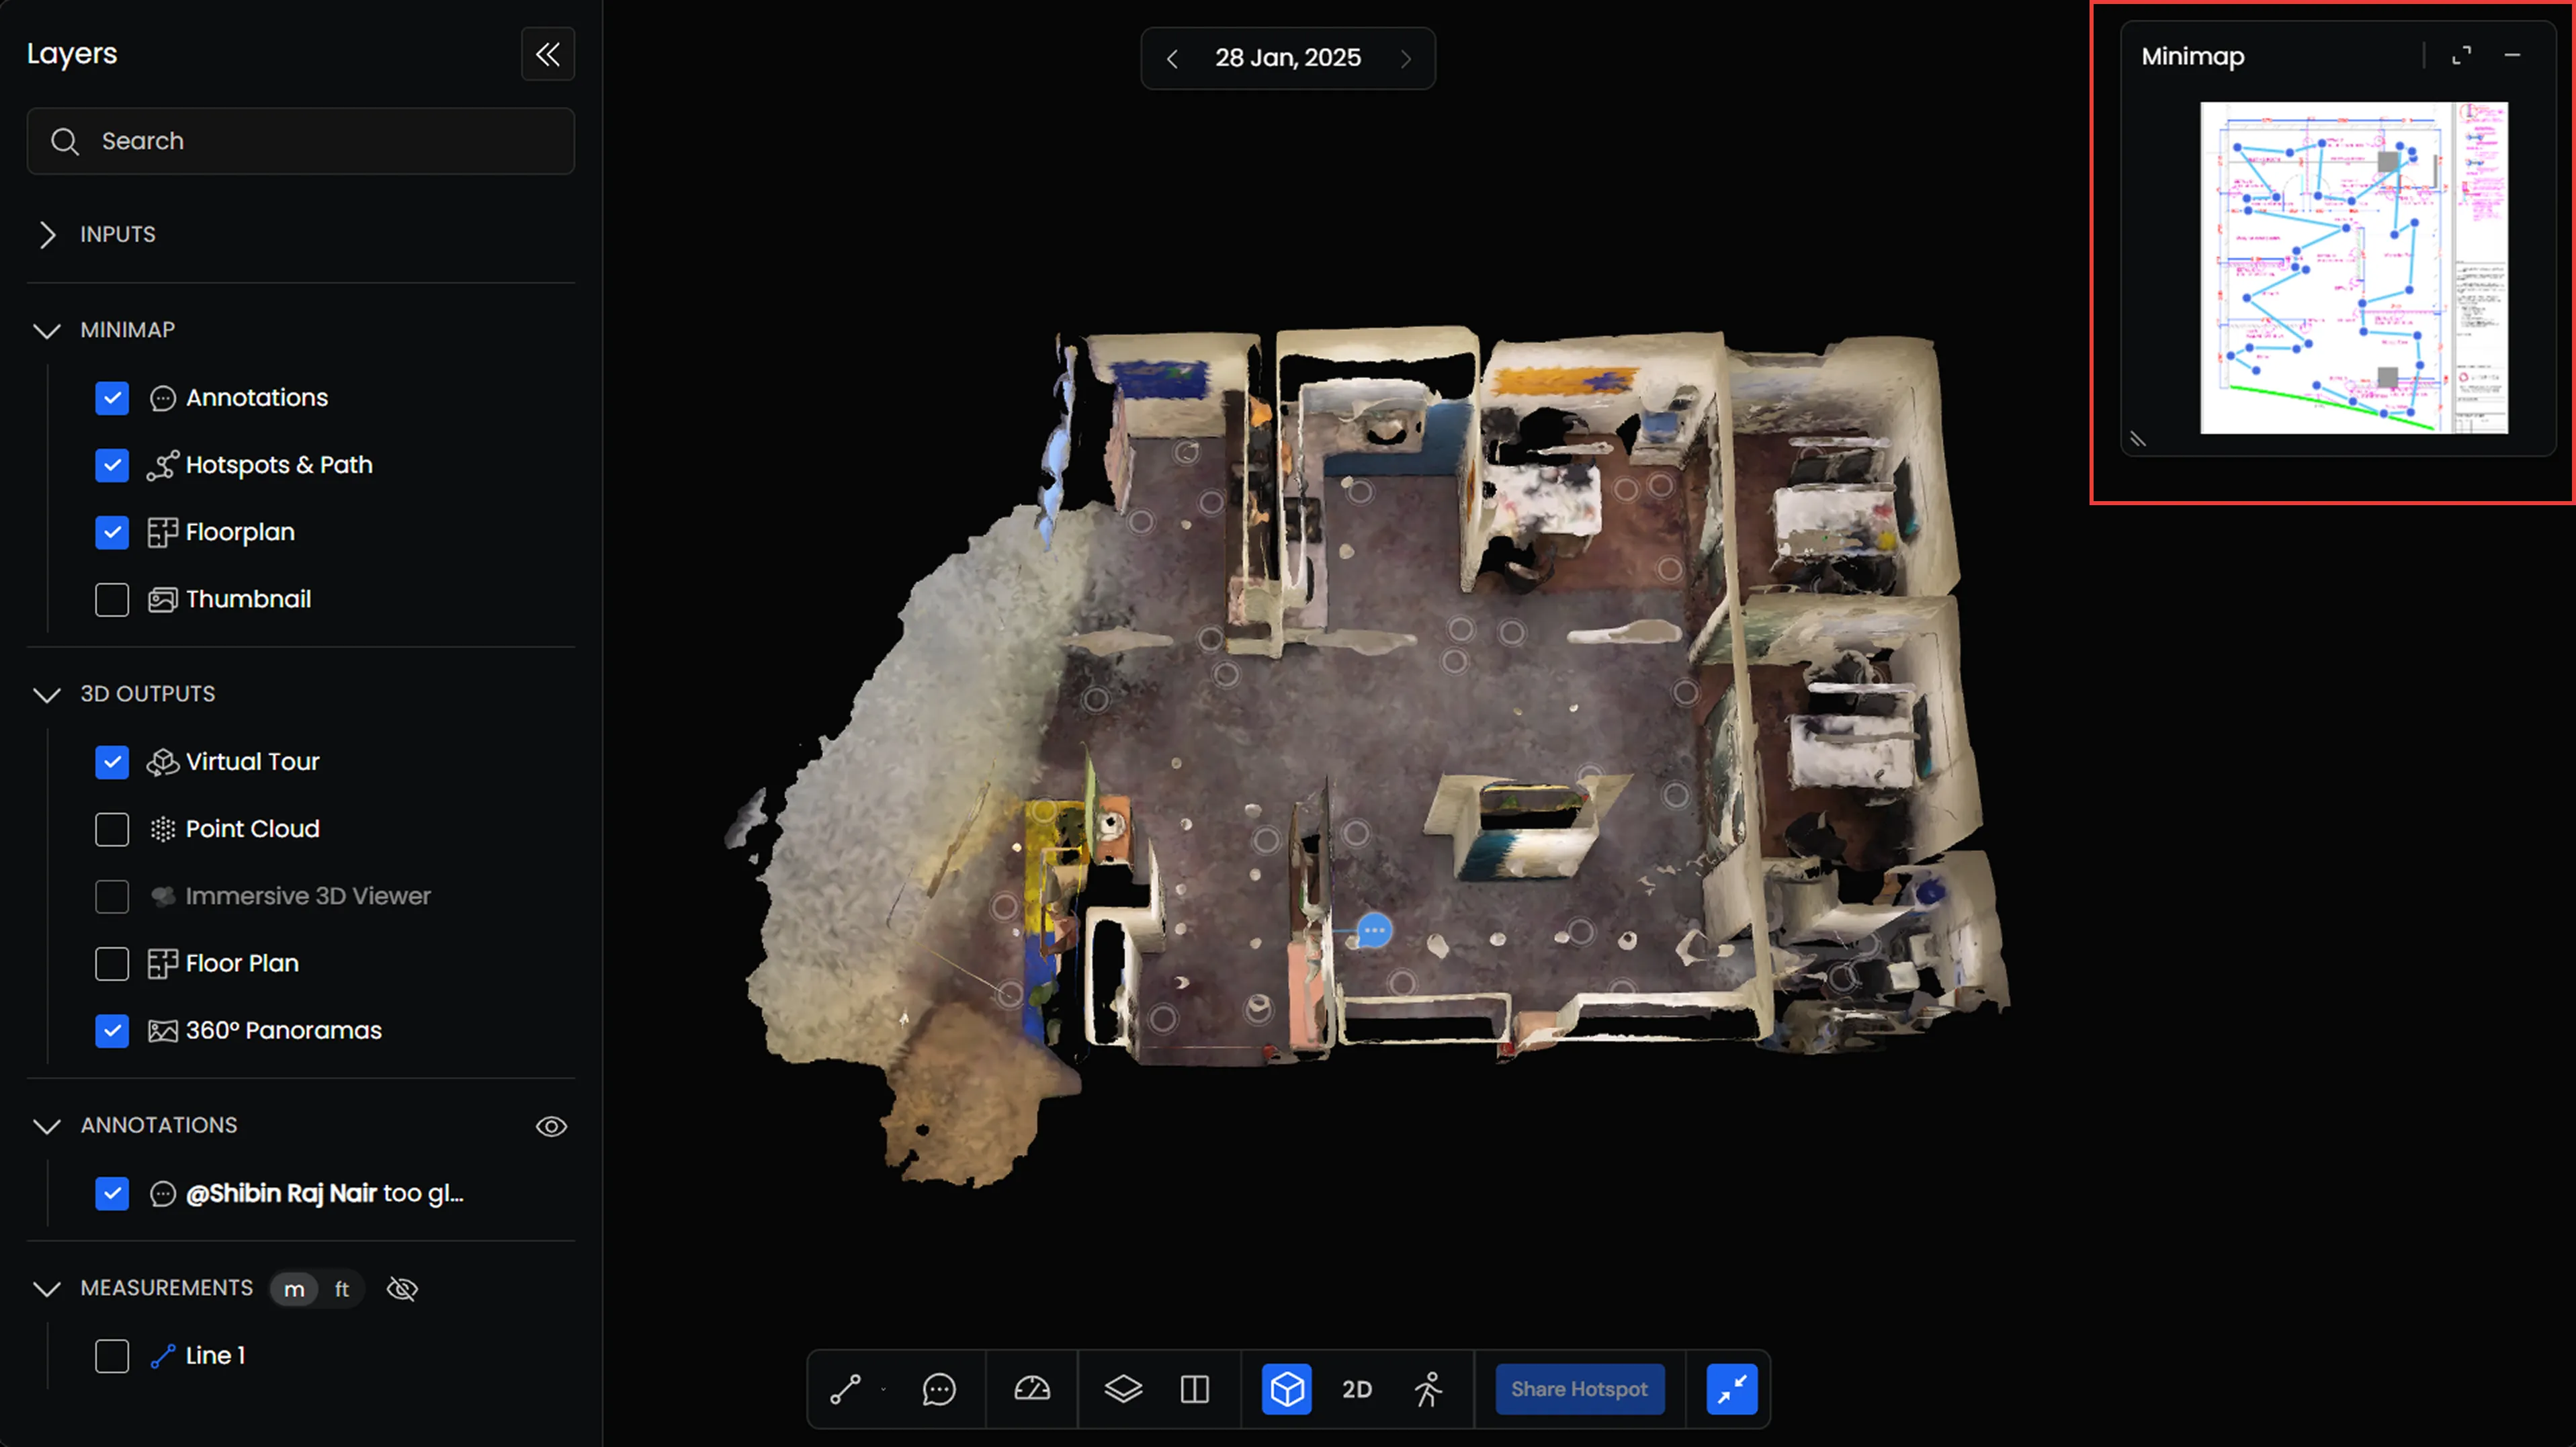
Minimap
The Minimap provides a 2D view of your site, helping you understand your current location and navigate between different areas.
You can control what appears in the Minimap through the Layers panel.
Tools
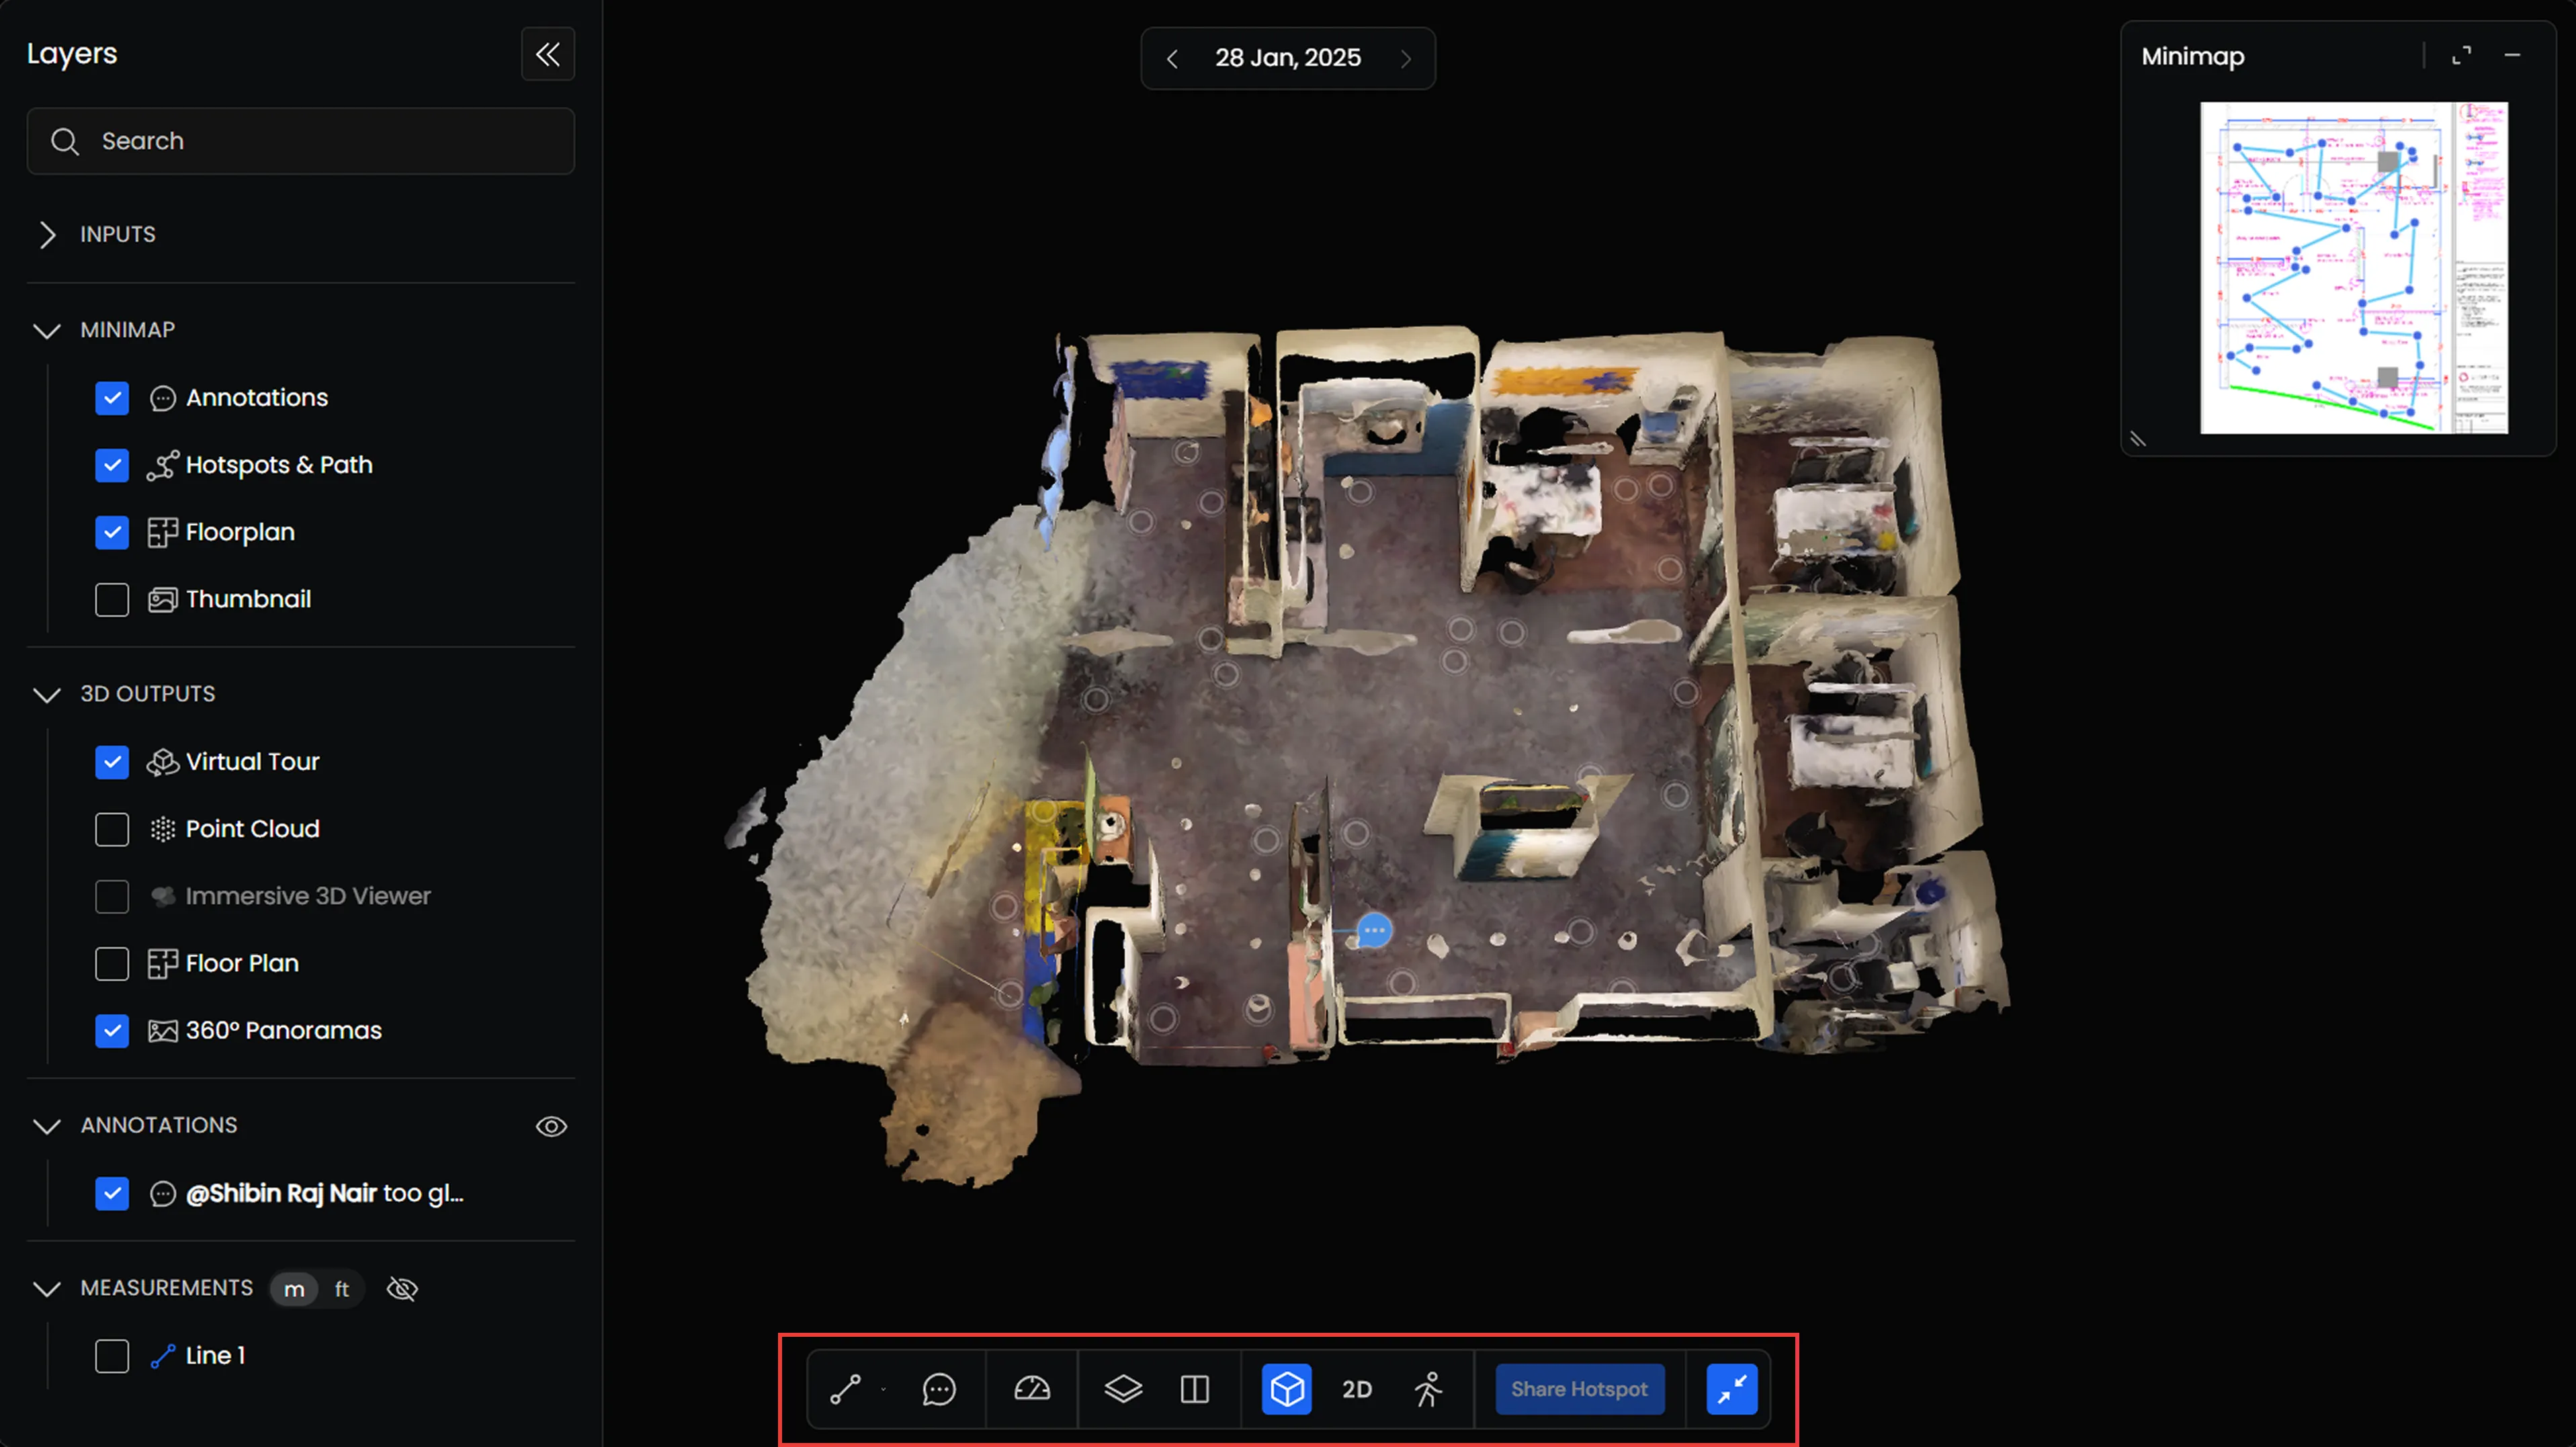
The bottom toolbar provides access to the main tools and viewing controls in the Preimage Viewer.
You can view scan information, take measurements, add annotations, check scan quality, use overlays, and enter Compare Mode.
The toolbar also lets you switch between Orbit, 2D Floorplan, and Walkthrough views, share hotspots, and expand the Viewer.
Info Panel
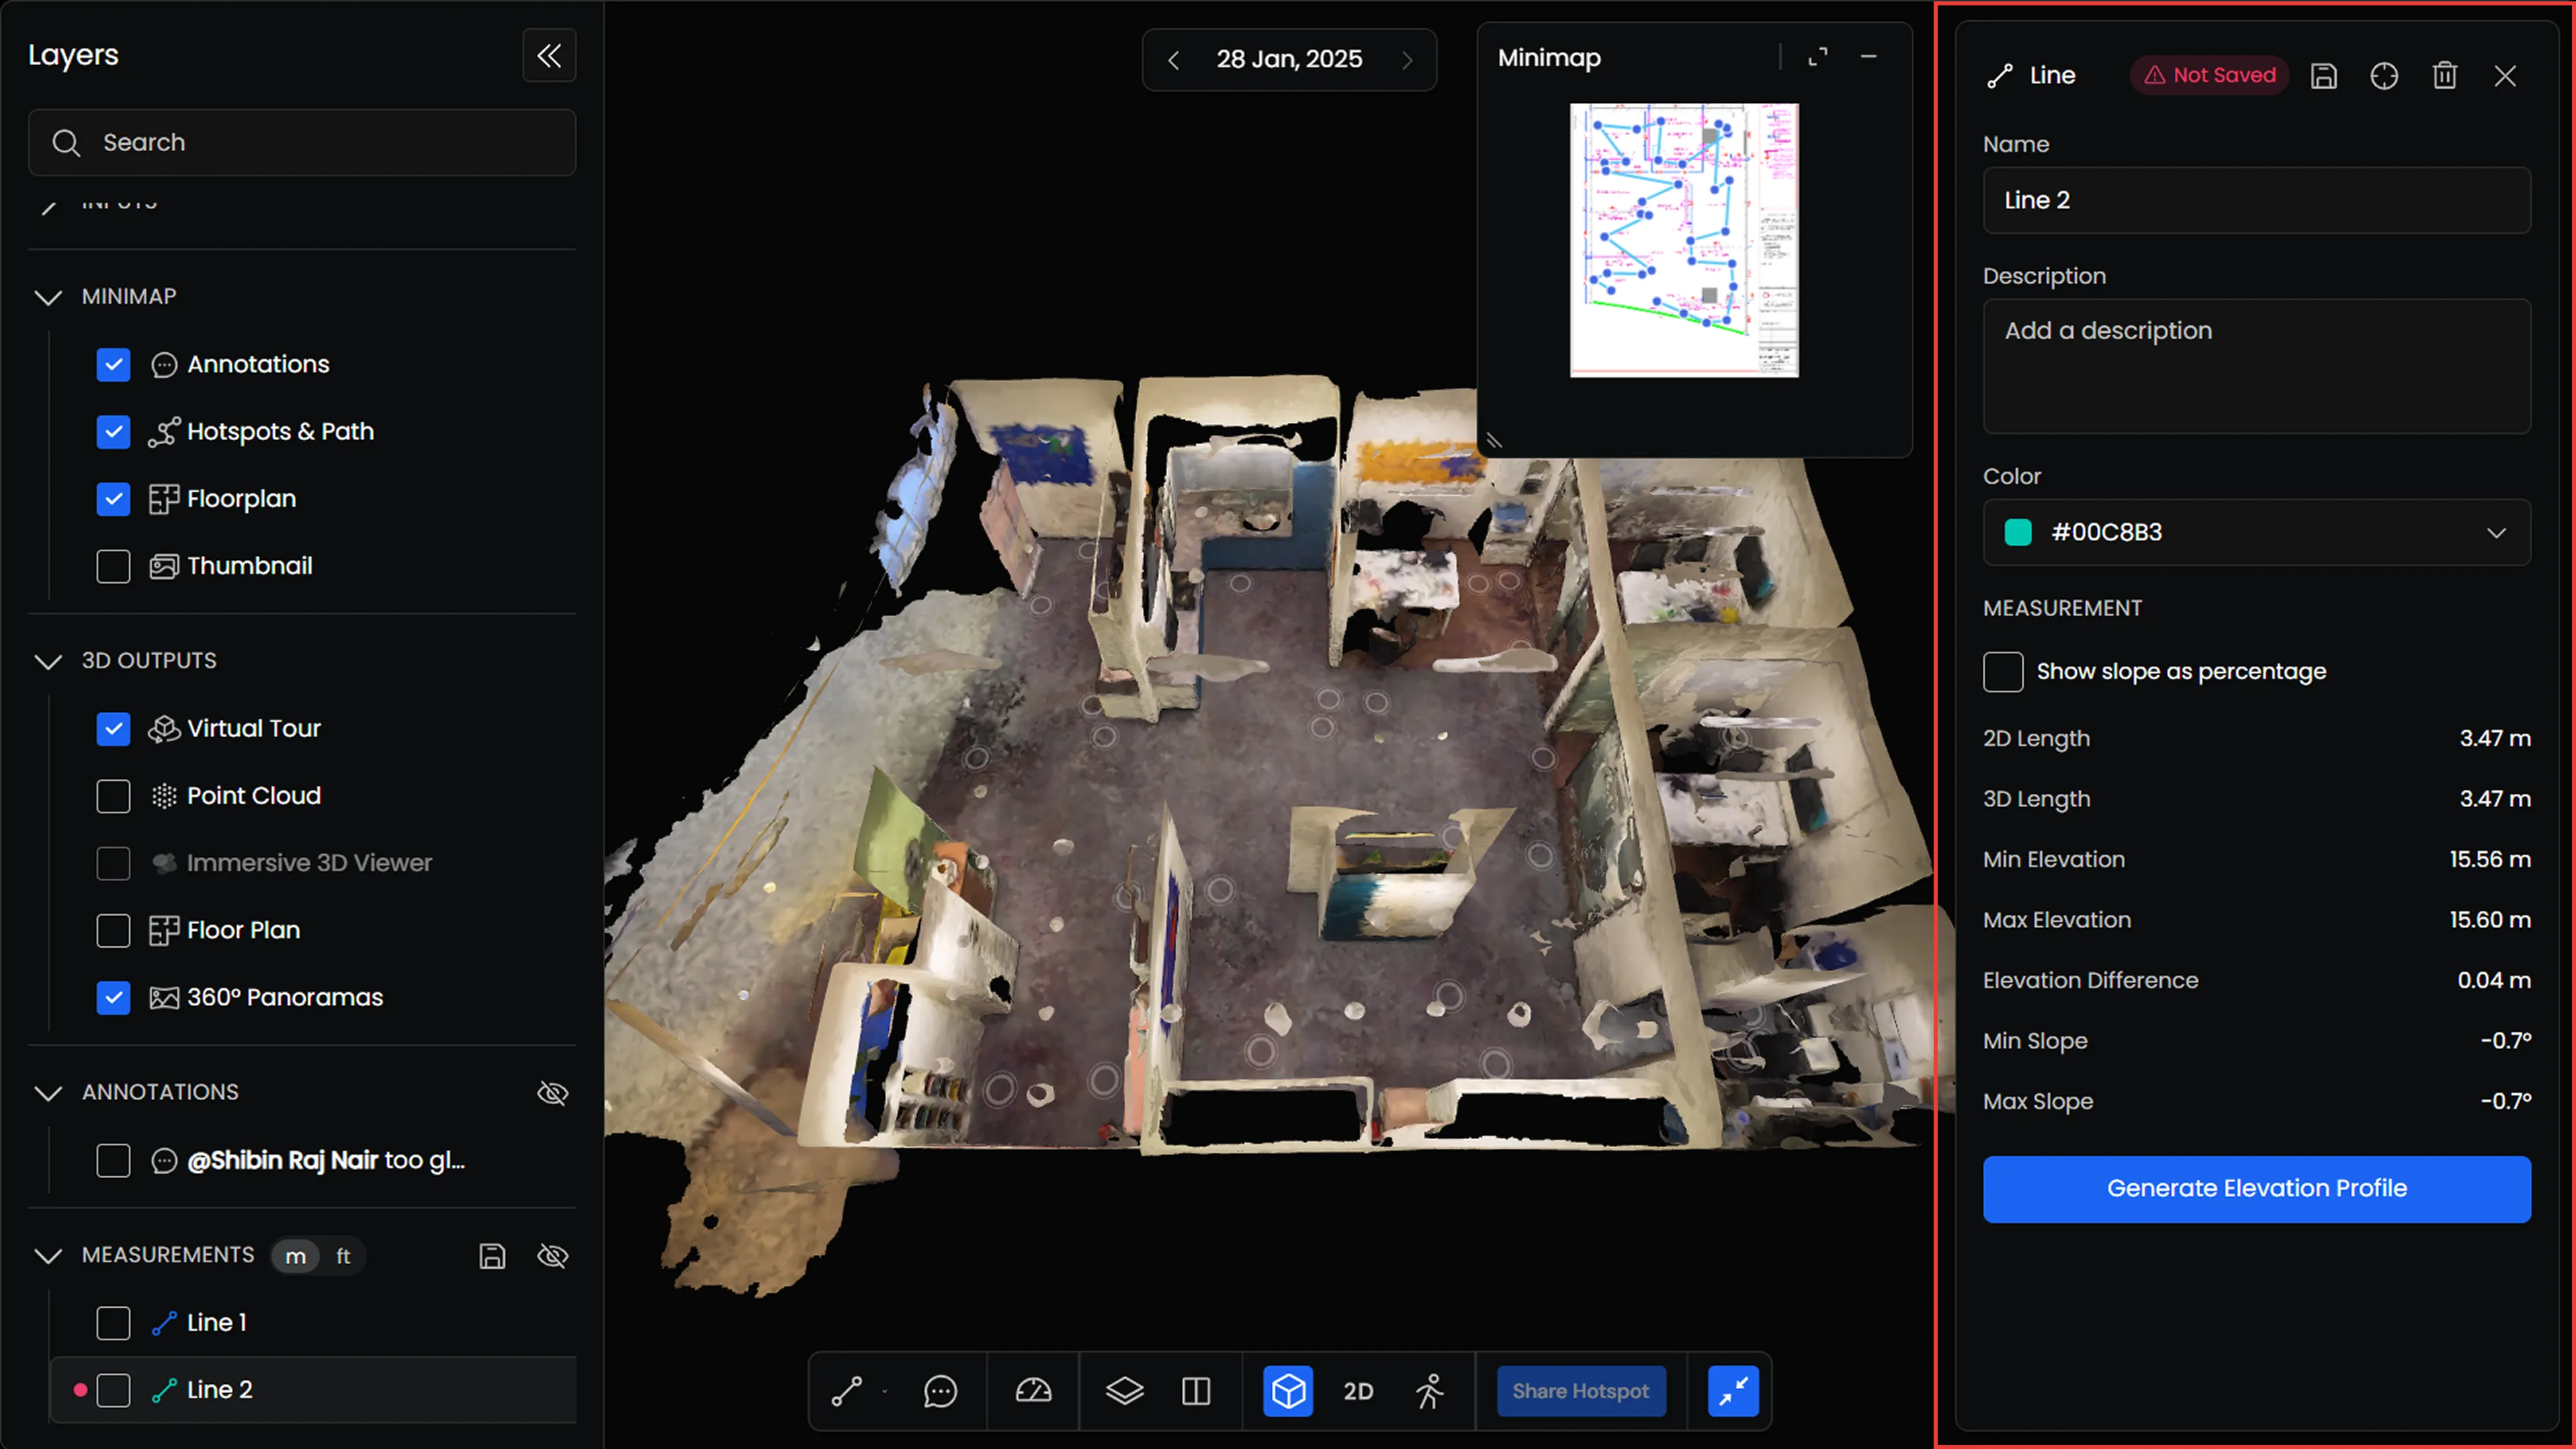
The Info Panel opens when you select a tool. It displays the information, settings, and controls related to the selected tool.
The contents of the panel change depending on the tool you’re using.
Views
Click Views to enter Compare Mode, where you can open multiple views side by side and compare different outputs or scans from different dates.