

Deviation Analysis: BIM & Floorplan Comparison
Preimage allows you to compare your captured site conditions with BIM models and floorplans to identify differences between the design and actual construction.
You can compare different outputs side by side or use overlays to inspect the alignment, layout, and position of building elements.
Comparing BIM Models with Your Scan
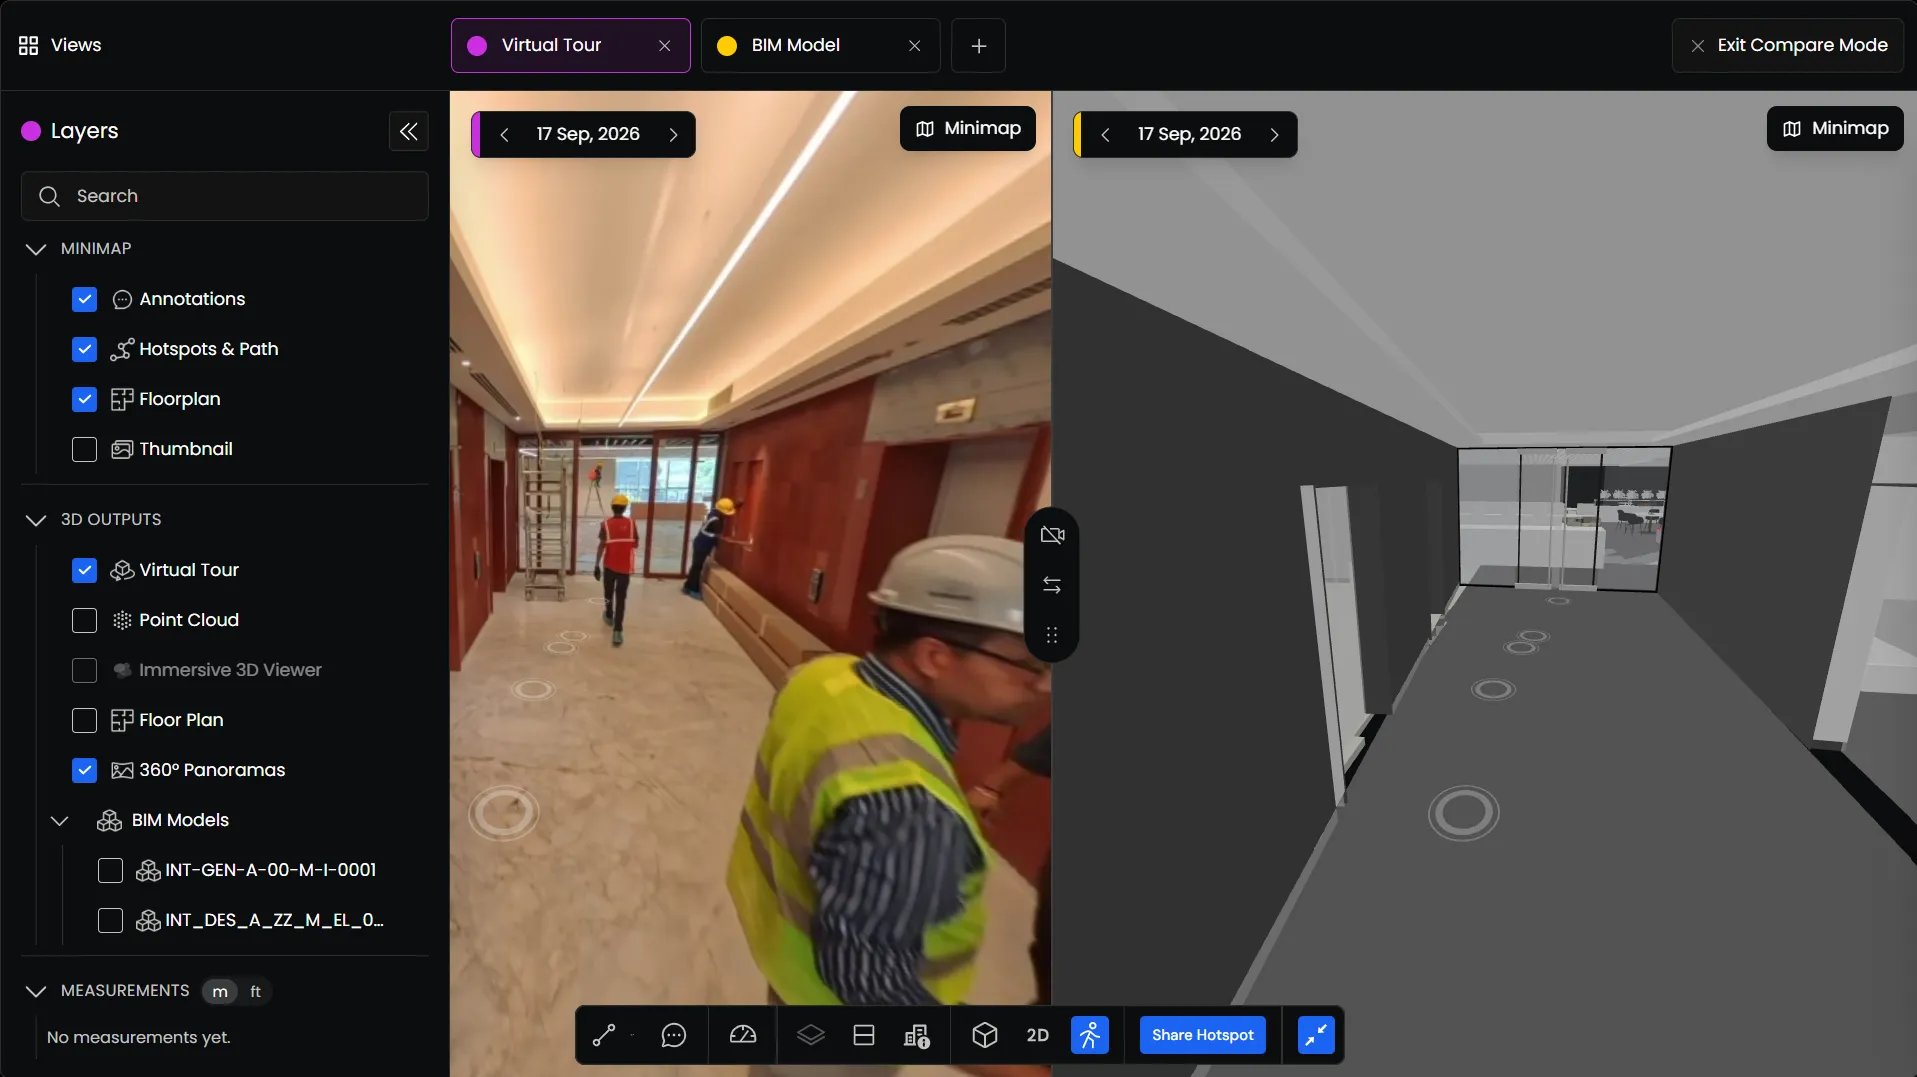
You can view your BIM model alongside a Point Cloud or Virtual Tour using Compare Mode.
To compare the outputs:
- Click the Views icon in the toolbar to enter Compare Mode.
- Click the + icon to add another view.
- Select one view and enable BIM from the Layers panel.
- Select the other view and enable Point Cloud or another available output.
Both views are synchronized, so navigating through one view updates the other to show the corresponding location.
This allows you to compare the captured site with the design and identify differences in layout, geometry, and the positioning of elements.
Using Floorplan Overlays
The Overlay tool allows you to display a floorplan over your BIM model, Point Cloud, or other supported outputs.
This lets you view the floorplan and 3D data together to check how the captured site aligns with the drawing.
To use a floorplan overlay:
- Open the BIM model, Point Cloud, or output you want to inspect.
- Select the Overlay tool from the toolbar.
- Choose the floorplan you want to display.
- Use the available controls to view the floorplan alongside your model.
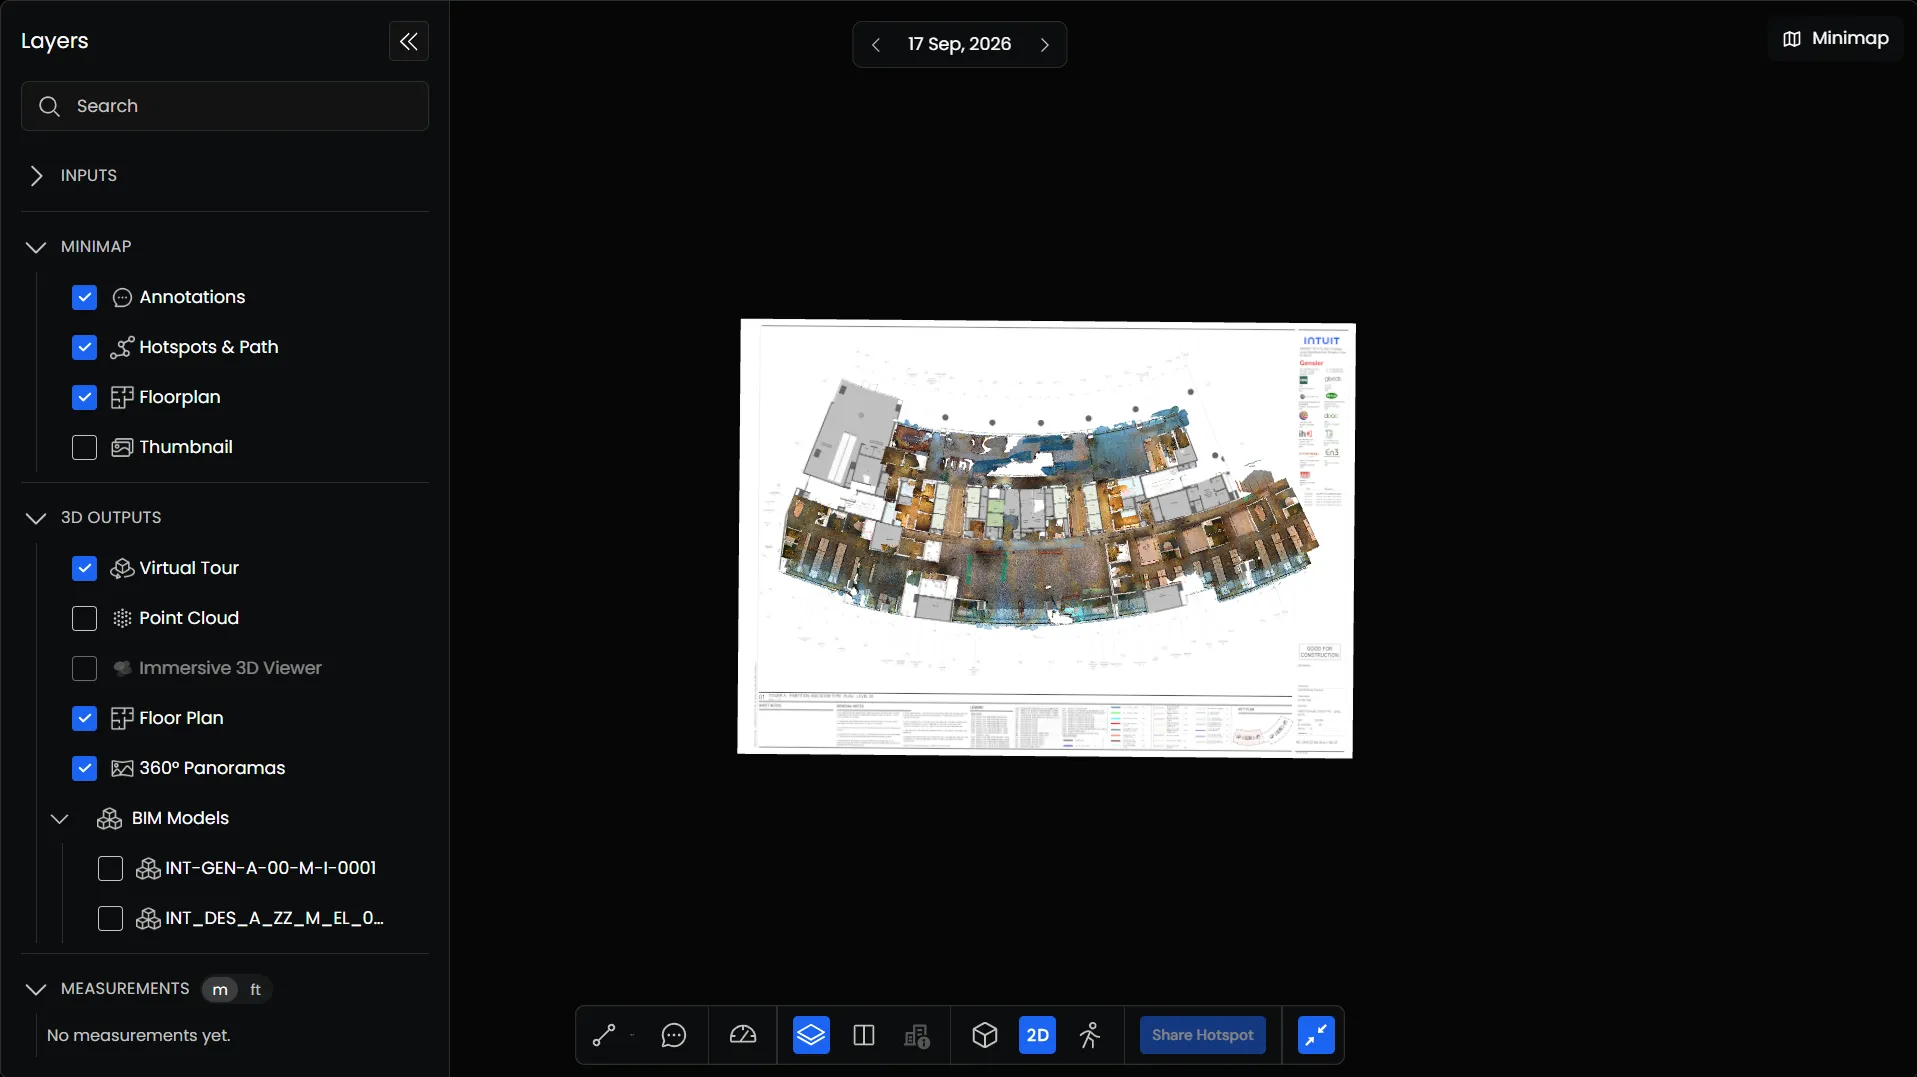
You can use the overlay to inspect wall positions, openings, room layouts, and other elements against the floorplan.
Recording Deviations
If you notice a difference between the design and captured site conditions, you can use Annotations to mark the location and record your observation.
You can add a description, attach supporting files, and assign the annotation to a team member for further review.