

Managing Layers and the Minimap
The Layers panel lets you manage the data displayed in the Viewer. You can select different outputs, control their visibility, and access annotations and measurements added to your scan.
It also controls what is displayed in the Minimap.
Understanding the Layers Panel
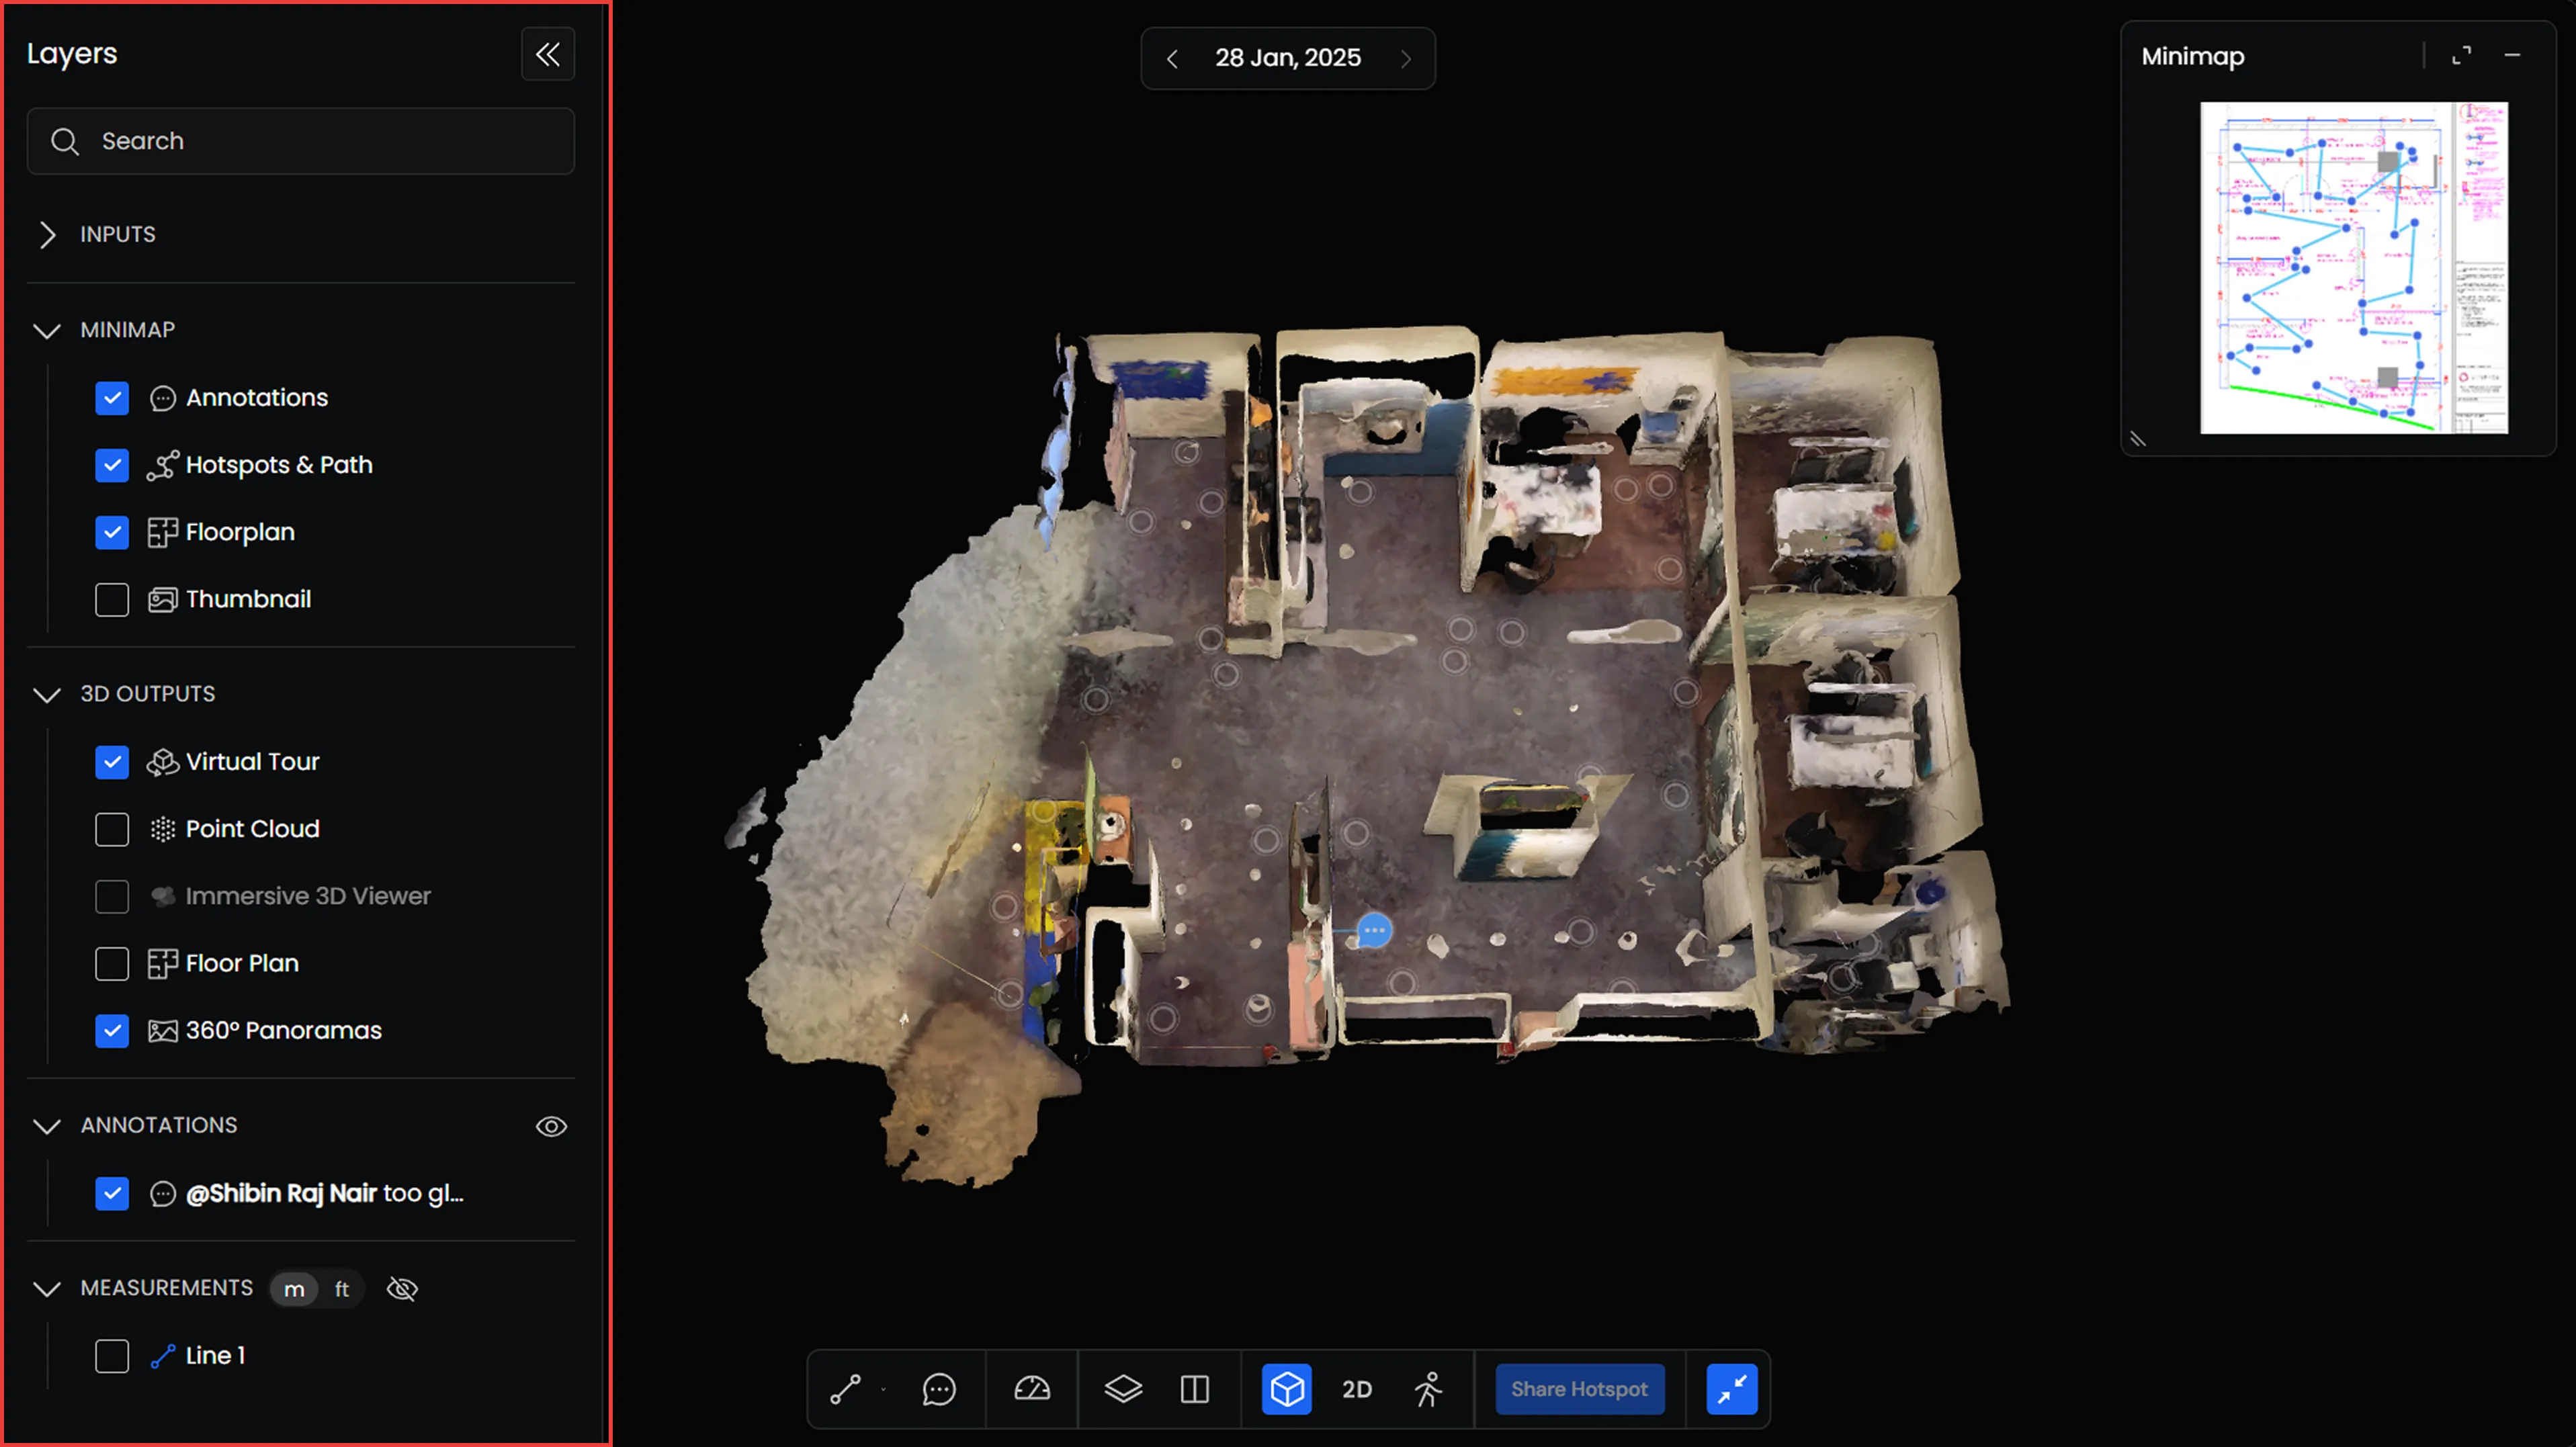
Open Layers to see the data available for your scan.
The panel is organized into the following sections:
- Inputs: Original data used to create your scan, such as 360° videos.
- Minimap: Displays 2D outputs, including floorplans, along with annotations, hotspots, and capture paths.
- 3D Outputs: Processed outputs available for viewing, such as Virtual Tours, Point Clouds, and 360° Panoramas.
- Annotations: Annotations added to your scan.
- Measurements: Measurements created using the Viewer tools.
- Reference Measurements: Reference measurements associated with your scan.
You can expand or collapse each section to see its contents. Use the search bar at the top to find a specific layer or item.
Managing Layer Visibility
Each layer has a checkbox that controls whether it is displayed in the Viewer.
- Show a layer: Check the box next to the layer you want to display.
- Hide a layer: Uncheck the box to hide it.
You can enable multiple layers at the same time, depending on the outputs available.
Some layers also have additional controls for adjusting opacity, downloading data, or changing display settings.
Hiding a layer does not delete it. You can enable it again whenever needed.
Working with 3D Outputs
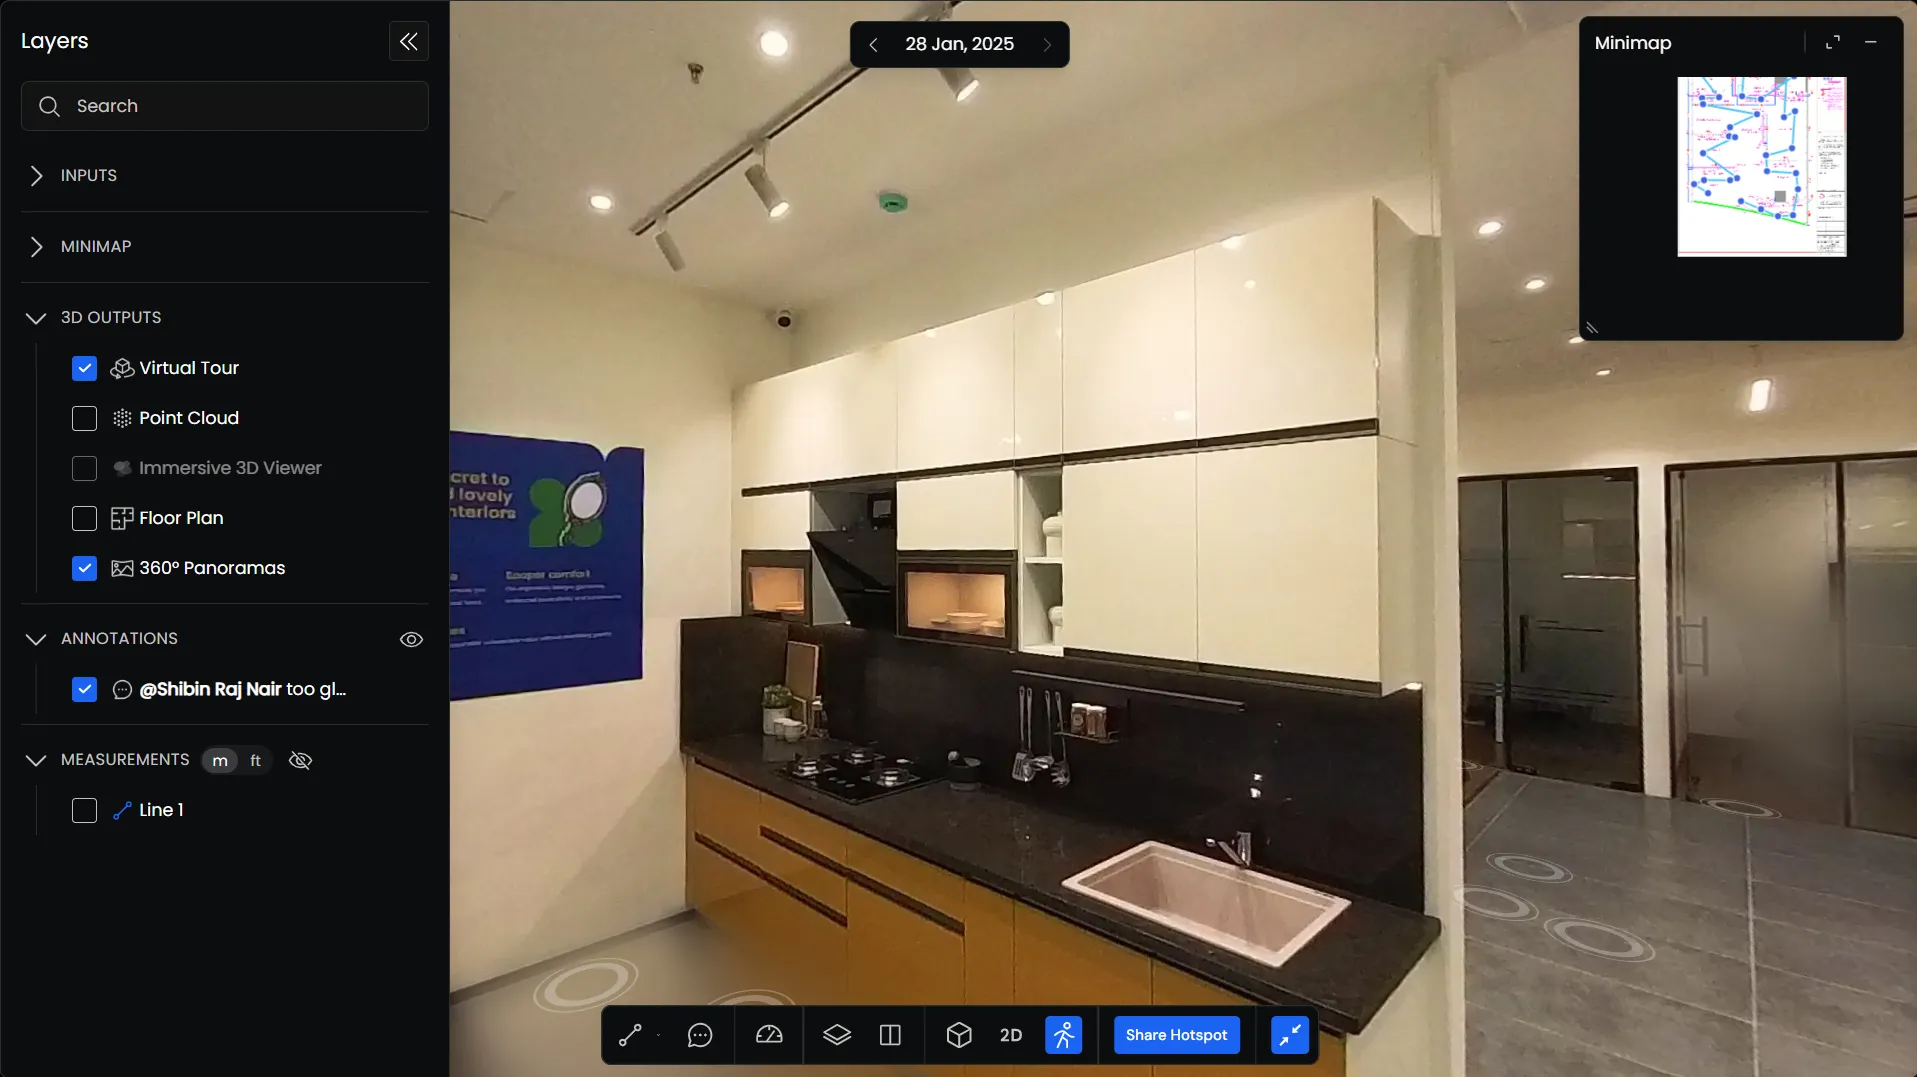
The 3D Outputs section contains the processed models and visualizations available for your scan.
Select the checkbox beside an output to display it in the Viewer.
You can switch between available outputs or show supported outputs together.
Outputs that are unavailable for the selected scan appear disabled.
Using the Minimap
The Minimap provides a 2D view of your site, helping you understand your current location and navigate between different areas.
The content displayed in the Minimap is controlled through the Minimap section of the Layers panel.
Managing Minimap Layers
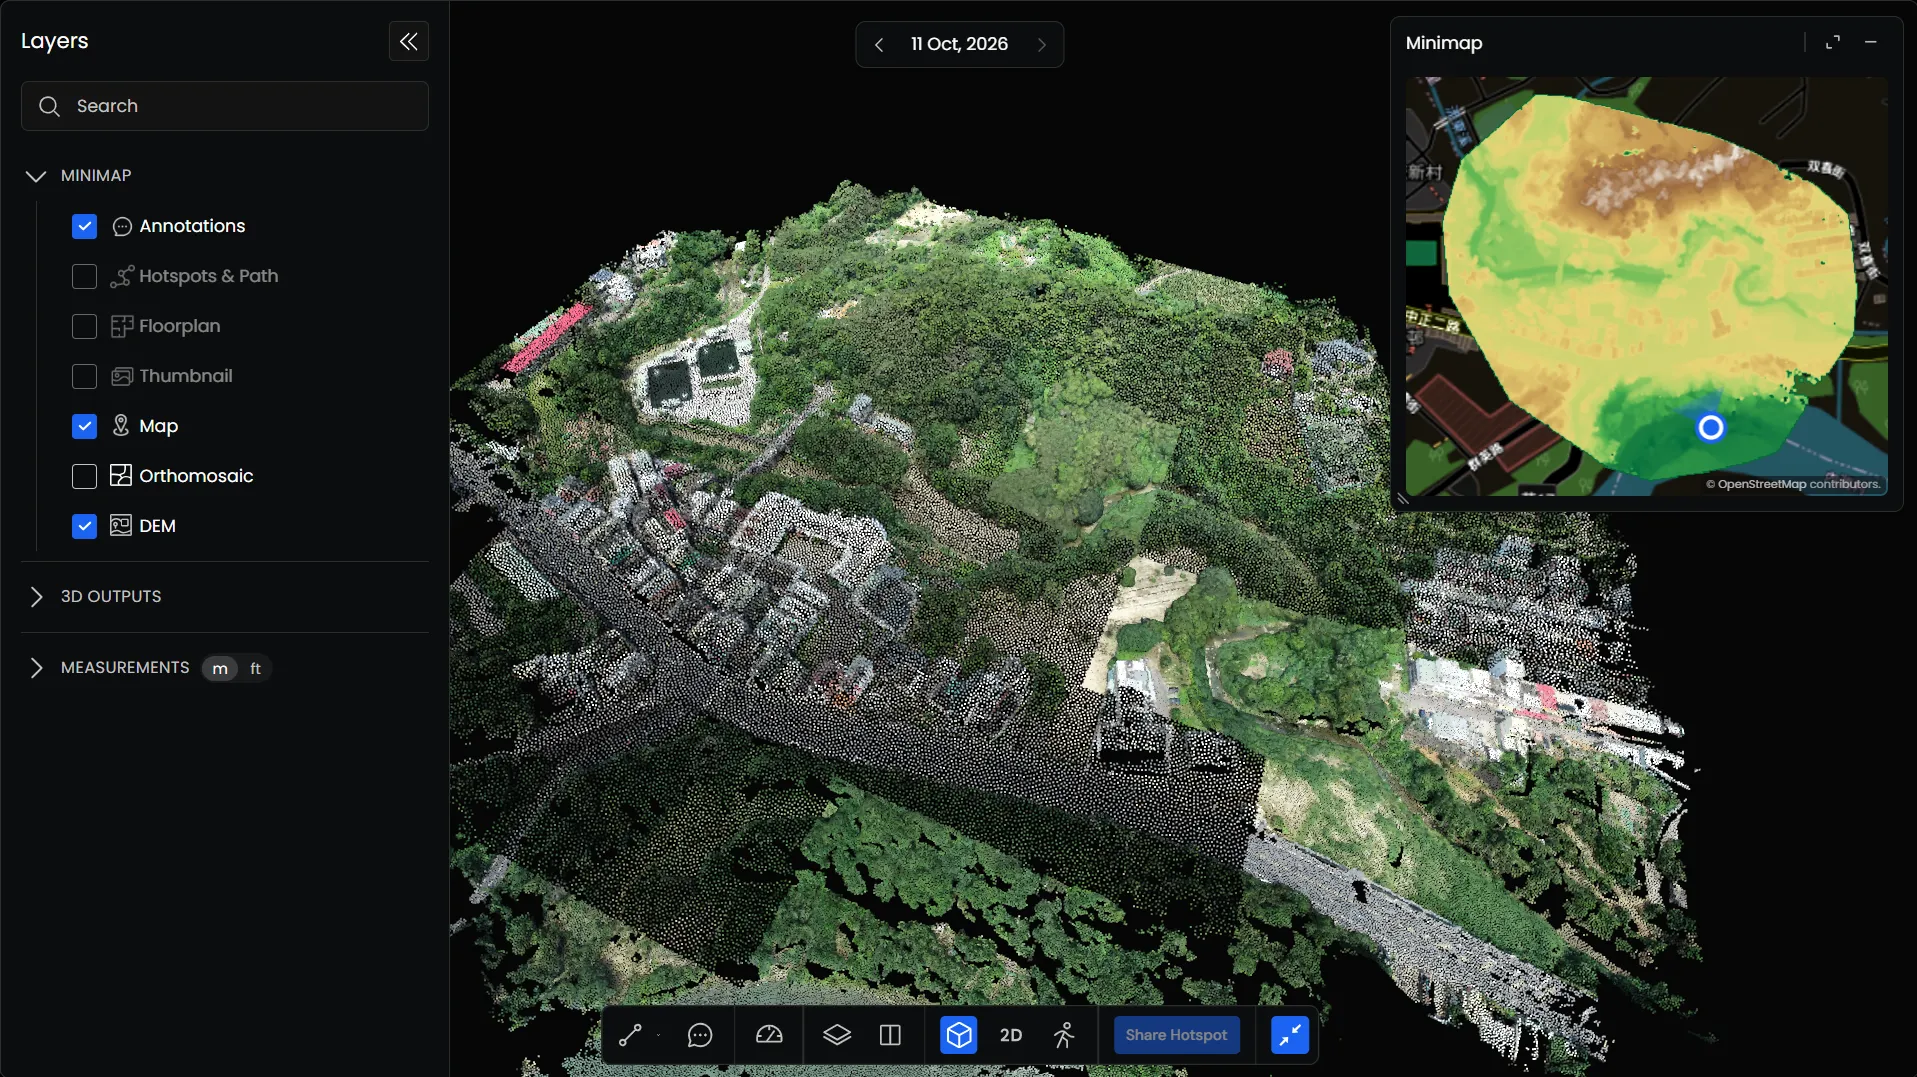
Open the Minimap section to see the available layers.
You can select the information you want to display, including the site’s 2D data, annotations, and capture path.
Check or uncheck individual layers to change what appears in the Minimap.
Multiple layers can be displayed together.
Resizing the Minimap
You can adjust the size of the Minimap depending on how you want to use it.
Keep it small while navigating the 3D Viewer, or expand it to fill the viewing area for a larger view of your 2D data.
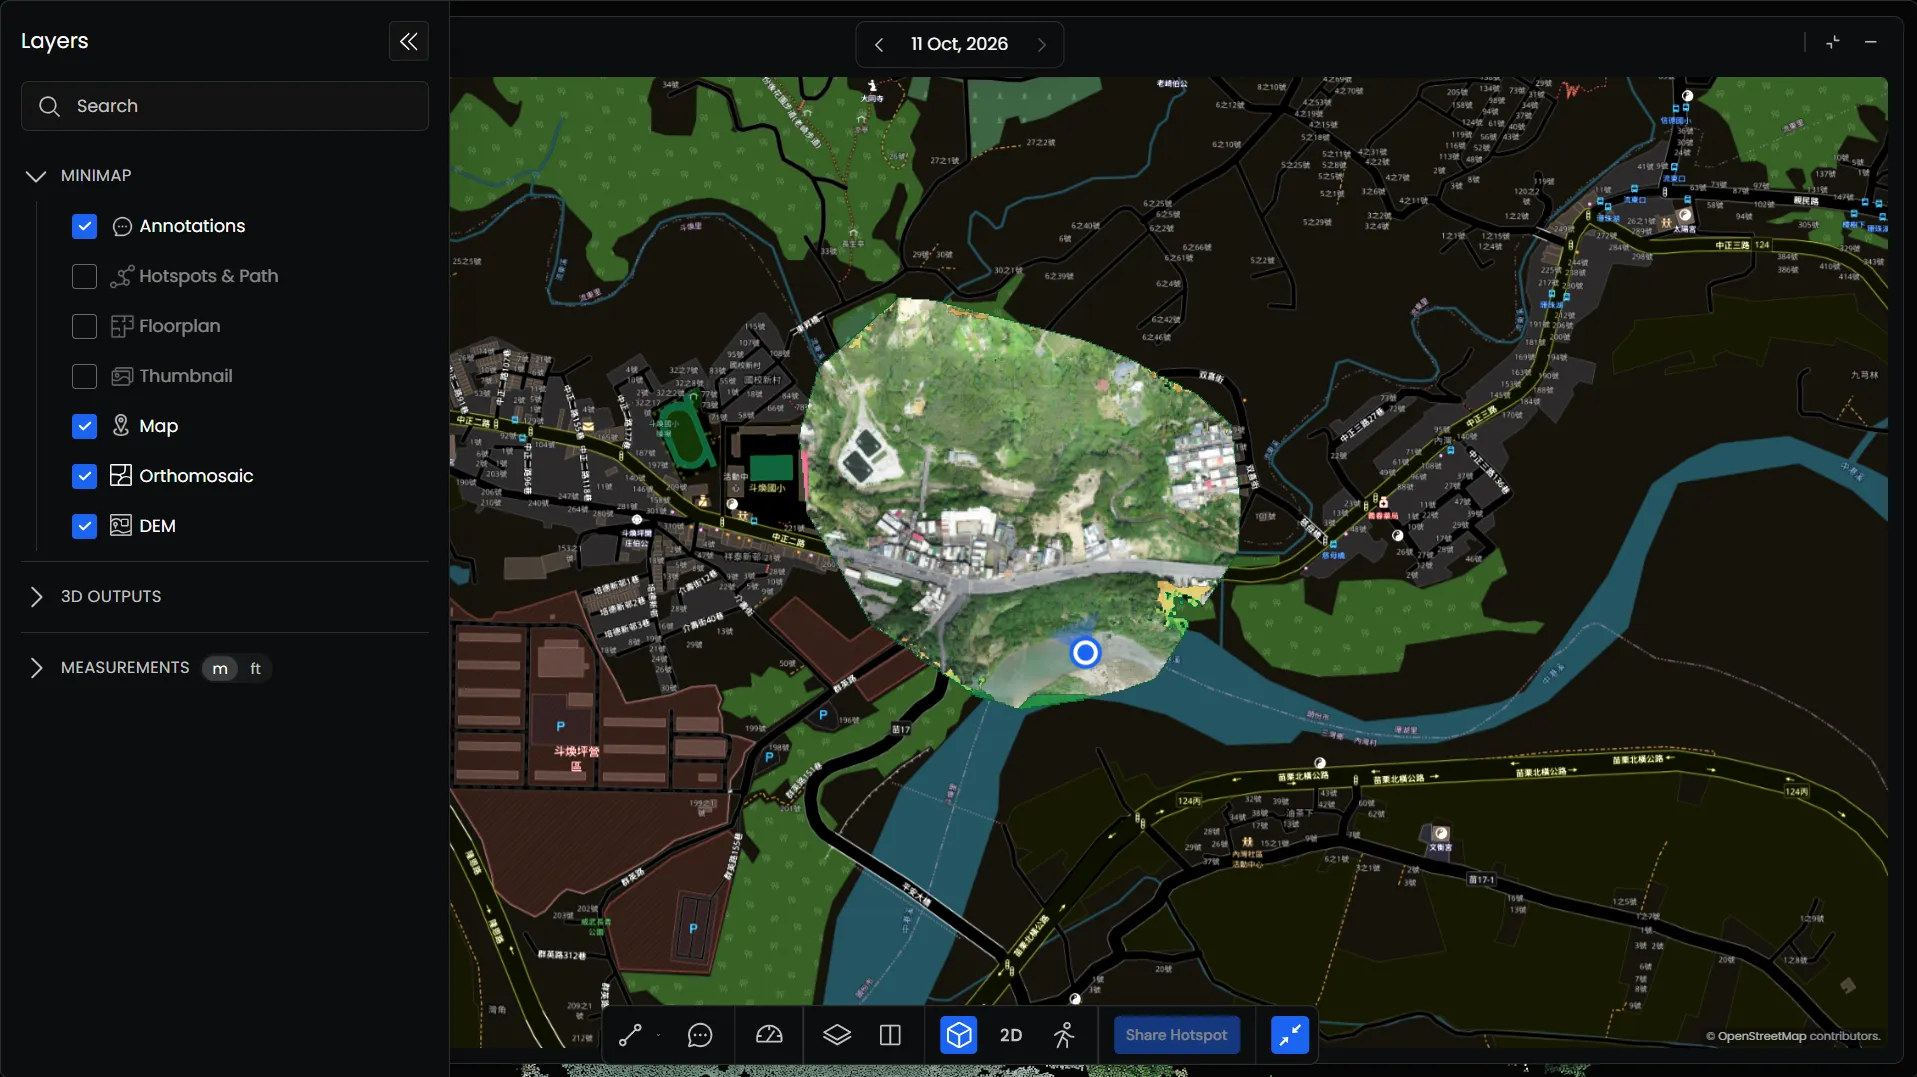
Use the controls in the Minimap header to expand or minimize it.
Using the Minimap with Multiple Views
The Minimap is also available when working with multiple views. You can use it to reference and compare 2D information alongside different site outputs.