

Navigating Your Site
The Preimage Viewer provides different navigation modes to help you move through your site and inspect your scans.
You can rotate around your 3D model, move between captured locations, or navigate using a 2D view.
Orbit View
Orbit View allows you to view your 3D model from different angles. You can rotate, pan, and zoom to inspect specific areas of your site.
Select the Orbit View icon from the bottom toolbar to navigate around the model.
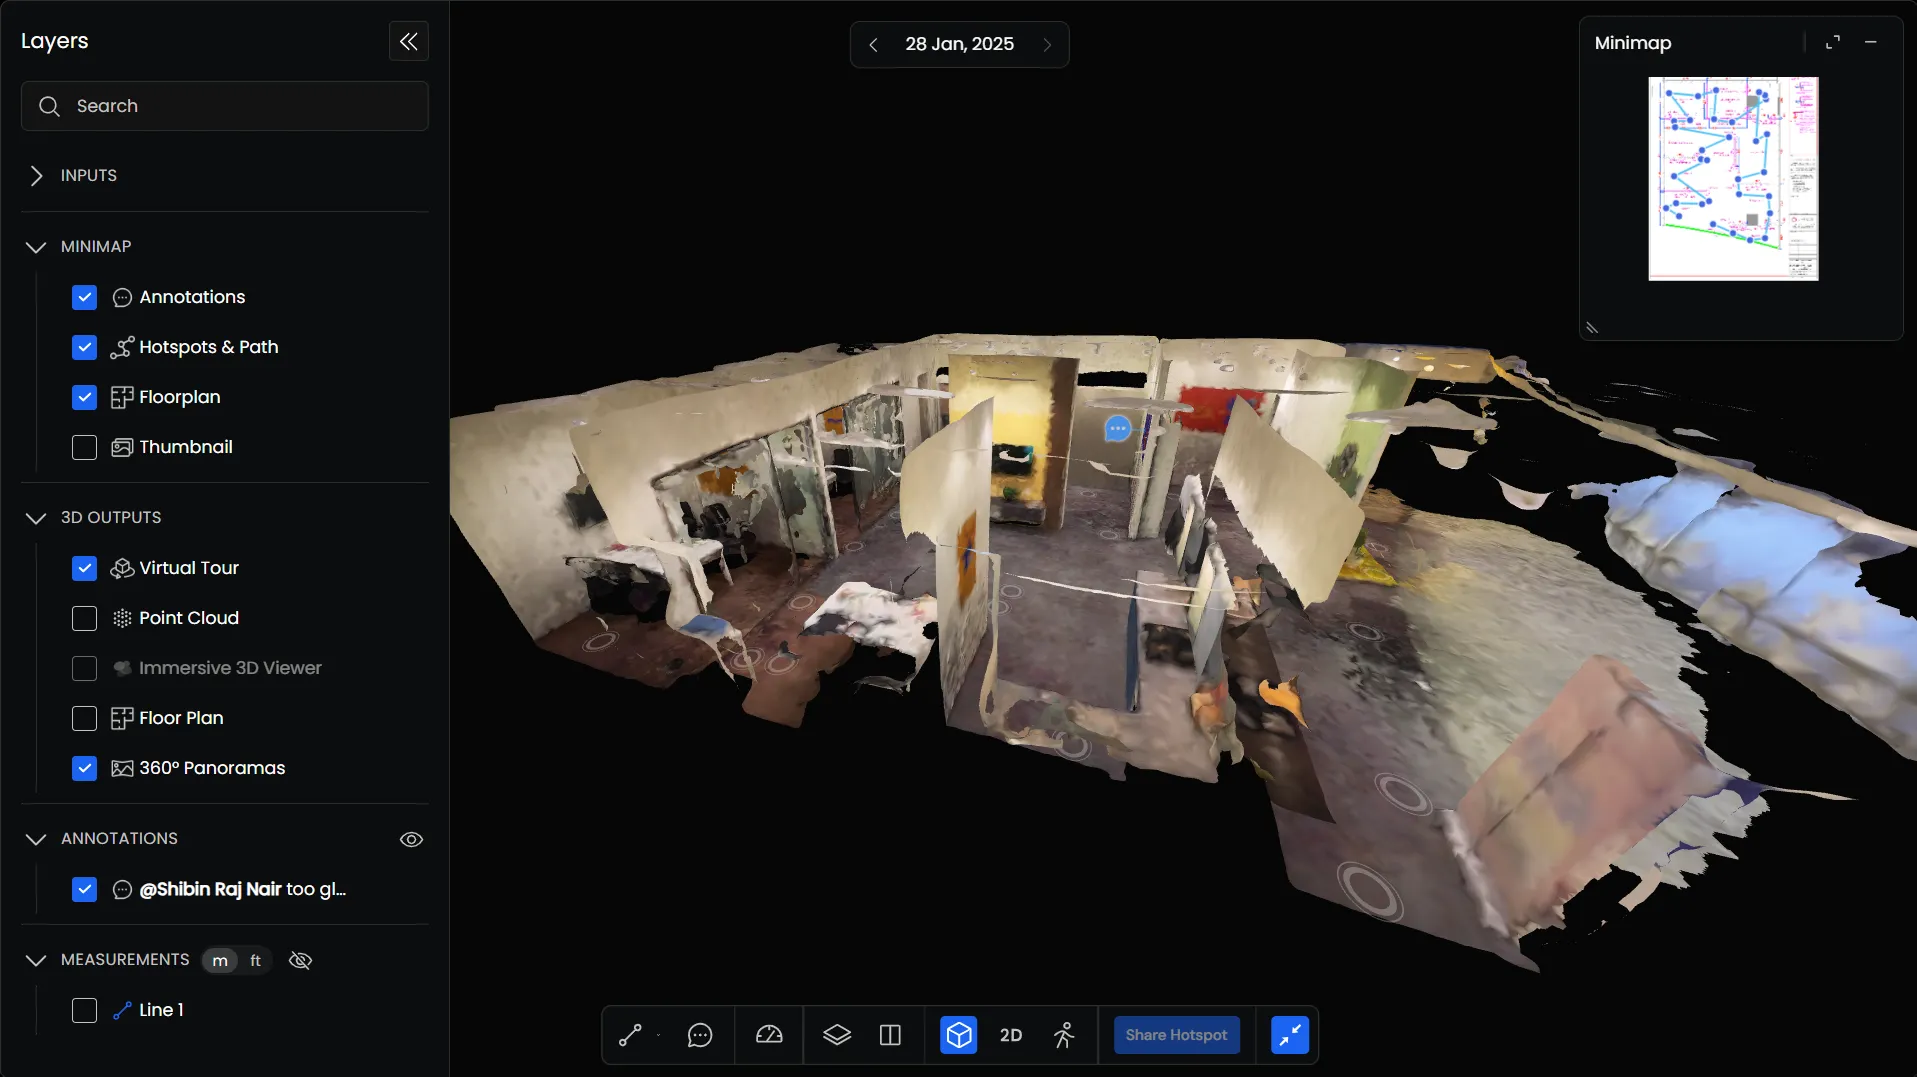
Orbit Controls
| Function | Desktop Controls | Mobile Controls |
|---|---|---|
| Orbit | Click and drag | One-finger drag |
| Pan | Use the pan controls | Two-finger drag |
| Zoom | Scroll to zoom in or out | Pinch to zoom |
Walkthrough View
Walkthrough View allows you to move through your captured site and view it from different locations.
Select the Walkthrough icon from the bottom toolbar to enter this mode.
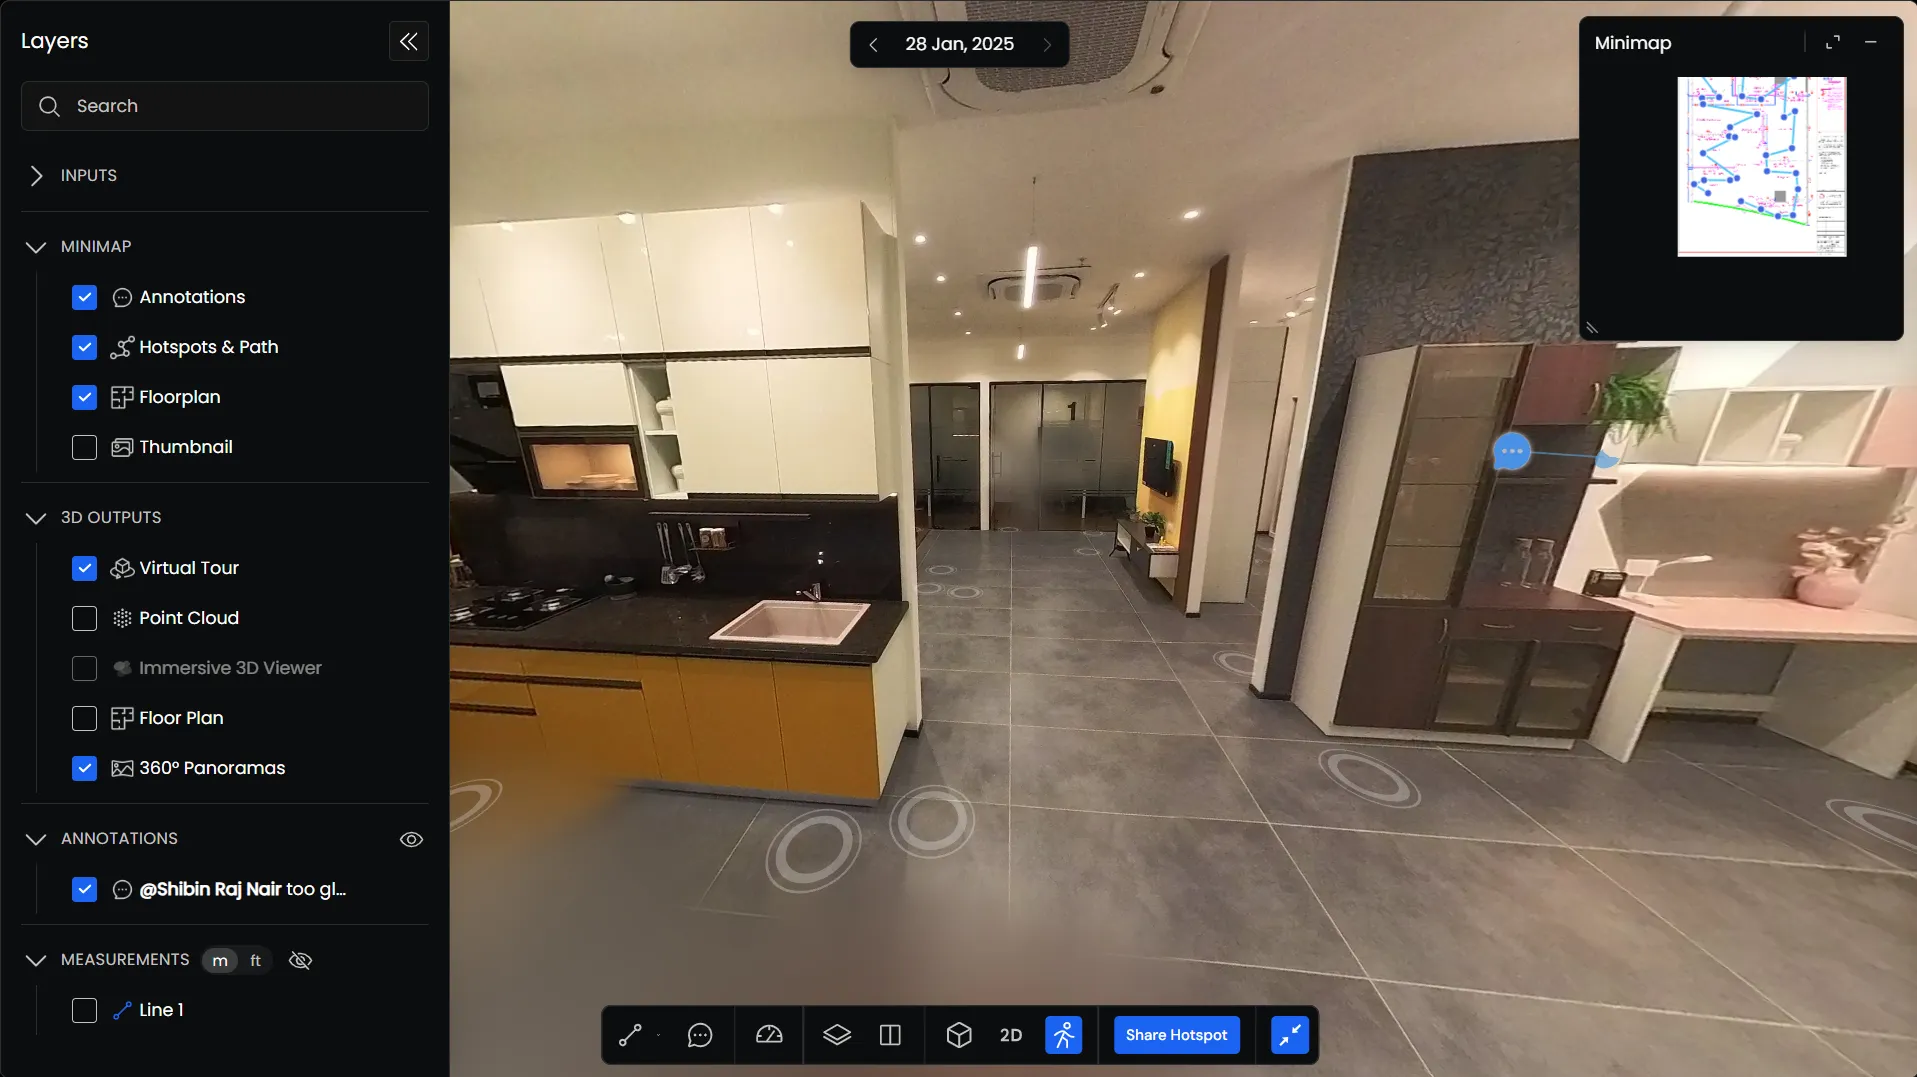
Moving Through Your Site
You can navigate using your keyboard, mouse, or the hotspots displayed in your scan.
| Function | Desktop Controls | Mobile Controls |
|---|---|---|
| Move | WASD or arrow keys | Tap a hotspot |
| Look Around | Click and drag | Swipe to look around |
| Navigate to a Location | Click a hotspot | Tap a hotspot |
Using Hotspots
Hotspots represent captured locations within your Virtual Tour.
Click a hotspot to move directly to that location. You can use them to navigate between rooms and other areas without moving through the entire model.
You can show or hide hotspots through Layers → Minimap → Hotspots & Path.
Using the Capture Path
The Capture Path shows the route taken during the scan, connecting the different captured locations.
You can use it as a reference while navigating your site.
Customizing the Capture Path
To change how the capture path appears:
- Open the Layers panel.
- Under 3D Outputs, find Virtual Tour.
- Click the settings icon beside Virtual Tour.
- The Virtual Tour settings open in the Info Panel.
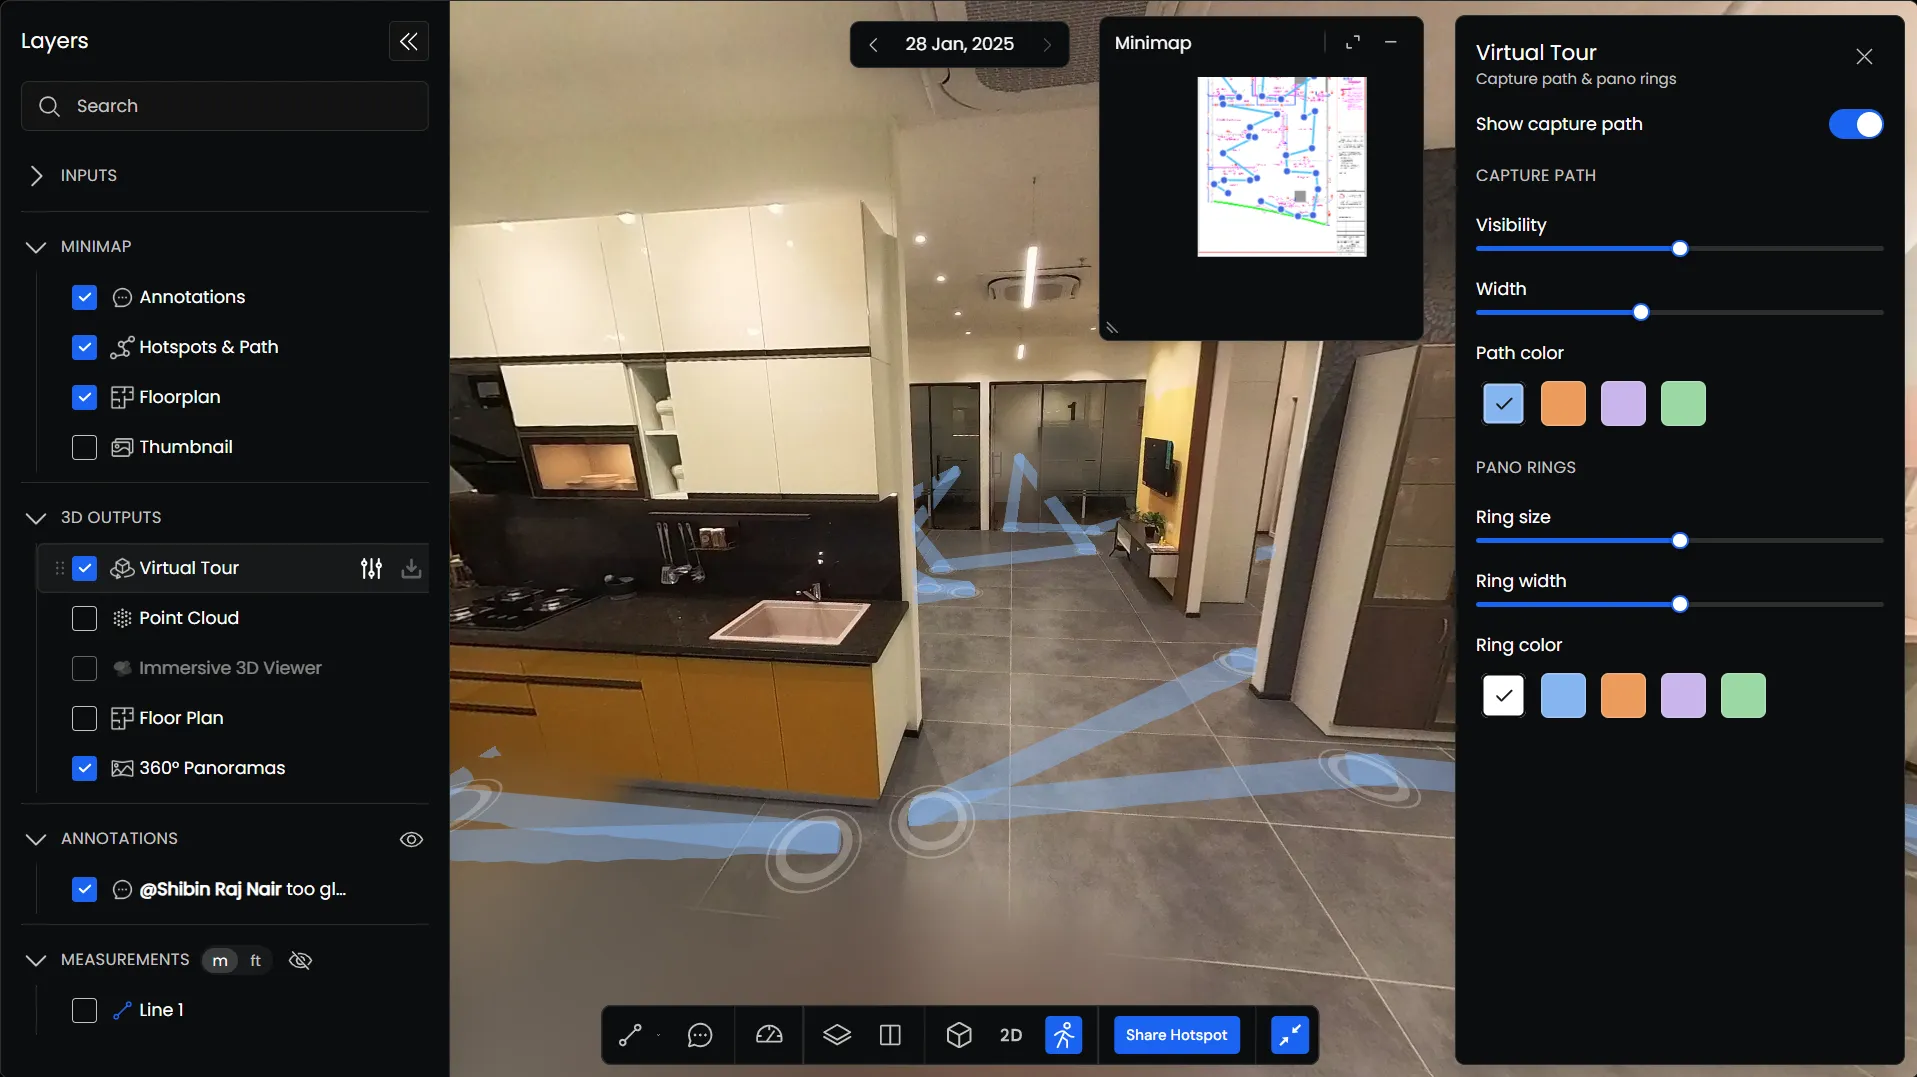
From here, you can:
- Show Capture Path: Turn the capture path on or off.
- Visibility: Adjust how clearly the path appears.
- Width: Change the thickness of the path.
- Path Color: Choose the color of the path.
Customizing Panorama Rings
The same panel also includes settings for the panorama rings displayed at captured locations.
You can adjust their size, width, and color.
Navigating in 2D View
The 2D View allows you to navigate your site using a floorplan or other available 2D data.
Select 2D from the bottom toolbar to switch to this mode.
The information displayed depends on the layers selected in the Layers panel.
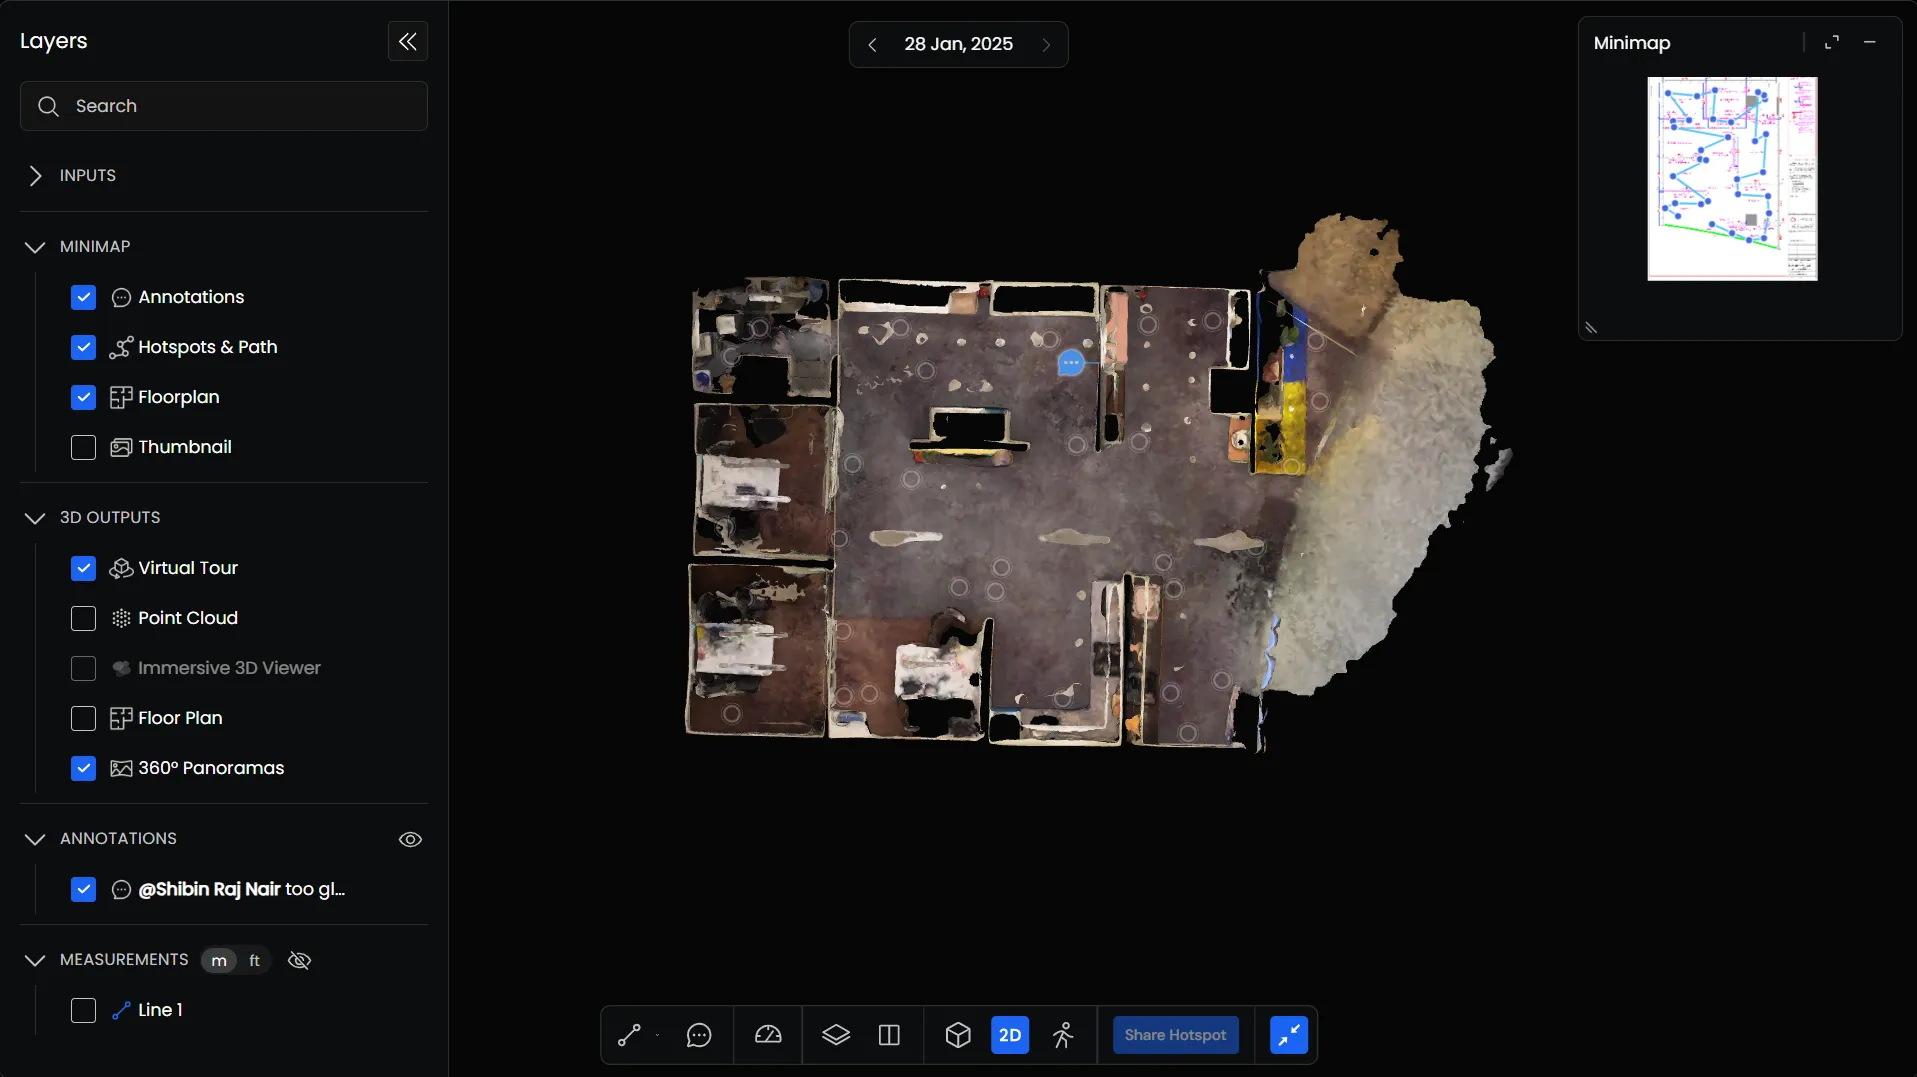
2D Navigation Controls
| Function | Desktop Controls | Mobile Controls |
|---|---|---|
| Pan | Click and drag | One-finger drag |
| Zoom | Scroll to zoom in or out | Pinch to zoom |
| Navigate | Select an available location marker | Tap a location marker |
Sharing a Hotspot
You can share a specific captured location with other users using Share Hotspot.
Navigate to the location you want to share and click Share Hotspot in the bottom toolbar.
This allows you to share that location directly, rather than asking someone to navigate through the entire scan.